一、创建VUE项目
npm install vue-cli -g
vue init webpack myprject
cd myproject
npm run dev
补充:
组件:它是可扩展的html,里面包括
<template></template>
<script></script>
<style></style>
vue框架的特性:能够实现热重载
二、vue项目目录结构
├── index.html 入口页面
├── build 构建脚本目录
│ ├── build-server.js 运行本地构建服务器,可以访问构建后的页面
│ ├── build.js 生产环境构建脚本
│ ├── dev-client.js 开发服务器热重载脚本,主要用来实现开发阶段的页面自动刷新
│ ├── dev-server.js 运行本地开发服务器
│ ├── utils.js 构建相关工具方法
│ ├── webpack.base.conf.js wabpack基础配置
│ ├── webpack.dev.conf.js wabpack开发环境配置
│ └── webpack.prod.conf.js wabpack生产环境配置
├── config 项目配置
│ ├── dev.env.js 开发环境变量
│ ├── index.js 项目配置文件
│ ├── prod.env.js 生产环境变量
│ └── test.env.js 测试环境变量
├── mock mock数据目录
│ └── hello.js
├── package.json npm包配置文件,里面定义了项目的npm脚本,依赖包等信息
├── src 项目源码目录
│ ├── main.js 入口js文件
│ ├── app.vue 根组件
│ ├── components 公共组件目录
│ │ └── title.vue
│ ├── assets 资源目录,这里的资源会被wabpack构建
│ │ └── images
│ │ └── logo.png
│ ├── routes 前端路由
│ │ └── index.js
│ ├── store 应用级数据(state)
│ │ └── index.js
│ └── views 页面目录
│ ├── hello.vue
│ └── notfound.vue
├── static 纯静态资源,不会被wabpack构建。
└── test 测试文件目录(unit&e2e)
└── unit 单元测试
├── index.js 入口脚本
├── karma.conf.js karma配置文件
└── specs 单测case目录
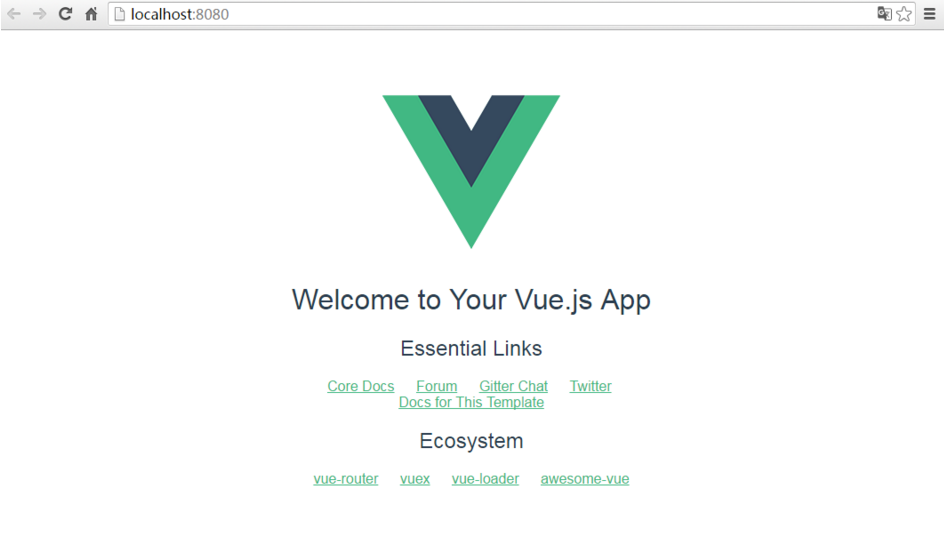
└── Hello.spec.js出现下图页面就说明搭建成功
三、import 和 require 的区别
imporrt一定要放在文件顶部
它相当于一个指针引用了文件,并没有把文件包含进来,需要调用文件时才引入。

require:
可以放在文件中的任何位置
它是直接把文件包含进来
四、设置文件路由的流程
1)建立组件(.vue的文件)
2)配置路由(index.js文件中配置)
3)<router-link></router-link>
4)<router-view></router-view>
5)import 包名 from "组件路径"
6)comonents进行注册
五、vue的生命周期
1)定义vue对象并实例化
2)created函数
3)编译模板
4)把HTML元素渲染到页面当中
5)mounted函数
6)如果有元素的更新,就执行updated函数
7)销毁实例
六、测试
仿抽屉新热榜做的一个测试
代码如下:


<template>
  <div class='box'>
    <ul>
      <li v-for='item in arr'>
        <div class='p1'>
          <router-link :to="{path:'/detail',query:{ids:item.id}}">{{item.content}} </router-link>
        </div>
        <div class="p2">
          <img :src="item.imgUrl">
        </div>
      </li>

    </ul>

  </div>
</template>

<script>
  export default {
    name: 'HelloWorld',
    data () {
      return {
        arr: []
      }
    },
    mounted () {
      var url = '../../static/news.json'
      var self=this;
      this.$axios.get(url)
        .then(function (response) {
          console.log(response.data.result.data);
          self.arr = response.data.result.data;
        })
        .catch(function (error) {
          console.log(error);
        })
    }
  }
</script>

<!-- Add "scoped" attribute to limit CSS to this component only -->
<style scoped>
  h1, h2 {
    font-weight: normal;
  }

  ul {
    list-style-type: none;
    padding: 0;
  }

  li {
    display: inline-block;
    margin: 0 10px;
  }

  a {
    color: #42b983;
  }
.box{
   980px;
}
.p1{
  float:left;
  780px;
}
 img{
  float:right;
 }
</style>
<template>
  <div class="box">
    <h1>我是详细页面{{id}}</h1>
    <ul>
      <li>
        <div class="p1">
          {{obj.content}}
        </div>
        <div class="p2">
          <img :src="obj.imgUrl">
        </div>

      </li>
    </ul>
  </div>
</template>

<script>
  export default {
    name: 'Detail',
    data () {
      return {
          obj:{} ,
          id:this.$route.query.ids
      }
    },
    mounted(){
      var url = "../../static/news.json"
      var self =this;
      this.$axios.get(url,{
          params:{id:this.id}
      })
        .then(function (response) {
          //console.log(response.data.result.data);
          self.obj = response.data.result.data[0];
        })
        .catch(function (error) {
          console.log(error);
        })
    }
  }
</script>

<!-- Add "scoped" attribute to limit CSS to this component only -->
<style scoped>
  h1, h2 {
    font-weight: normal;
  }

  ul {
    list-style-type: none;
    padding: 0;
  }

  li {
    display: inline-block;
    margin: 0 10px;
  }

  a {
    color: #42b983;
  }
  .box{
     980px;
  }

  .p1{
    float:left;
    700px;
  }
  .p2{
    float:right;
  }
</style>
<template>
  <div>
    <h1> 我是段子手</h1>
  </div>
</template>

<script>
export default {
  name: 'HelloWorld',
  data () {
    return {

    }
  }
}
</script>

<!-- Add "scoped" attribute to limit CSS to this component only -->
<style scoped>
h1, h2 {
  font-weight: normal;
}
ul {
  list-style-type: none;
  padding: 0;
}
li {
  display: inline-block;
  margin: 0 10px;
}
a {
  color: #42b983;
}
</style>
<template>
  <div>
    <router-link to="/">首页</router-link>
    <router-link to="/news">新闻</router-link>
    <router-link to="/duanzi">段子</router-link>
  </div>
</template>

<script>
export default {
  name: 'HelloWorld',
  data () {
    return {

    }
  }
}
</script>

<!-- Add "scoped" attribute to limit CSS to this component only -->
<style scoped>
h1, h2 {
  font-weight: normal;
}
ul {
  list-style-type: none;
  padding: 0;
}
li {
  display: inline-block;
  margin: 0 10px;
}
a {
  color: #42b983;
}
</style>
<template>
  <div>
    <h1> 我是新闻</h1>

  </div>
</template>

<script>
export default {
  name: 'HelloWorld',
  data () {
    return {

    }
  }
}
</script>

<!-- Add "scoped" attribute to limit CSS to this component only -->
<style scoped>
h1, h2 {
  font-weight: normal;
}
ul {
  list-style-type: none;
  padding: 0;
}
li {
  display: inline-block;
  margin: 0 10px;
}
a {
  color: #42b983;
}
</style>
import Vue from 'vue'
import Router from 'vue-router'
import HelloWorld from '@/components/HelloWorld'
import ALL from '@/components/All'
import NEWS from '@/components/NEWS'
import DUANZI from '@/components/duanzi'
import Detail from '@/components/Detail'

Vue.use(Router)

export default new Router({
  routes: [
    {
      path: '/hw',
      name: 'HelloWorld',
      component: HelloWorld
    },
    {
      path: '/',
      name: 'ALL',
      component: ALL
    },
    {
      path: '/news',
      name: 'NEWS',
      component: NEWS
    },
    {
      path: '/duanzi',
      name: 'duanzi',
      component: DUANZI
    },
    {
      path: '/detail',
      name: 'Detail',
      component: Detail
    },


  ]
})
<template>
  <div id="app">
  <NavList></NavList>
    <router-view></router-view>
  </div>
</template>

<script>
import NavList from './components/NavList'
export default {
  name: 'App',
  components: {NavList}
}
</script>

<style>
#app {
  font-family: 'Avenir', Helvetica, Arial, sans-serif;
  -webkit-font-smoothing: antialiased;
  -moz-osx-font-smoothing: grayscale;
  text-align: center;
  color: #2c3e50;
  margin-top: 60px;
}
</style>
// The Vue build version to load with the `import` command
// (runtime-only or standalone) has been set in webpack.base.conf with an alias.
import Vue from 'vue'
import App from './App'
import router from './router'
import axios from 'axios'
import VueAxios from 'vue-axios'

Vue.prototype.$axios = axios;

//Vue.use(axios, VueAxios)
//Vue.config.productionTip = false

/* eslint-disable no-new */
new Vue({
  el: '#app',
  router,
  components: { App },
  template: '<App/>'
})