做过Java的同学可能经常会遇到一些关于图片处理的
例如类似QQ离线头像显示灰的。最快的算法是用colorMatrix来实现。这里通过Java调用JNI来处理每一个像素来实现。
- 对每一个像素点取出RGB每个通道的值R,G,B
- cololr=(R+G+B)/3;这个值是需要修改的值
- 将原来GRB的通道全设置成color的值
首先先看用Java怎么实现这个功能
 public Bitmap convertGrayImg(int resID)
    {
        Bitmap img1=((BitmapDrawable) getResources().getDrawable(resID)).getBitmap();

        int w=img1.getWidth(),h=img1.getHeight();
        int[] pix = new int[w * h];
        img1.getPixels(pix, 0, w, 0, 0, w, h);

        int alpha=0xFF<<24;
        for (int i = 0; i < h; i++) {
            for (int j = 0; j < w; j++) {
                // 获得像素的颜色
                int color = pix[w * i + j];
                int red = ((color & 0x00FF0000) >> 16);
                int green = ((color & 0x0000FF00) >> 8);
                int blue = color & 0x000000FF;
                color = (red + green + blue)/3;
                color = alpha | (color << 16) | (color << 8) | color;
                pix[w * i + j] = color;
            }
        }
        Bitmap result=Bitmap.createBitmap(w, h, Config.RGB_565);
        result.setPixels(pix, 0, w, 0, 0,w, h);
        return result;
    }
下面是JNI来处理
c++代码如下
#include <jni.h>
#include <string>
extern "C"{
jintArray JNICALL
        Java_com_tmf_test_ndk_bitmap_MainActivity_getImgToGray(JNIEnv *env, jobject instance,
                                                               jintArray data_, jint w, jint h);
}

JNIEXPORT jintArray JNICALL
Java_com_tmf_test_ndk_bitmap_MainActivity_getImgToGray(JNIEnv *env, jobject instance,
                                                       jintArray data_, jint w, jint h) {
    jint *data;
    data = env->GetIntArrayElements(data_, NULL);
    if (data == NULL) {
        return 0; /* exception occurred */
    }
    int alpha = 0xFF << 24;
    for (int i = 0; i < h; i++) {
        for (int j = 0; j < w; j++) {
            // 获得像素的颜色
            int color = data[w * i + j];
            int red = ((color & 0x00FF0000) >> 16);
            int green = ((color & 0x0000FF00) >> 8);
            int blue = color & 0x000000FF;
            color = (red + green + blue) / 3;
            color = alpha | (color << 16) | (color << 8) | color;
            data[w * i + j] = color;
        }
    }
    int size=w * h;
    jintArray result = env->NewIntArray(size);
    env->SetIntArrayRegion(result, 0, size, data);
    env->ReleaseIntArrayElements(data_, data, 0);
    return result;
}
activity实现如下
package com.tmf.test.ndk.bitmap;

import android.graphics.Bitmap;
import android.graphics.drawable.BitmapDrawable;
import android.support.v7.app.AppCompatActivity;
import android.os.Bundle;
import android.widget.ImageView;
import android.widget.TextView;

public class MainActivity extends AppCompatActivity {

    // Used to load the 'native-lib' library on application startup.
    static {
        System.loadLibrary("native-lib");
    }

    @Override
    protected void onCreate(Bundle savedInstanceState) {
        super.onCreate(savedInstanceState);
        setContentView(R.layout.activity_main);

        // Example of a call to a native method
        ImageView tv = (ImageView) findViewById(R.id.image);
        tv.setImageBitmap(getJniBitmap());
    }

    public Bitmap  getJniBitmap(){
        Bitmap bitmap=((BitmapDrawable) getResources().getDrawable(R.mipmap.timg)).getBitmap();
        int w=bitmap.getWidth(),h=bitmap.getHeight();
        int[] pix = new int[w * h];
        bitmap.getPixels(pix, 0, w, 0, 0, w, h);
        //通过ImgToGray.so把彩色像素转为灰度像素
        int[] resultInt=getImgToGray(pix, w, h);
        Bitmap resultImg=Bitmap.createBitmap(w, h, Bitmap.Config.RGB_565);
        resultImg.setPixels(resultInt, 0, w, 0, 0,w, h);
        return resultImg;
    }


    public native int[] getImgToGray(int[] data,int w,int h);

    private int[] bitmapToArray(int resID)
    {
        Bitmap bitmap=((BitmapDrawable) getResources().getDrawable(resID)).getBitmap();
        int w=bitmap.getWidth(),h=bitmap.getHeight();
        int[] pix = new int[w * h];
        bitmap.getPixels(pix, 0, w, 0, 0, w, h);
      return pix;
    }

}
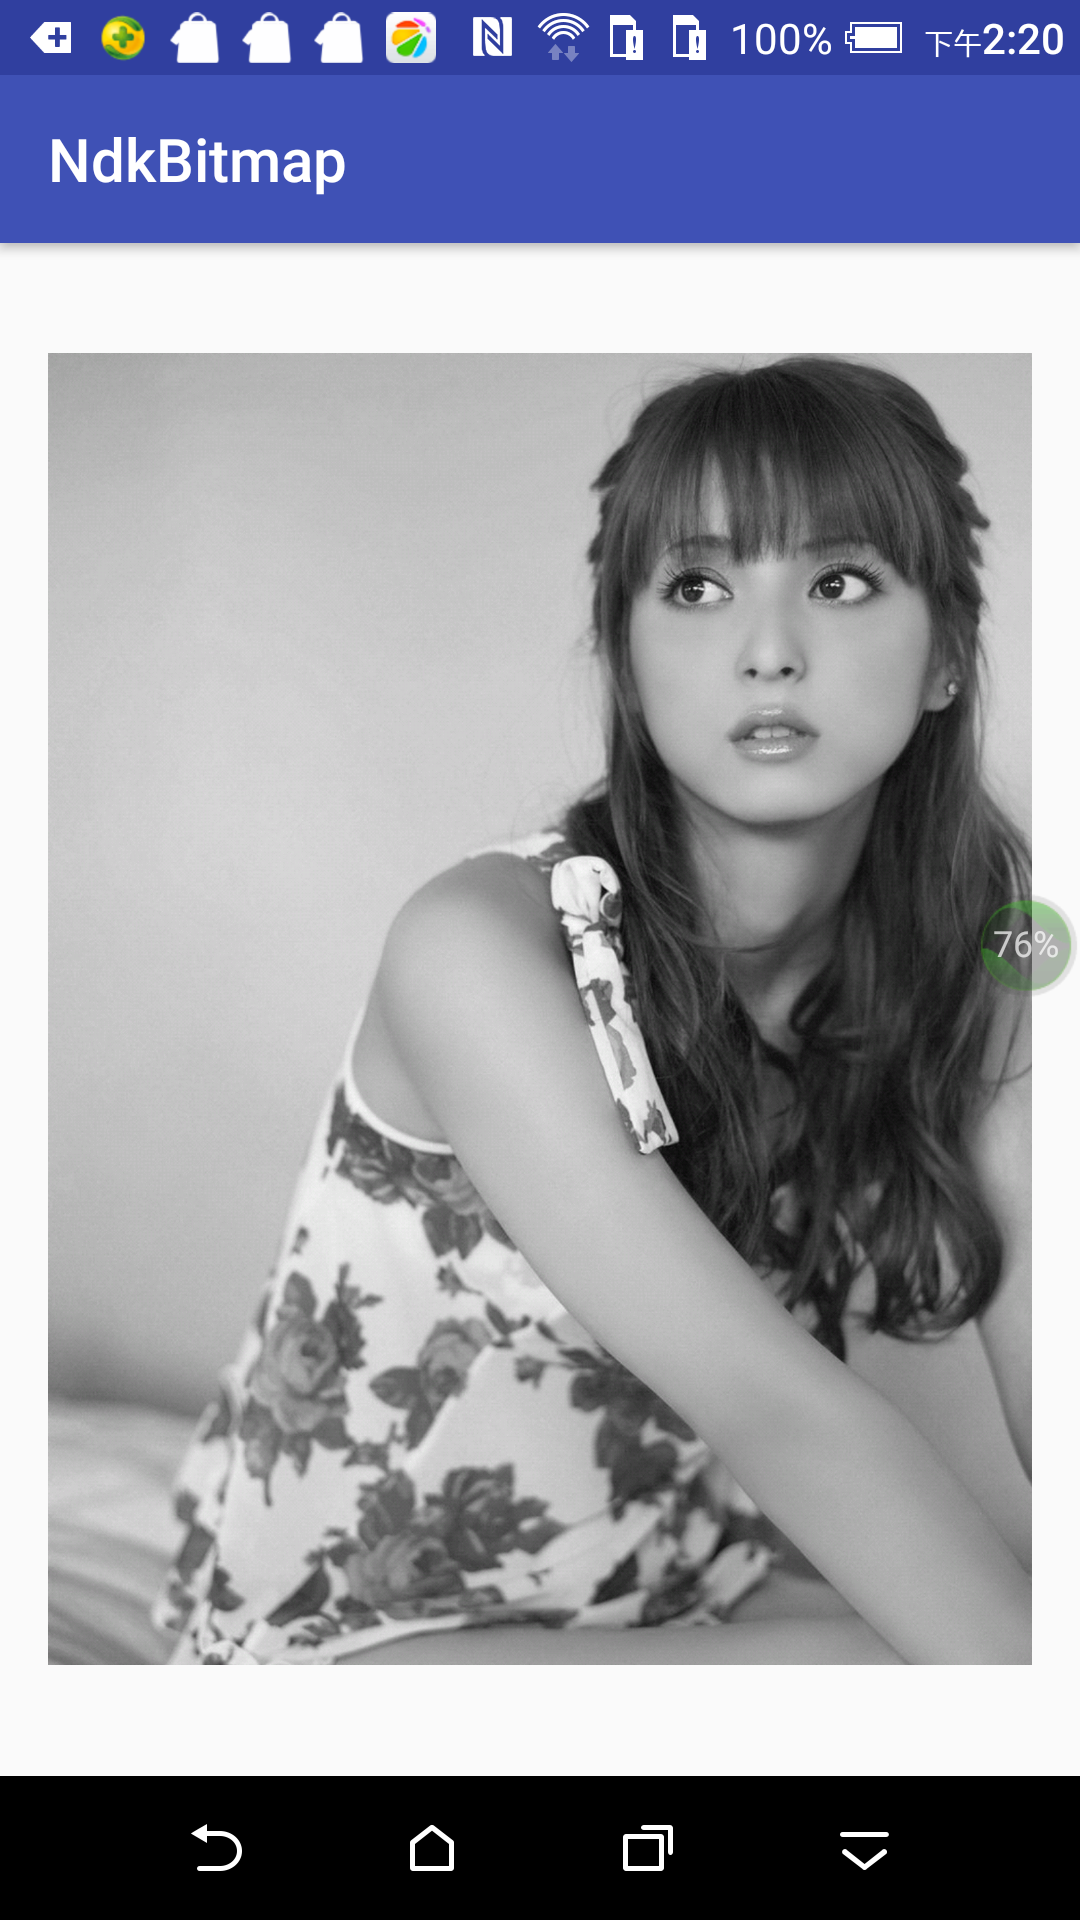
效果如下
bitmap.h
目录android-ndk-r10eplatformsandroid-21arch-armusrincludeandroid里面
bitmap.h头文件中的内容并不多,主要有这些部分组成:
- 结果状态定义。
- 位图格式枚举。
- 位图信息结构体。
- 位图操作函数声明。
define ANDROID_BITMAP_RESULT_SUCCESS            0
#define ANDROID_BITMAP_RESULT_BAD_PARAMETER     -1
#define ANDROID_BITMAP_RESULT_JNI_EXCEPTION     -2
#define ANDROID_BITMAP_RESULT_ALLOCATION_FAILED -3

/* Backward compatibility: this macro used to be misspelled. */
#define ANDROID_BITMAP_RESUT_SUCCESS ANDROID_BITMAP_RESULT_SUCCESS
这里定义了对Bitmap进行操作时的结果,分别对应成功,错误的参数,JNI异常,内存分配错误,至于最后一个,这是个梗。Google工程师在定义NDK的时候写错一个单词,居然没有检查就发布了,然后就233333333了。看来IDE的拼写检查对自己人也有好处。
位图格式枚举
enum AndroidBitmapFormat {
    ANDROID_BITMAP_FORMAT_NONE      = 0,
    ANDROID_BITMAP_FORMAT_RGBA_8888 = 1,
    ANDROID_BITMAP_FORMAT_RGB_565   = 4,
    ANDROID_BITMAP_FORMAT_RGBA_4444 = 7,
    ANDROID_BITMAP_FORMAT_A_8       = 8,
};
一般而言,常见的位图格式有RGB_565 、RGBA_8888、 ARGB_8888、 RGBA_4444、 ARGB_4444、 ALPHA_8
位图信息结构体
typedef struct {
    uint32_t    width;
    uint32_t    height;
    uint32_t    stride;
    int32_t     format;
    uint32_t    flags;      // 0 for now
} AndroidBitmapInfo;
width表示图片的宽度(列数),height表示图片的高度(行数),stride为行跨度,具体含义后面会进行介绍。最后一个参数已经被弃用,其值始终为0。
位图操作函数声明
int AndroidBitmap_getInfo(JNIEnv* env, jobject jbitmap,
                          AndroidBitmapInfo* info);

int AndroidBitmap_lockPixels(JNIEnv* env, jobject jbitmap, void** addrPtr);

int AndroidBitmap_unlockPixels(JNIEnv* env, jobject jbitmap);
- AndroidBitmap_getInfo:获取当前位图信息。
- AndroidBitmap_lockPixels:锁定当前位图像素,在锁定期间该Bitmap对象不会被回收,使用完成之后必须调用AndroidBitmap_unlockPixels函数来解除对像素的锁定。
- AndroidBitmap_unlockPixels:解除像素锁定。
JNIEXPORT jboolean JNICALL
Java_com_tmf_test_ndk_bitmap_MainActivity_getImgToGray1(JNIEnv *env, jclass type, jobject jsrcBitmap,
                                                        jobject desBitmap) {
    AndroidBitmapInfo srcInfo, dstInfo;
    if (ANDROID_BITMAP_RESULT_SUCCESS != AndroidBitmap_getInfo(env, jsrcBitmap, &srcInfo)
        || ANDROID_BITMAP_RESULT_SUCCESS != AndroidBitmap_getInfo(env, desBitmap, &dstInfo)) {
        LOGE("get bitmap info failed");
        return false;
    }

    void *srcBuf, *dstBuf;
    if (ANDROID_BITMAP_RESULT_SUCCESS != AndroidBitmap_lockPixels(env, jsrcBitmap, &srcBuf)) {
        LOGE("lock src bitmap failed");
        return false;
    }

    if (ANDROID_BITMAP_RESULT_SUCCESS != AndroidBitmap_lockPixels(env, desBitmap, &dstBuf)) {
        LOGE("lock dst bitmap failed");
        return false;
    }

    int w = srcInfo.width;
    int h = srcInfo.height;
    int32_t *srcPixs = (int32_t *) srcBuf;
    int32_t *desPixs = (int32_t *) dstBuf;
    int alpha = 0xFF << 24;
    for (int i = 0; i < h; i++) {
        for (int j = 0; j < w; j++) {
            // 获得像素的颜色
            int color = srcPixs[w * i + j];
            int red = ((color & 0x00FF0000) >> 16);
            int green = ((color & 0x0000FF00) >> 8);
            int blue = color & 0x000000FF;
            color = (red + green + blue) / 3;
            color = alpha | (color << 16) | (color << 8) | color;
            desPixs[w * i + j] = color;
        }
    }
    AndroidBitmap_unlockPixels(env, jsrcBitmap);
    AndroidBitmap_unlockPixels(env, desBitmap);
    return true;
}
Java层代码
public native boolean getImgToGray1(Bitmap src,Bitmap des);
效果和上面都一样的,只是这个直接在底层处理bitmap对象
如果有以下异常
  E:	estNdkBitmapappsrcmaincpp/native-lib.cpp:52: undefined reference to `AndroidBitmap_getInfo'
  E:	estNdkBitmapappsrcmaincpp/native-lib.cpp:53: undefined reference to `AndroidBitmap_getInfo'
  E:	estNdkBitmapappsrcmaincpp/native-lib.cpp:59: undefined reference to `AndroidBitmap_lockPixels'
  E:	estNdkBitmapappsrcmaincpp/native-lib.cpp:64: undefined reference to `AndroidBitmap_lockPixels'
  E:	estNdkBitmapappsrcmaincpp/native-lib.cpp:86: undefined reference to `AndroidBitmap_unlockPixels'
  E:	estNdkBitmapappsrcmaincpp/native-lib.cpp:87: undefined reference to `AndroidBitmap_unlockPixels'
我用的是Android studio自带的cmake打包的,需要在
在CMakeLists.txt 添加 -ljnigraphics
target_link_libraries( # Specifies the target library.
                       native-lib
                       -ljnigraphics
                       # Links the target library to the log library
                       # included in the NDK.
                       ${log-lib} )