环境搭建:
JDK8 +
IDEA 2018 +
SpringBoot +
Maven 3.0 +
创建Boot项目
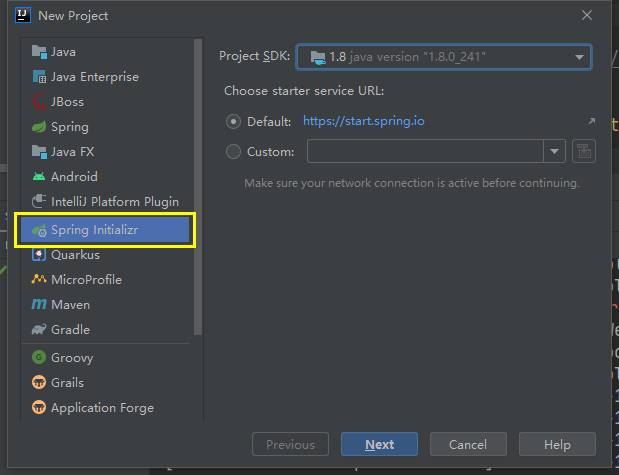
2020.6.1更新补充:
最近才发现SpringBoot用IDEA构建项目会发生JSON数据传输错误,
导致无法使用官网文档构建项目
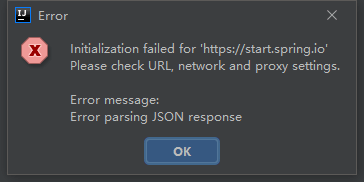
解决办法是更换镜像站点,使用阿里云的创建工程
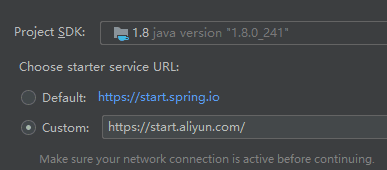
https://start.aliyun.com/
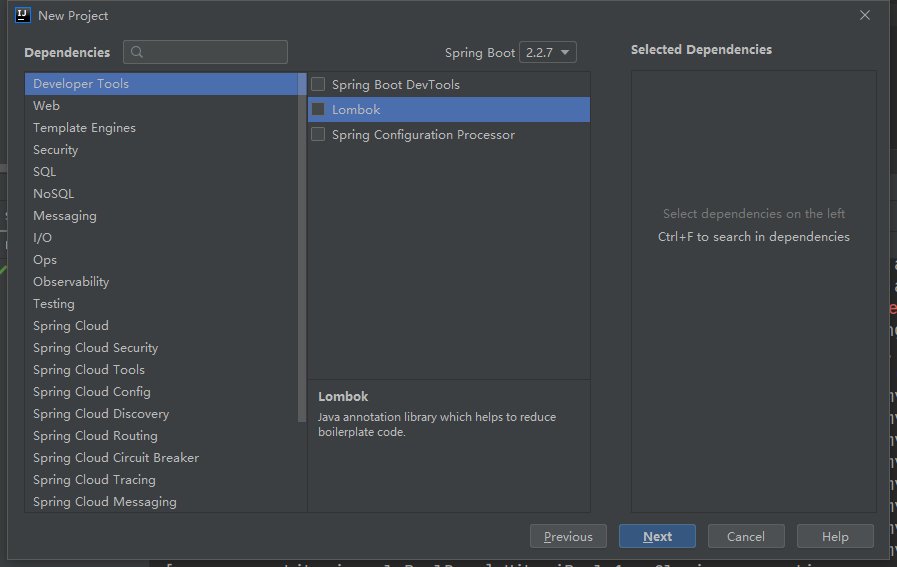
不用改,下一步

零配置创建
声明工程目录和名称

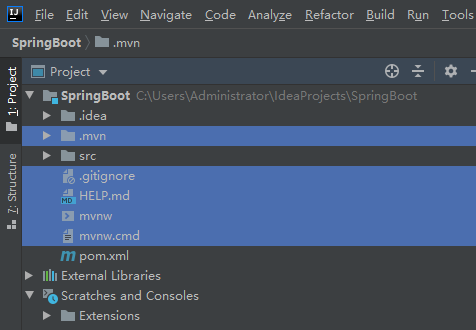
工程结构

删除多余文件
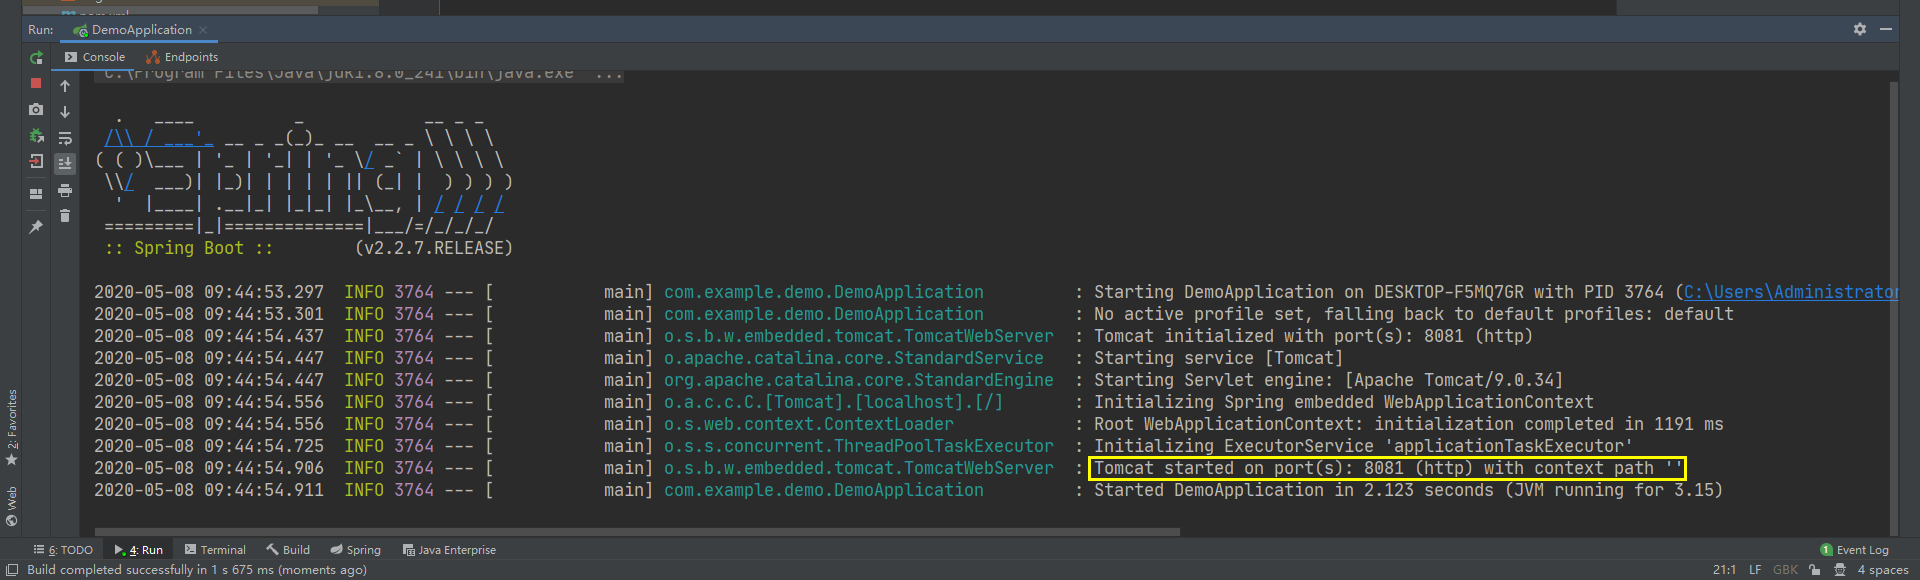
运行

添加Web组件
<dependency>
            <groupId>org.springframework.boot</groupId>
            <artifactId>spring-boot-starter-web</artifactId>
        </dependency>
编写HelloController
package com.example.controller;

import org.springframework.stereotype.Controller;
import org.springframework.web.bind.annotation.GetMapping;
import org.springframework.web.bind.annotation.RequestMapping;
import org.springframework.web.bind.annotation.ResponseBody;

/**
 * @author ArkD42
 * @file SpringBoot
 * @create 2020 - 05 - 08 - 8:58
 */
@Controller
@RequestMapping("/Hello")
public class HelloController {

    @GetMapping("/hello")
    @ResponseBody
    public String hello(){
        return "Hello SpringBoot!!!";
    }

}
访问:

访问Hello控制器

更改端口配置只需要在【application.properties】
设置server.port = 8081

重启服务
Banner的自定义
一个图片转ASCII的网站:
https://www.degraeve.com/img2txt.php
一般是转换文字
https://www.bootschool.net/ascii
1、下载【banner.txt】
2、放在resources目录
3、重启IDEA【第一次需要这样,因为没有文件被识别】

然后运行就出现了

总结:
可能出现的错误:
1、依赖包坐标没写对
2、约定大于配置,所有的目录都是固定好的不可随意更改
3、我们的控制器目录必须写在运行类的包中