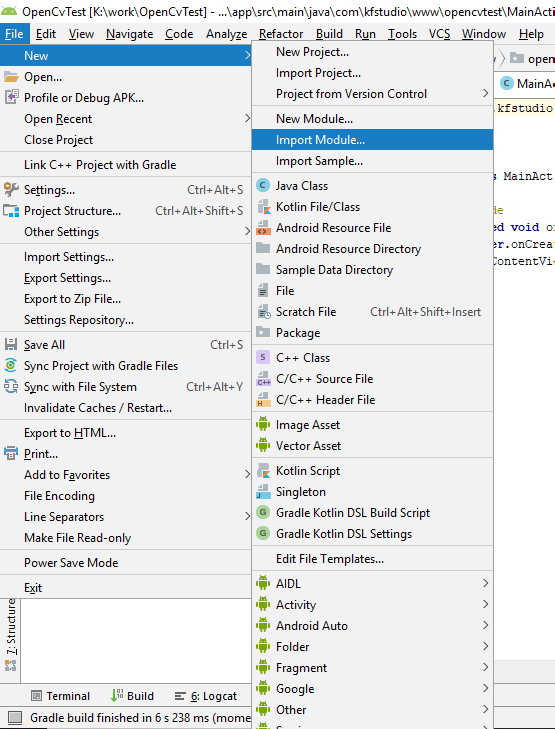

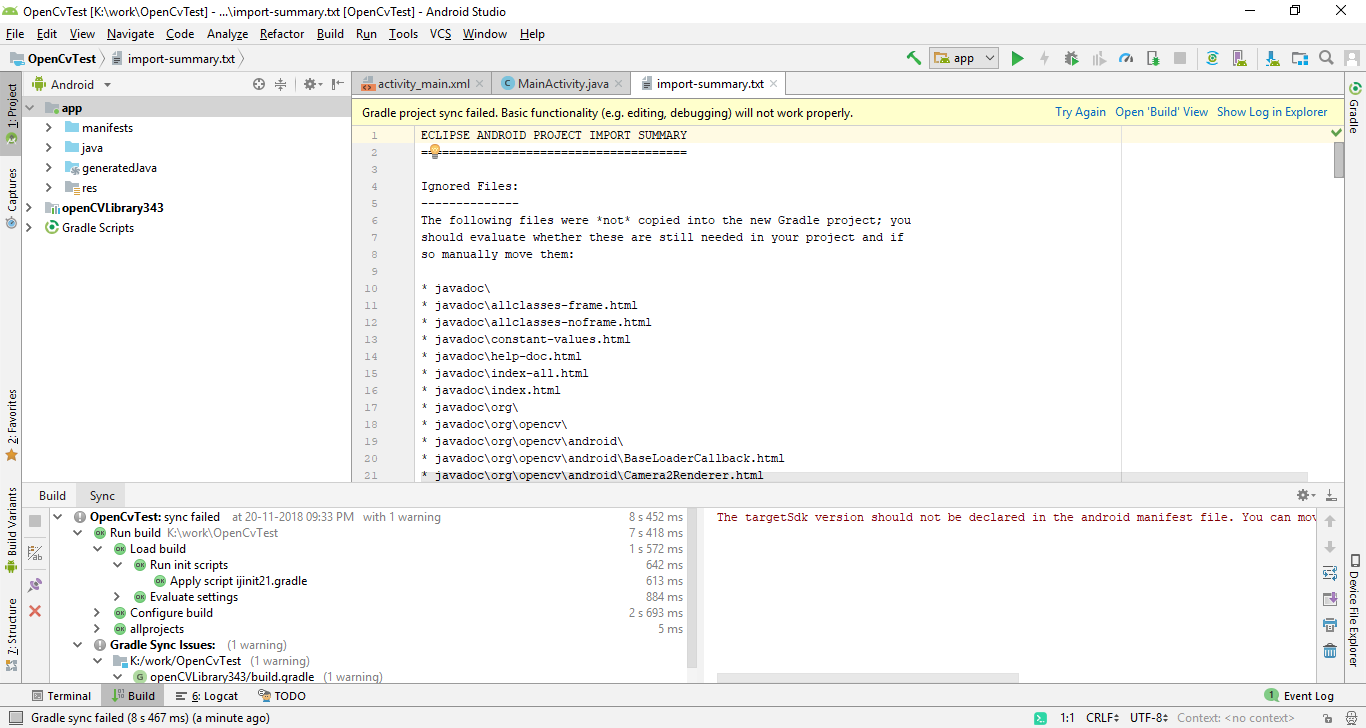
此为博客主的引入结果,成功引入。然鹅我按照同样的操作后并没有成功,项目视图没有任何反应。
经过一通搜索和摸索(搜索的基本不靠谱),我比较了一个包含lib库的项目的配置文件,最终找到了解决方法,在 settings.gradle 文件中手动添加即可:
rootProject.name='opencvdemo'
include ':app'

include ':opencv'
def opencvsdk='../OpenCV-android-sdk'
project(':opencv').projectDir = new File(opencvsdk + '/sdk')
其中最后三行为手动添加。include 指定了引入的库的名字,project().projectDir 指定了库的地址。
然后重新构建即可: Build/Make Project。
如上,解决完毕。
使用引入的模块方法:
1,在 应用程序级build.gradle (Module)中加入依赖:
dependencies {
    implementation fileTree(dir: 'libs', include: ['*.jar'])

    implementation 'androidx.appcompat:appcompat:1.1.0'
    implementation 'androidx.constraintlayout:constraintlayout:1.1.3'
    testImplementation 'junit:junit:4.12'
    androidTestImplementation 'androidx.test.ext:junit:1.1.1'
    androidTestImplementation 'androidx.test.espresso:espresso-core:3.2.0'

    implementation project(':opencv')
}
其中的 implementation project(':opencv') 是引入的依赖(注意模块名要对应起来)
然后在代码中引入要用的类:(MainActivity.java 中)
import org.opencv.core.Mat;