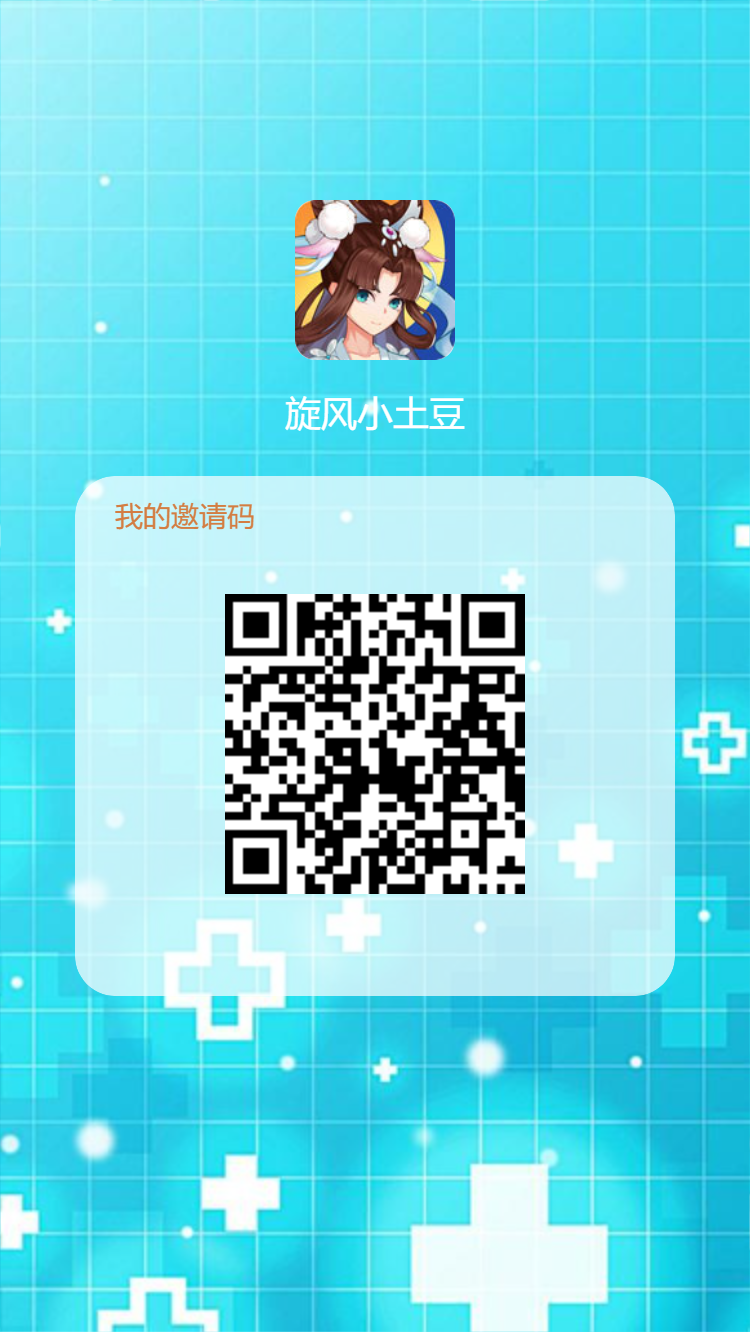
需求:将页面中的元素转成图片,支持保存或下载。要求下载的图片包含页面背景,头像,用户名,文本为“我的邀请码”和个人二维码。
实现:将页面绘制到canvas中,生成base64图片链接,支持移动端的长按保存图片。
技术与插件:vue,qrcodejs2,html2canvas,nutUI
示例:以下将代码分成了三部分,合成便是一个完整的vue单页。
HTML代码:
<template>
  <div class="poster">
    <div class="hb" ref="imageTest">
      <img src="../../assets/images/4399_09180407154.jpg" alt="" class="hb-img">
      <p class="hb-name">旋风小土豆</p>
      <div class="hb-qc">
        <p class="hb-yqm">我的邀请码</p>
        <div class="codeImg" id="qrCode"></div>
      </div>
    </div>

    <div class="close" @click="handleClose">
      <nut-icon type="circle-cross" ></nut-icon>
    </div>

    <div class="save-btn" >
      <nut-button
        block
        shape="circle"
        @click="setCanvas"
      >
        保存图片
      </nut-button>
    </div>

    <nut-popup v-model="show">
      <img :src="cvImg" alt="" class="cv-img">
    </nut-popup>
  </div>
</template>
SCRIPT:
<script>
import QRCode from 'qrcodejs2'
import html2canvas from 'html2canvas'
export default {
  props: {

  },
  data () {
    return {
      show: false,
      cvImg: ''
    }
  },
  components: {
  },
  created () {
    this.$nextTick(() => {
      this.getQC()
    })
  },
  mounted () {
  },
  watch: {
  },
  methods: {
    handleClose () {
      console.log('关闭')
      this.$router.go(-1)
    },
    getQC () {
      let qrcode = new QRCode('qrCode', {
         150,
        height: 150, // 高度
        text: `${location.origin}${location.pathname}`, // 要生成二维码的链接(或当前页面地址)
        colorDark: '#000',
        colorLight: '#fff',
        correctLevel: QRCode.CorrectLevel.H
      })
      console.log(qrcode, `${location.origin}${location.pathname}`)
    },

    setCanvas () {
      const canvas = document.createElement('canvas')
      // 获取要生成图片的 DOM 元素
      let canvasDom = this.$refs.imageTest
      // 获取指定的宽高
      const width = parseInt(window.getComputedStyle(canvasDom).width)
      const height = parseInt(window.getComputedStyle(canvasDom).height)
      // 宽高扩大 2 倍 处理图片模糊
      canvas.width = width * 2
      canvas.height = height * 2
      canvas.style.width = width / 2 + 'px'
      canvas.style.height = height / 2 + 'px'
      const context = canvas.getContext('2d')
      context.scale(1, 1)
      const options = {
        backgroundColor: null,
        canvas: canvas,
        useCORS: true
      }
      html2canvas(canvasDom, options).then(canvas => {
        // 生成图片地址
        this.imgUrl = canvas.toDataURL('image/png')
        this.cvImg = this.imgUrl
        this.show = true
      })
    }

  }
}
</script>
CSS代码:
<style lang="scss" scoped>
.hb{
  @include wh(100%, 100vh);
  background: url(../../assets/images/c_bg.jpg) no-repeat;
  background-size: 100%;

  .hb-img{
    @include wh(80px, 80px);
    margin-top: 100px;
    border-radius: 10px;
  }

  .hb-name{
    color: #FFFFFF;
    margin: 10px 0;
    font-size: 18px;
  }

  .hb-qc{
    @include wh(80%, 260px);
    margin: 20px auto;
    background-color: rgba(255,255,255, 0.7);
    border-radius: 20px;
    text-align: center;

    .hb-yqm{
      padding: 10px 20px;
      text-align: left;
      font-size: 14px;
      color: #D37D42;
    }

    .codeImg{
      display: flex;
      justify-content: center;
      margin-top: 20px;
    }
  }

  .hb-desc{
    @include wh(100%, auto);
  }
}
.cv-img{
  @include wh(100%, 80vh);
}
.close{
  position: absolute;
  top: 40px;
  left: 40px;
  @include wh(40px, 40px);
}
.save-btn{
  position: absolute;
  bottom:  50px;
  @include wh(100%, auto);
}
/deep/ .nut-button{
  background: linear-gradient(315deg, rgba(50,213,236, 0.5) 0%, rgba(40,205,231, 0.5) 100%);
  color: #2D2D2D;
  border: 1px solid rgba(50,213,236, 1);
}
/deep/ .nut-button.block{
  @include wh(80%, 40px);
}
/deep/ .popup-box{
  animation-duration: 0.3s;
  width: 82%;
  position: fixed;
  max-height: 100%;
  z-index: 2002;
  text-align: center;
  display: flex;
}
</style>
结果成图:
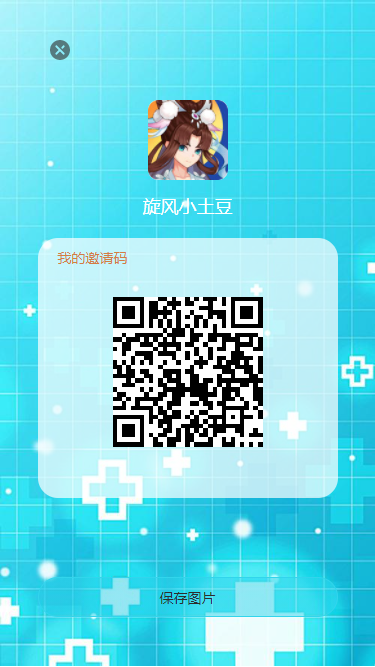
点击保存图片:
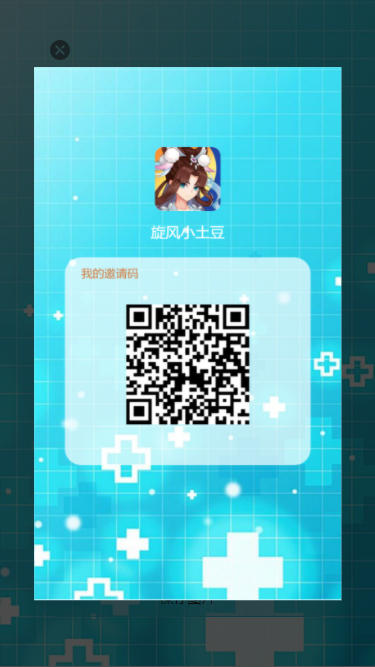
下载后的图片: