所学材料数据库资源
# Host: 127.0.0.1  (Version: 5.5.53)
# Date: 2020-09-01 16:46:58
# Generator: MySQL-Front 5.3  (Build 4.13)

/*!40101 SET NAMES utf8 */;

#
# Source for table "book"
#

DROP TABLE IF EXISTS `book`;
CREATE TABLE `book` (
  `id` int(10) NOT NULL AUTO_INCREMENT,
  `name` varchar(20) DEFAULT NULL,
  `author` varchar(20) DEFAULT NULL,
  `publish` varchar(20) DEFAULT NULL,
  `pages` int(10) DEFAULT NULL,
  `price` float(10,2) DEFAULT NULL,
  `bookcaseid` int(10) DEFAULT NULL,
  `abled` int(10) DEFAULT NULL,
  PRIMARY KEY (`id`),
  KEY `FK_ieh6qsxp6q7oydadktc9oc8t2` (`bookcaseid`)
) ENGINE=MyISAM AUTO_INCREMENT=15 DEFAULT CHARSET=utf8;

#
# Data for table "book"
#

/*!40000 ALTER TABLE `book` DISABLE KEYS */;
INSERT INTO `book` VALUES (1,'解忧杂货店','东野圭吾','电子工业出版社',102,27.30,9,1),(2,'追风筝的人','卡勒德·胡赛尼','中信出版社',330,26.00,1,1),(3,'人间失格','太宰治','作家出版社',150,17.30,1,1),(4,'这就是二十四节气','高春香','电子工业出版社',220,59.00,3,1),(5,'白夜行','东野圭吾','南海出版公司',300,27.30,4,1),(6,'摆渡人','克莱儿·麦克福尔','百花洲文艺出版社',225,22.80,1,1),(7,'暖暖心绘本','米拦弗特毕','湖南少儿出版社',168,131.60,5,1),(8,'天才在左疯子在右','高铭','北京联合出版公司',330,27.50,6,1),(9,'我们仨','杨绛','生活.读书.新知三联书店',89,17.20,7,1),(10,'活着','余华','作家出版社',100,100.00,6,1),(11,'水浒传','施耐庵','三联出版社',300,50.00,1,1),(12,'三国演义','罗贯中','三联出版社',300,50.00,2,1),(13,'红楼梦','曹雪芹','三联出版社',300,50.00,5,1),(14,'西游记','吴承恩','三联出版社',300,60.00,3,1);
/*!40000 ALTER TABLE `book` ENABLE KEYS */;
vue前端配置
查看需要安装好nodejs和npm,然后输入下面的cmd命令查看是否安装好
(我看到一篇博客上说nodejs于vue相当于jvm于java,我不知道这个比喻是不是恰当)
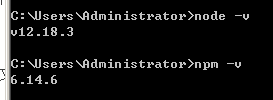
版本出现,说明已经安装好了,
还有一个vue-cli,vue脚手架 我之前已经安装好了,下面的命名行

进入我们的工作目录,使用脚手架安装项目
vue init webpack vuetest


出现命令,参考
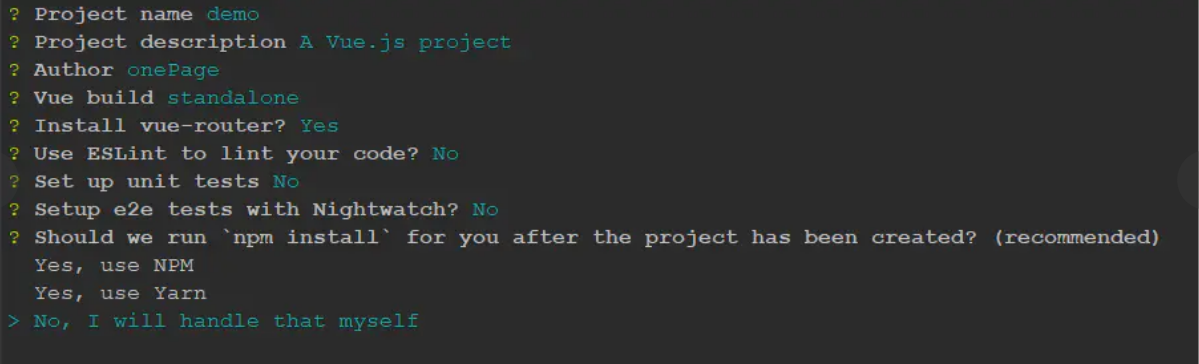
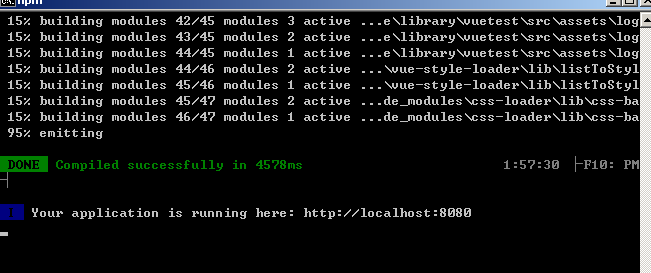
完成后效果


运行项目 npm run dev
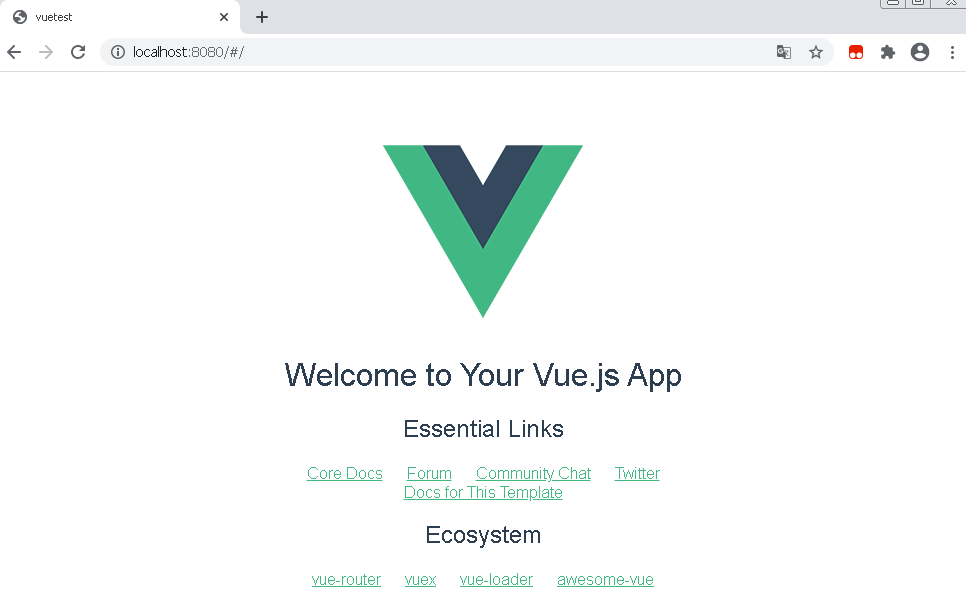
浏览器打开:localhost:8080,即可看到vue项目
vue目录
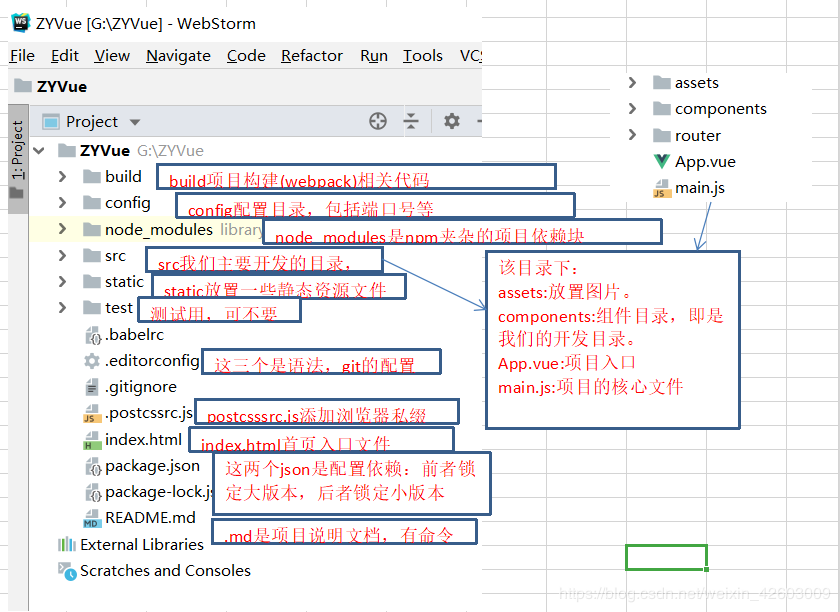
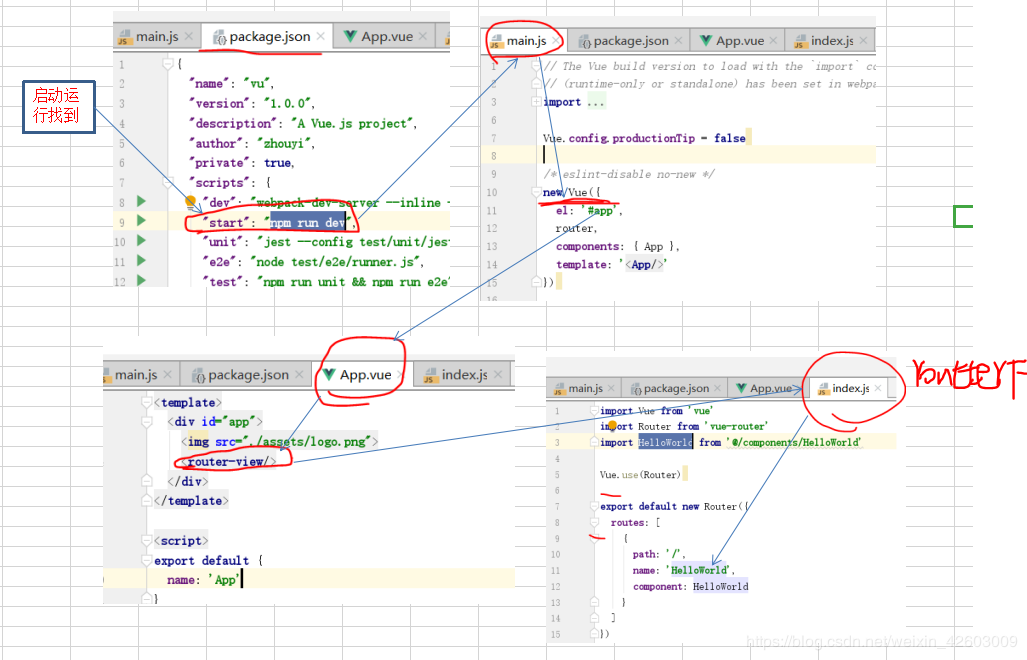
这个图挺不错的,讲述vue入口,启动的顺序
数据展示页面 可以与后端交互
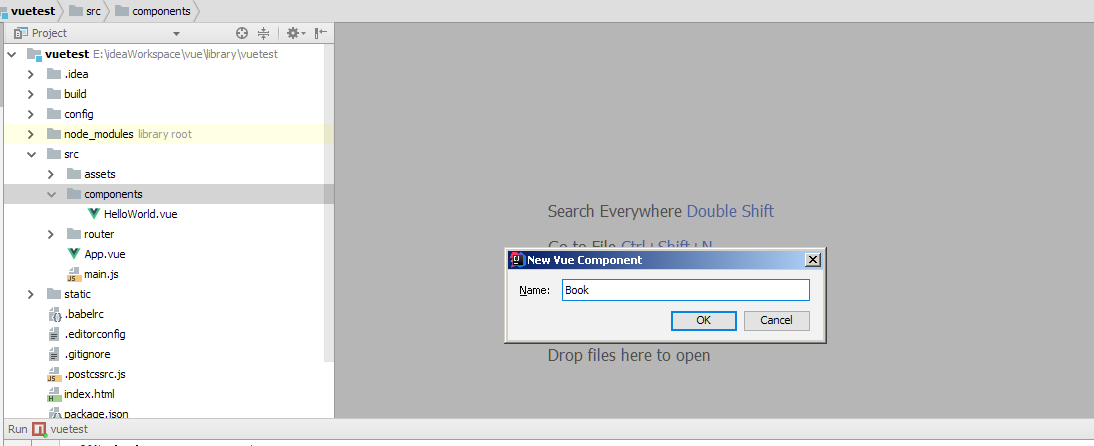
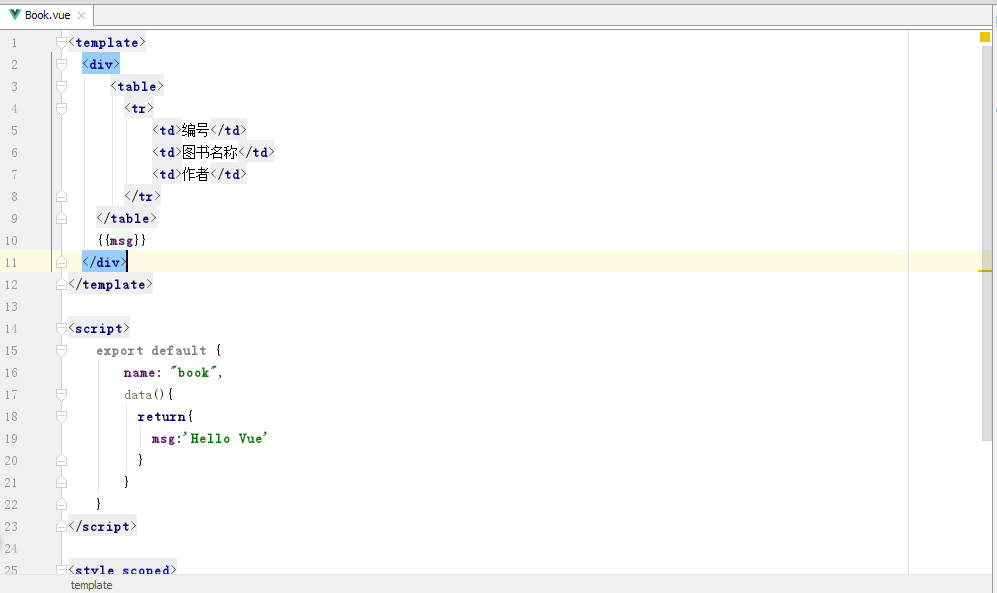
在src下的components创建Book.vue
<template>
  <div>
      <table>
        <tr>
            <td>编号</td>
            <td>图书名称</td>
            <td>作者</td>
        </tr>
    </table>
    {{msg}}
  </div>
</template>

<script>
    export default {
        name: "book",
        data(){
          return{
            msg:'Hello Vue'
          }
        }
    }
</script>

<style scoped>

</style>
配置路由访问book
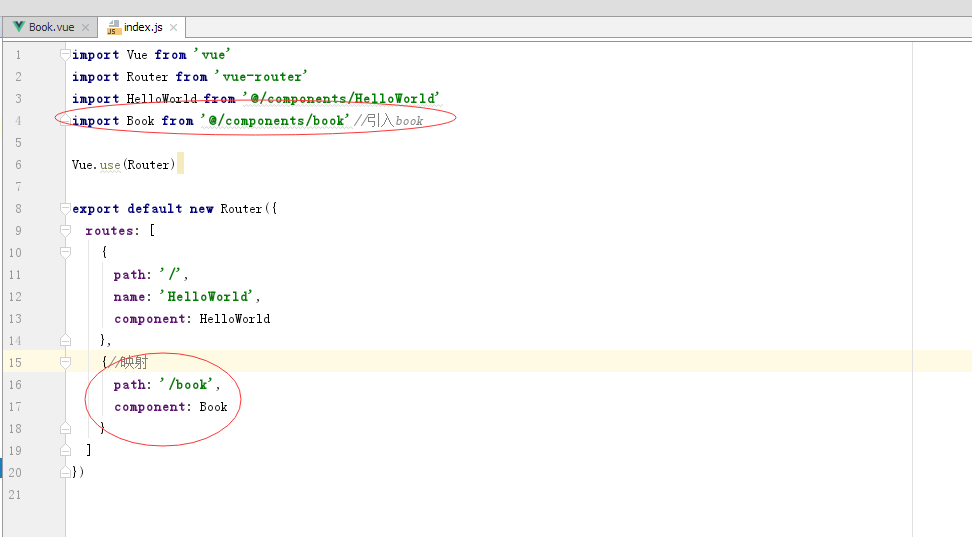
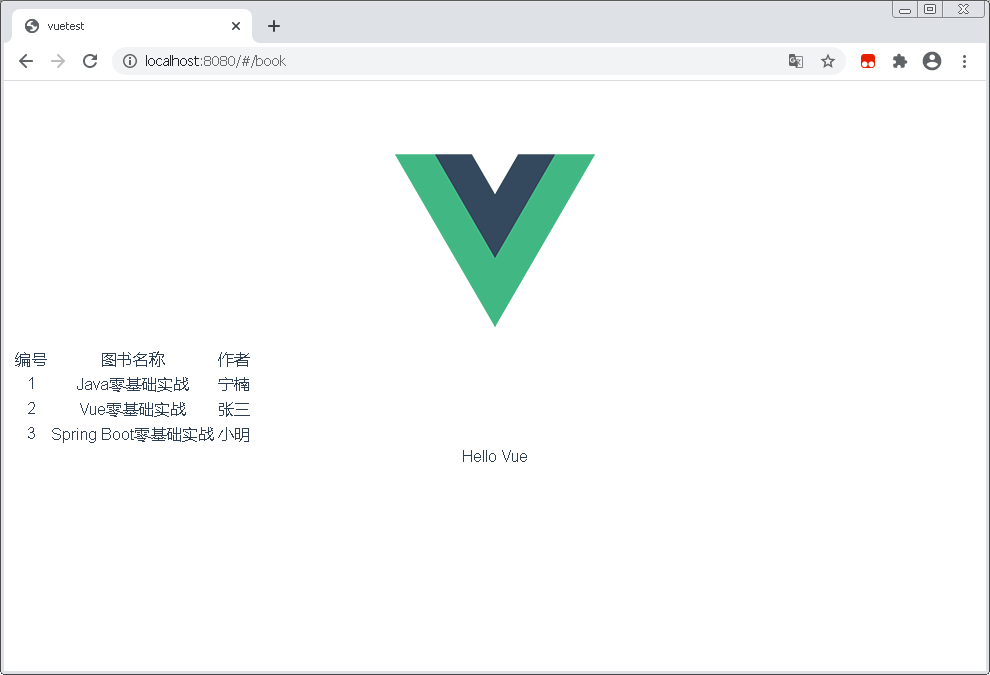
浏览器输入显示

book.vue加强
<template>
  <div>
      <table>
        <tr>
            <td>编号</td>
            <td>图书名称</td>
            <td>作者</td>
        </tr>
        <tr v-for="item in books">
            <td>{{item.id}}</td>
            <td>{{item.name}}</td>
            <td>{{item.author}}</td>
        </tr>
    </table>
    {{msg}}
  </div>
</template>

<script>
    export default {
        name: "book",
        data(){
          return{
            msg:'Hello Vue',
            books:[
              {
                  id: 1,
                  name:'Java零基础实战',
                  author:'宁楠'
              },
              {
                  id: 2,
                  name:'Vue零基础实战',
                  author:'张三'
              },
              {
                  id: 3,
                  name:'Spring Boot零基础实战',
                  author:'小明'
              }
            ]
          }
        }
    }
</script>

<style scoped>

</style>
创建后端springBoot应用
快速构建springBoot项目
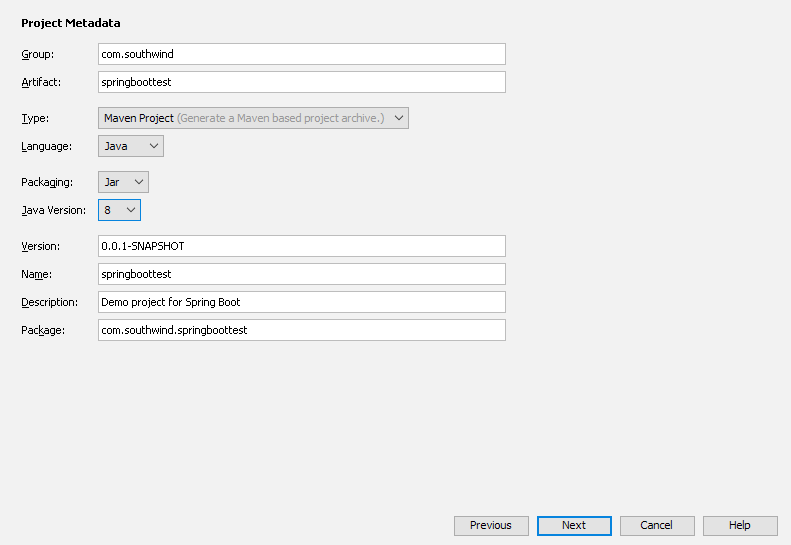

勾选以上几条,快速构建完成
配置application.yml
spring:
  datasource:
    url: jdbc:mysql://localhost:3306/library?useUnicode=true&characterEncoding=UTF-8&serverTimezone=Asia/Shanghai
    username: root
    password: root
    driver-class-name:  com.mysql.cj.jdbc.Driver
  jpa:
    show-sql: true
    properties:
      hibernate:
        format_sql: true
server:
  port: 8181
然后创建实体类

上面应该大写
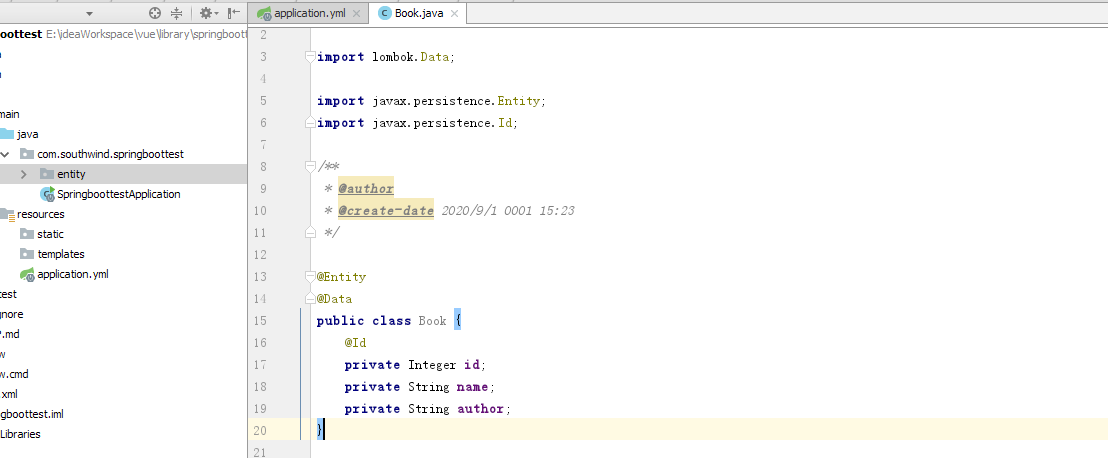
package com.southwind.springboottest.entity;

import lombok.Data;

import javax.persistence.Entity;
import javax.persistence.Id;

/**
 * @author
 * @create-date 2020/9/1 0001 15:23
 */

@Entity
@Data
public class Book {
    @Id
    private Integer id;
    private String name;
    private String author;
}
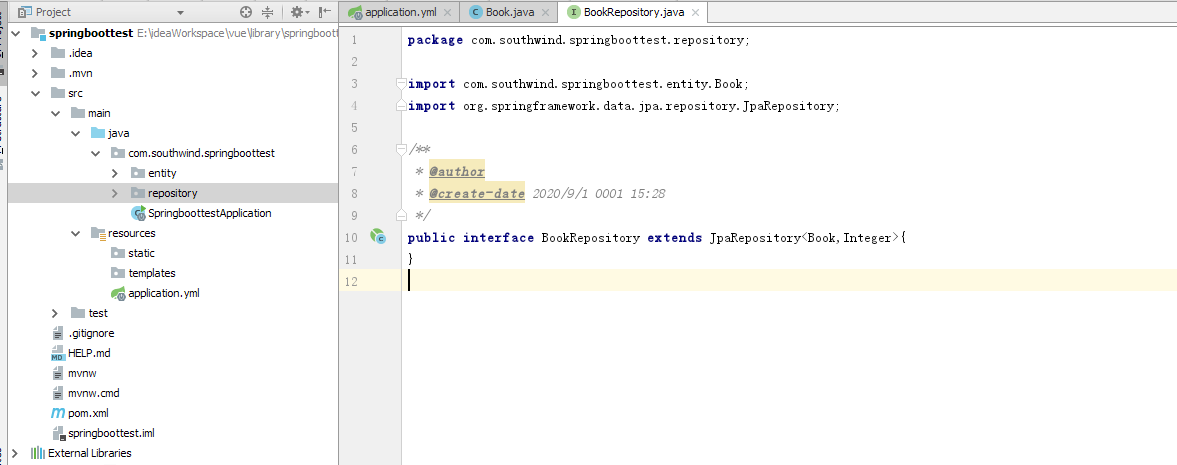
创建BookReposipory 继承 JpaReposipory
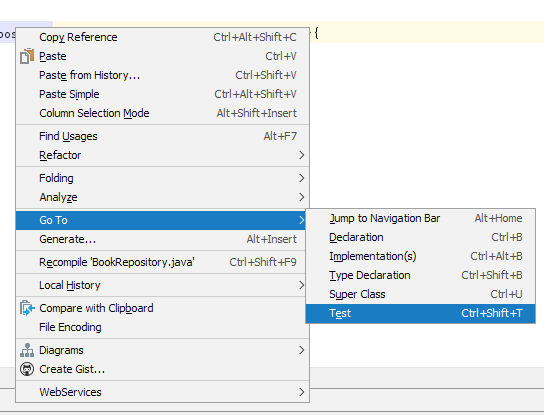
测试下JPA
package com.southwind.springboottest.repository;

import org.junit.jupiter.api.Test;
import org.springframework.beans.factory.annotation.Autowired;
import org.springframework.boot.test.context.SpringBootTest;

import static org.junit.jupiter.api.Assertions.*;

/**
 * @author
 * @create-date 2020/9/1 0001 15:33
 */
@SpringBootTest //首先加一个这样一个注解
class BookRepositoryTest {

    @Autowired
    private BookRepository bookRepository;//测试需要注入

    @Test
    void findAll(){
        System.out.println(bookRepository.findAll());
    }
}
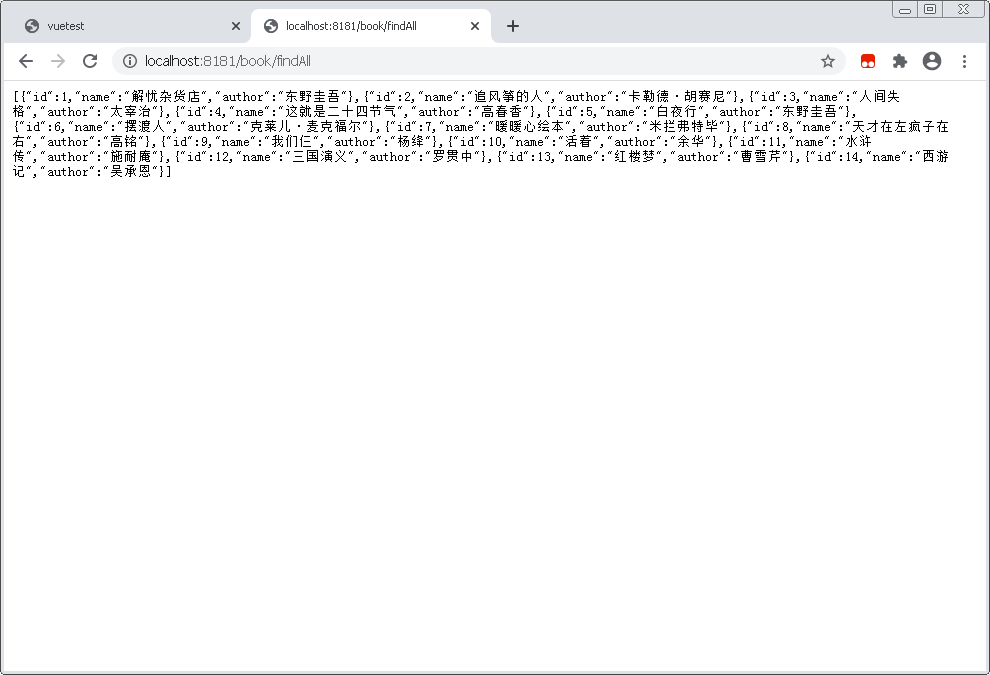
测试结果

写controller层外部可以调用内部的sql语句
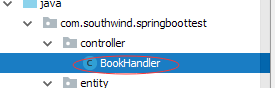
package com.southwind.springboottest.controller;

import com.southwind.springboottest.entity.Book;
import com.southwind.springboottest.repository.BookRepository;
import org.springframework.beans.factory.annotation.Autowired;
import org.springframework.web.bind.annotation.GetMapping;
import org.springframework.web.bind.annotation.RequestMapping;
import org.springframework.web.bind.annotation.RestController;

import java.util.List;

/**
 * @author
 * @create-date 2020/9/1 0001 15:51
 */
@RestController //全部基于rest
@RequestMapping("/book")
public class BookHandler {
    @Autowired
    private BookRepository bookRepository;

    @GetMapping("/findAll")
    public List<Book> findAll(){
        return bookRepository.findAll();
    }
}
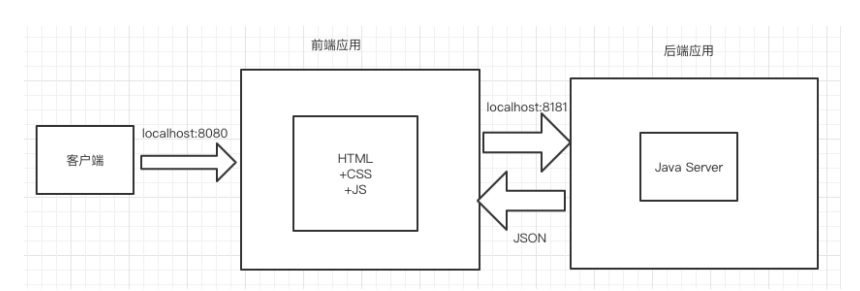
前后端对接 axios 跨域
安装axios
在命令行内输入npm install axios -S进行安装。
安装完成后在main.js中使用axios,在main.js中加入以下代码
import axios from 'axios'Vue.prototype.$axios = axiosbook.vue加上发送后端请求
<template>
<div>
<table>
<tr>
<td>编号</td>
<td>图书名称</td>
<td>作者</td>
</tr>
<tr v-for="item in books">
<td>{{item.id}}</td>
<td>{{item.name}}</td>
<td>{{item.author}}</td>
</tr>
</table>
{{msg}}
</div>
</template>
<script>
export default {
name: "book",
data(){
return{
msg:'Hello Vue',
books:[
{
id: 1,
name:'Java零基础实战',
author:'宁楠'
},
{
id: 2,
name:'Vue零基础实战',
author:'张三'
},
{
id: 3,
name:'Spring Boot零基础实战',
author:'小明'
}
]
}
},
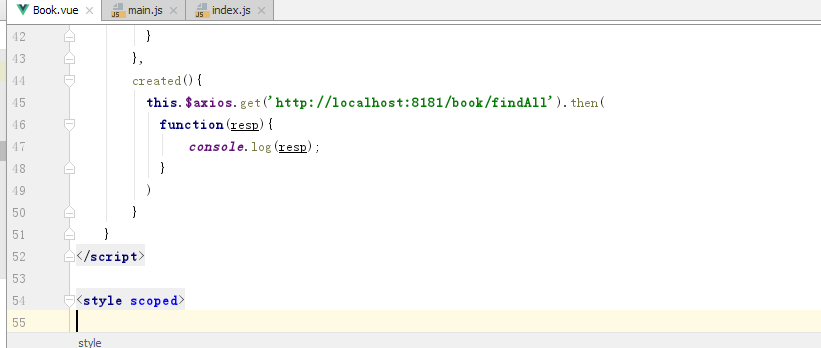
created(){
this.$axios.get('http://localhost:8181/book/findAll').then(
function(resp){
console.log(resp);
}
)
}
}
</script>
<style scoped>
</style>

有跨域问题
后端配置CrosConfig
package com.southwind.springboottest.config;

import org.springframework.context.annotation.Configuration;
import org.springframework.web.servlet.config.annotation.CorsRegistry;
import org.springframework.web.servlet.config.annotation.WebMvcConfigurer;

/**
 * @author
 * @create-date 2020/9/1 0001 16:27
 */
@Configuration//自动配置
public class CrosConfig implements WebMvcConfigurer { //实现这个接口

    //重新addCorsMappings方法
    @Override
    public void addCorsMappings(CorsRegistry registry) {
        registry.addMapping("/**")      //添加映射路径,“/**”表示对所有的路径实行全局跨域访问权限的设置
                .allowedOrigins("*")            //开放哪些ip、端口、域名的访问权限
                .allowedMethods( "GET", "POST", "PUT", "OPTIONS", "DELETE")        //开放哪些Http方法,允许跨域访问
                .allowCredentials(true)         //是否允许发送Cookie信息
                .maxAge(3600)
                .allowedHeaders("*");            //允许HTTP请求中的携带哪些Header信息
    }
}
界面显示相关数据解决

然后response赋值过去
        created(){
          const _this = this;
          this.$axios.get('http://localhost:8181/book/findAll').then(
            function(resp){
                _this.books = resp.data;
            }
          )
        }
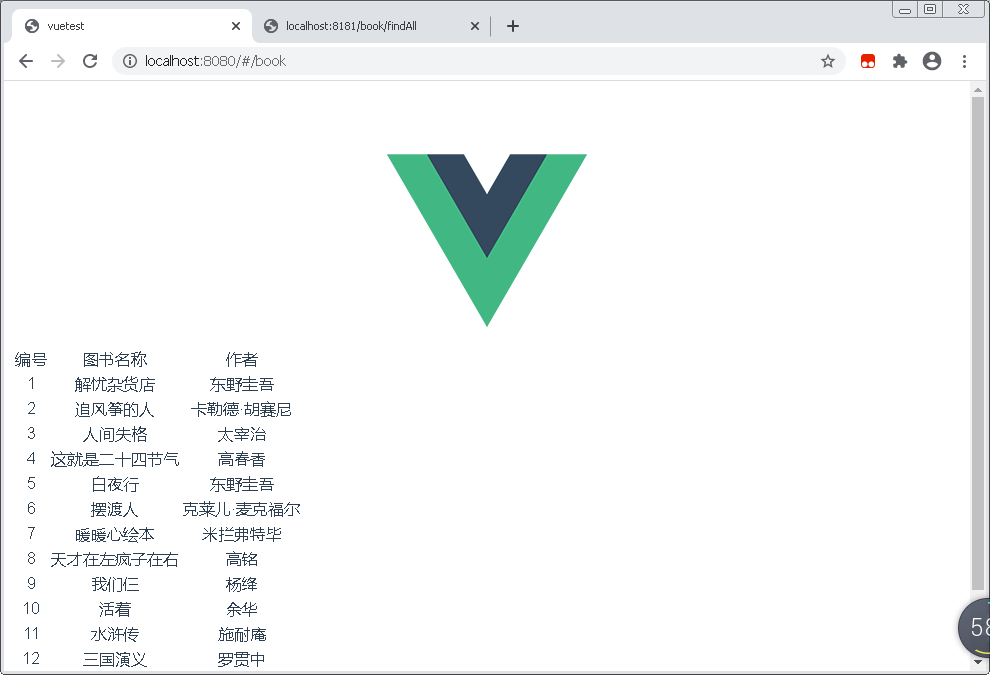
整体结果 调用数据库
资源地址
https://download.csdn.net/download/m1195900241/12794021