1 首先登陆http://archive.apache.org/dist/struts/source/页面,会看到struts的下载页面
2 下载struts的最新版本struts2-2.2.1-src.zip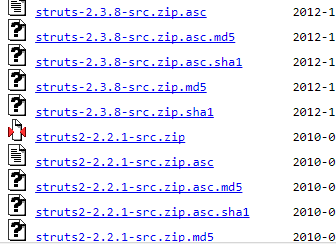
并且解压到指定位置
3 在eclipse中部署struts安装包,解压缩struts压缩包之后,打开lib文件夹,会看到许多开发要使用的jar包:
4 将这些jar包全部复制到项目的webcontent/WEB-INF/Lib文件夹下面,复制成功如下图所示: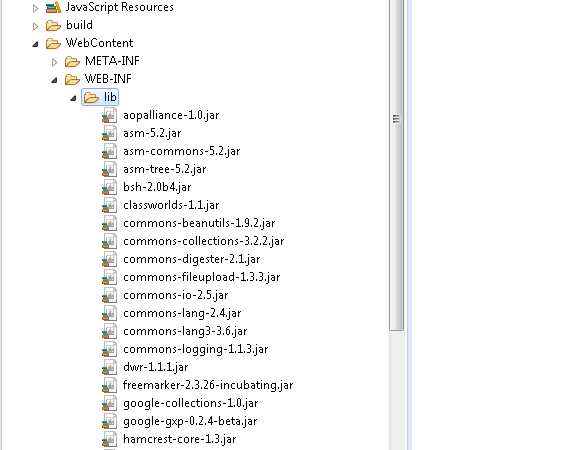
5 在WEB-INF文件夹下面新建web.xml文件
6 打开web.xml文件输入如下内容:
<?xml version="1.0" encoding="UTF-8"?>
<web-app xmlns:xsi="http://www.w3.org/2001/XMLSchema-instance"
    xmlns="http://java.sun.com/xml/ns/j2ee" xmlns:javaee="http://java.sun.com/xml/ns/javaee"
    xmlns:web="http://java.sun.com/xml/ns/javaee/web-app_2_5.xsd"
    xsi:schemaLocation="http://java.sun.com/xml/ns/j2ee" id="WebApp_9"
    version="2.4">

    <filter>
        <!-- filter名称 -->
        <filter-name>struts2</filter-name>
        <!-- filter入口 -->
        <filter-class>org.apache.struts2.dispatcher.ng.filter.StrutsPrepareAndExecuteFilter
        </filter-class>
    </filter>

    <filter-mapping>
        <!-- filter名称 -->
        <filter-name>struts2</filter-name>
        <!-- 截获的所有url -->
        <url-pattern>/*</url-pattern>
    </filter-mapping>

    <welcome-file-list>
        <!-- 开始页面 -->
        <welcome-file>index.jsp</welcome-file>
    </welcome-file-list>
</web-app>
这样web.xml的工程配置文件完成
7 添加struts.properties文件
找到工程节点下面的src节点,右键选择new/other命令,输入File选择File节点,单击next按钮,文件名字为struts.properties,打开文件输入如下内容:
<struts.i18n.encoding value="UTF-8"/>设置常量
8 编写struts.xml控制器文件
在src文件夹下面创建struts.xml文件,并且打开文件输入如下代码:
<?xml version="1.0" encoding="UTF-8"?>
<!DOCTYPE struts PUBLIC

          "-//Apache Software Foundation//DTD Struts Configuration 2.0//EN"
          "http://struts.apache.org/dtds/struts-2.0.dtd">
<!-- 指定struts.xml的根元素 -->
<struts>
    <!-- 配置包,包名为default,该包继承了struts 2框架的默认包 struts-default -->
    <package name="default" namespace="/" extends="struts-default">
        <!-- 定义名为hello的action,改action的处理类为com.action.TestAction,并映射到success.jsp页面 -->
        <action name="hello" class="com.action.TestAction">
            <result>/success.jsp</result>
        </action>
    </package>

</struts>
9 创建后台处理程序
在项目的src下面创建包
com.action,然后再包里面创建
TestAction.java文件
文件内容如下:
package com.action;
import com.opensymphony.xwork2.ActionSupport;

public class TestAction extends ActionSupport {

    private static final long serialVersionUID=1L;

    //action属性
    private String hello;

    public String GetHello()
    {
        return hello;
    }

    public void SetHello(String hello)
    {
        this.hello=hello;
    }

}
10 运行测试项目