透明度测试是阻止像素被写到屏幕的最后机会。

在最终渲染出的颜色被计算出来之后,可选择通过将颜色的透明度值和一个固定值比较。如果比较的结果失败,像素将不会被写到显示输出中。
Syntax 语法
- AlphaTest Off
- 渲染所有像素(缺省)
- AlphaTest comparison AlphaValue
- 设定透明度测试只渲染在某一确定范围内的透明度值的像素。
Comparison 对照表
比较下列词语:
| Greater | Only render pixels whose alpha is greater than AlphaValue. 大于 |
| GEqual | Only render pixels whose alpha is greater than or equal to AlphaValue. 大于等于 |
| Less | Only render pixels whose alpha value is less than AlphaValue. 小于 |
| LEqual | Only render pixels whose alpha value is less than or equal to from AlphaValue. 小于等于 |
| Equal | Only render pixels whose alpha value equals AlphaValue. 等于 |
| NotEqual | Only render pixels whose alpha value differs from AlphaValue. 不等于 |
| Always | Render all pixels. This is functionally equivalent to AlphaTest Off. 渲染所有像素,等于关闭透明度测试AlphaTest Off |
| Never | Don't render any pixels. 不渲染任何像素 |
AlphaValue
一个范围在0到1之间的浮点值。也可以是一个指向浮点属性或是范围属性的索引,在后一种情况下需要使用标准的方括号写法标注索引名字,如([变量名]).
Details 细节
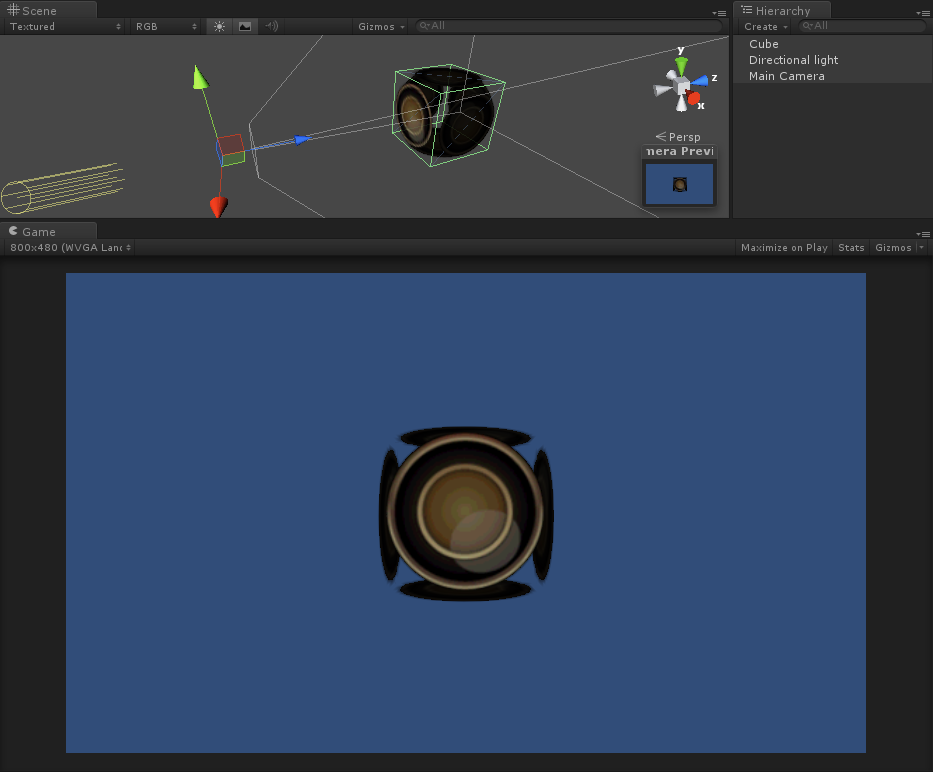
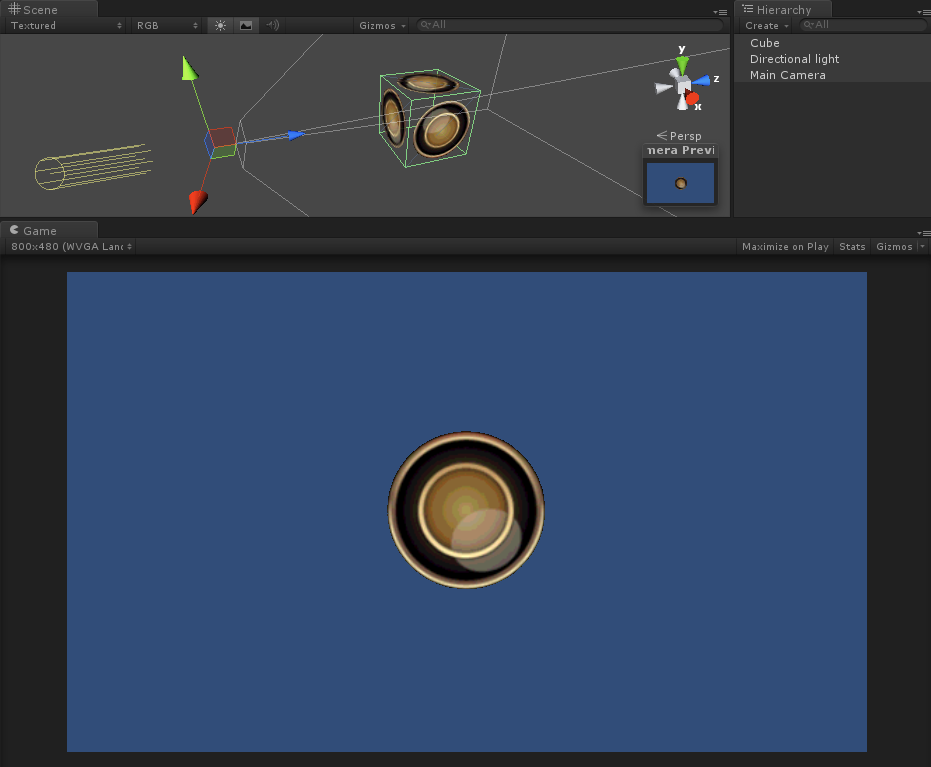
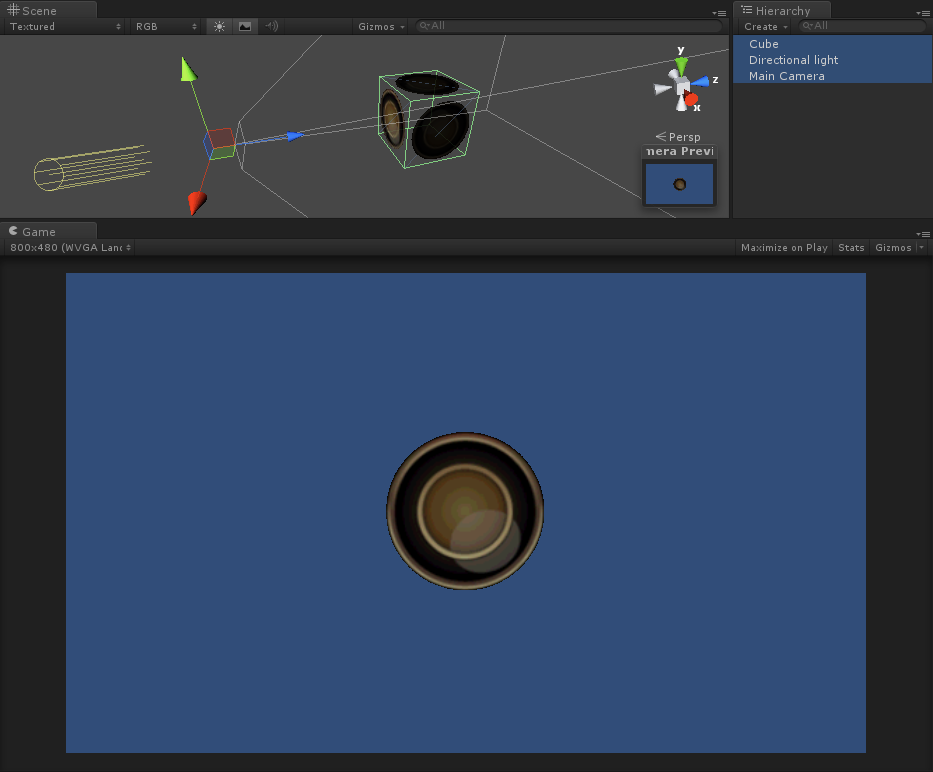
在这个图形中,左边的树使用透明度测试。注意在它的图形上的像素是如何完全透明或不透明。中间的树只使用透明度混合来渲染-注意由于深度缓冲的缘故靠近分支的透明部分是如何覆盖更远的叶子。右边的树是通过后续的例子着色器渲染的 - 实现了通过混合和透明度测试的组合隐藏了人工的痕迹。

最简单的能用的例子,使用一张带有透明度通道的纹理。对象只会在透明度大于0.5 时显示
Shader "Simple Alpha Test" {
    Properties {
        _MainTex ("Base (RGB) Transparency (A)", 2D) = "" {}
    }
    SubShader {
        Pass {
            // Only render pixels with an alpha larger than 50%
            // 只渲染透明度大于50%的像素
            AlphaTest Greater 0.5
            SetTexture [_MainTex] { combine texture }
        }
    }
}
这并不是非常好。让我们增加一些光照和并调整剪切值:
Shader "Examples/Self-Illumination 2" {
    Properties {
        _IlluminCol ("Self-Illumination color (RGB)", Color) = (1,1,1,1)
        _MainTex ("Base (RGB) Self-Illumination (A)", 2D) = "white" {}
    }
    SubShader {
        Pass {
            // Set up basic white vertex lighting
            Material {
                Diffuse (1,1,1,1)
                Ambient (1,1,1,1)
            }
            Lighting On

            // Use texture alpha to blend up to white (= full illumination)
            SetTexture [_MainTex] {
                // Pull the color property into this blender
                // 使颜色属性进入混合器
                constantColor [_IlluminCol]
                // And use the texture's alpha to blend between it and
                // vertex color
                // 使用纹理的alpha通道混合顶点颜色
                combine constant lerp(texture) previous
            }
            // Multiply in texture
            SetTexture [_MainTex] {
                combine previous * texture
            }
        }
    }
}
当渲染树和植物时,透明度测试使许多游戏中出现尖锐的边缘。解决这个问题的方法之一是渲染对象两次。首次通道中,我们只渲染超过50%透明度的像素。在第二次通道中,我们使用透明度混合上次我们切除的部分,而不记录像素的深度。我们可能会使得一些源的树枝覆盖近的树枝,但实际情况中,当叶子有大量的视觉细节时很难看出这样的缺陷。
Shader "Vegetation" {
    Properties {
        _Color ("Main Color", Color) = (.5, .5, .5, .5)
        _MainTex ("Base (RGB) Alpha (A)", 2D) = "white" {}
        _Cutoff ("Base Alpha cutoff", Range (0,.9)) = .5
    }
    SubShader {
        // Set up basic lighting
        // 设置基础光照
        Material {
            Diffuse [_Color]
            Ambient [_Color]
        }
        Lighting On

        // Render both front and back facing polygons.
        //渲染几何体的两面
        Cull Off

        // first pass:
        //   render any pixels that are more than [_Cutoff] opaque
        //第一步 渲染所有超过[_Cutoff] 不透明的像素
        Pass {
            AlphaTest Greater [_Cutoff]
            SetTexture [_MainTex] {
                combine texture * primary, texture
            }
        }

        // Second pass:
        //   render in the semitransparent details.
        // 第二步 渲染半透明的细节
        Pass {
            // Dont write to the depth buffer
            // 不写到深度缓冲
            ZWrite off
            // Don't write pixels we have already written.
            // 不写已经写过的像素
            ZTest Less
            // Only render pixels less or equal to the value
            // 只渲染少于或等于的像素值
            AlphaTest LEqual [_Cutoff]

            // Set up alpha blending
            // 设置透明度混合
            Blend SrcAlpha OneMinusSrcAlpha

            SetTexture [_MainTex] {
                combine texture * primary, texture
            }
        }
    }
}