1.ckeditor默认没有上传图片功能,只能通过Url显示图片,图下图

2.首先说明,ckeditor是有上传功能的,只是隐藏了,需要通过配置让它显示
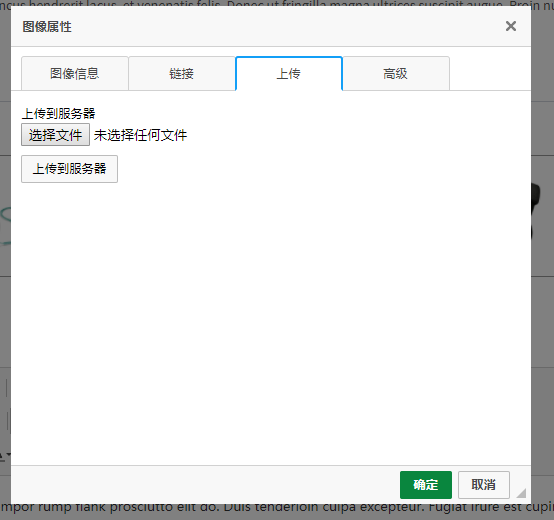
找到ckeditor/plugins/image/dialogs/image.js文件,搜索 id:"Upload" 把后面的hidden:!0改为hidden:false,然后就会显示上传页,如下图
3.光有上传页面也不能把图片上传到服务器,还需要设置一下上传对应的Action(使用MVC),可以在ckeditor/plugins/config.js里配置,本人配置文件如下
CKEDITOR.editorConfig = function( config ) {
    // Define changes to default configuration here. For example:
    // config.language = 'fr';
    // config.uiColor = '#AADC6E';
    config.language = 'zh-cn'; // 配置语言
    config.width = 'auto'; // 宽度
    config.height = '500px'; // 高度
    config.font_names = '宋体/SimSun;新宋体/NSimSun;仿宋_GB2312/FangSong_GB2312;楷体_GB2312/KaiTi_GB2312;黑体/SimHei;微软雅黑/Microsoft YaHei;' + config.font_names;
    config.image_previewText = ' '; //预览区域显示内容
    config.filebrowserImageUploadUrl = "/Admin/Service/CKeditorUpload";//要上传的action
};
config.image_previewText = ' ';用来清除预览图区域一堆英文;
config.filebrowserImageUploadUrl = "/Admin/Service/CKeditorUpload";用来设置要上传图片的action
4.在上传图片的Action中写上传图片代码,如下
       [HttpPost]
        public ActionResult CKeditorUpload(HttpPostedFileBase upload)
        {

            var fileName = Path.GetFileName(upload.FileName);
            var filePhysicalPath = Server.MapPath("~/upload/" + fileName);//我把它保存在网站根目录的 upload 文件夹

            upload.SaveAs(filePhysicalPath);

            var url = "/upload/" + FileName;
            var CKEditorFuncNum = System.Web.HttpContext.Current.Request["CKEditorFuncNum"];

            //上传成功后,我们还需要通过以下的一个脚本把图片返回到第一个tab选项
            return Content("<script>window.parent.CKEDITOR.tools.callFunction(" + CKEditorFuncNum + ", "" + url + "");</script>");
        }
OK,可以上传图片到服务器了