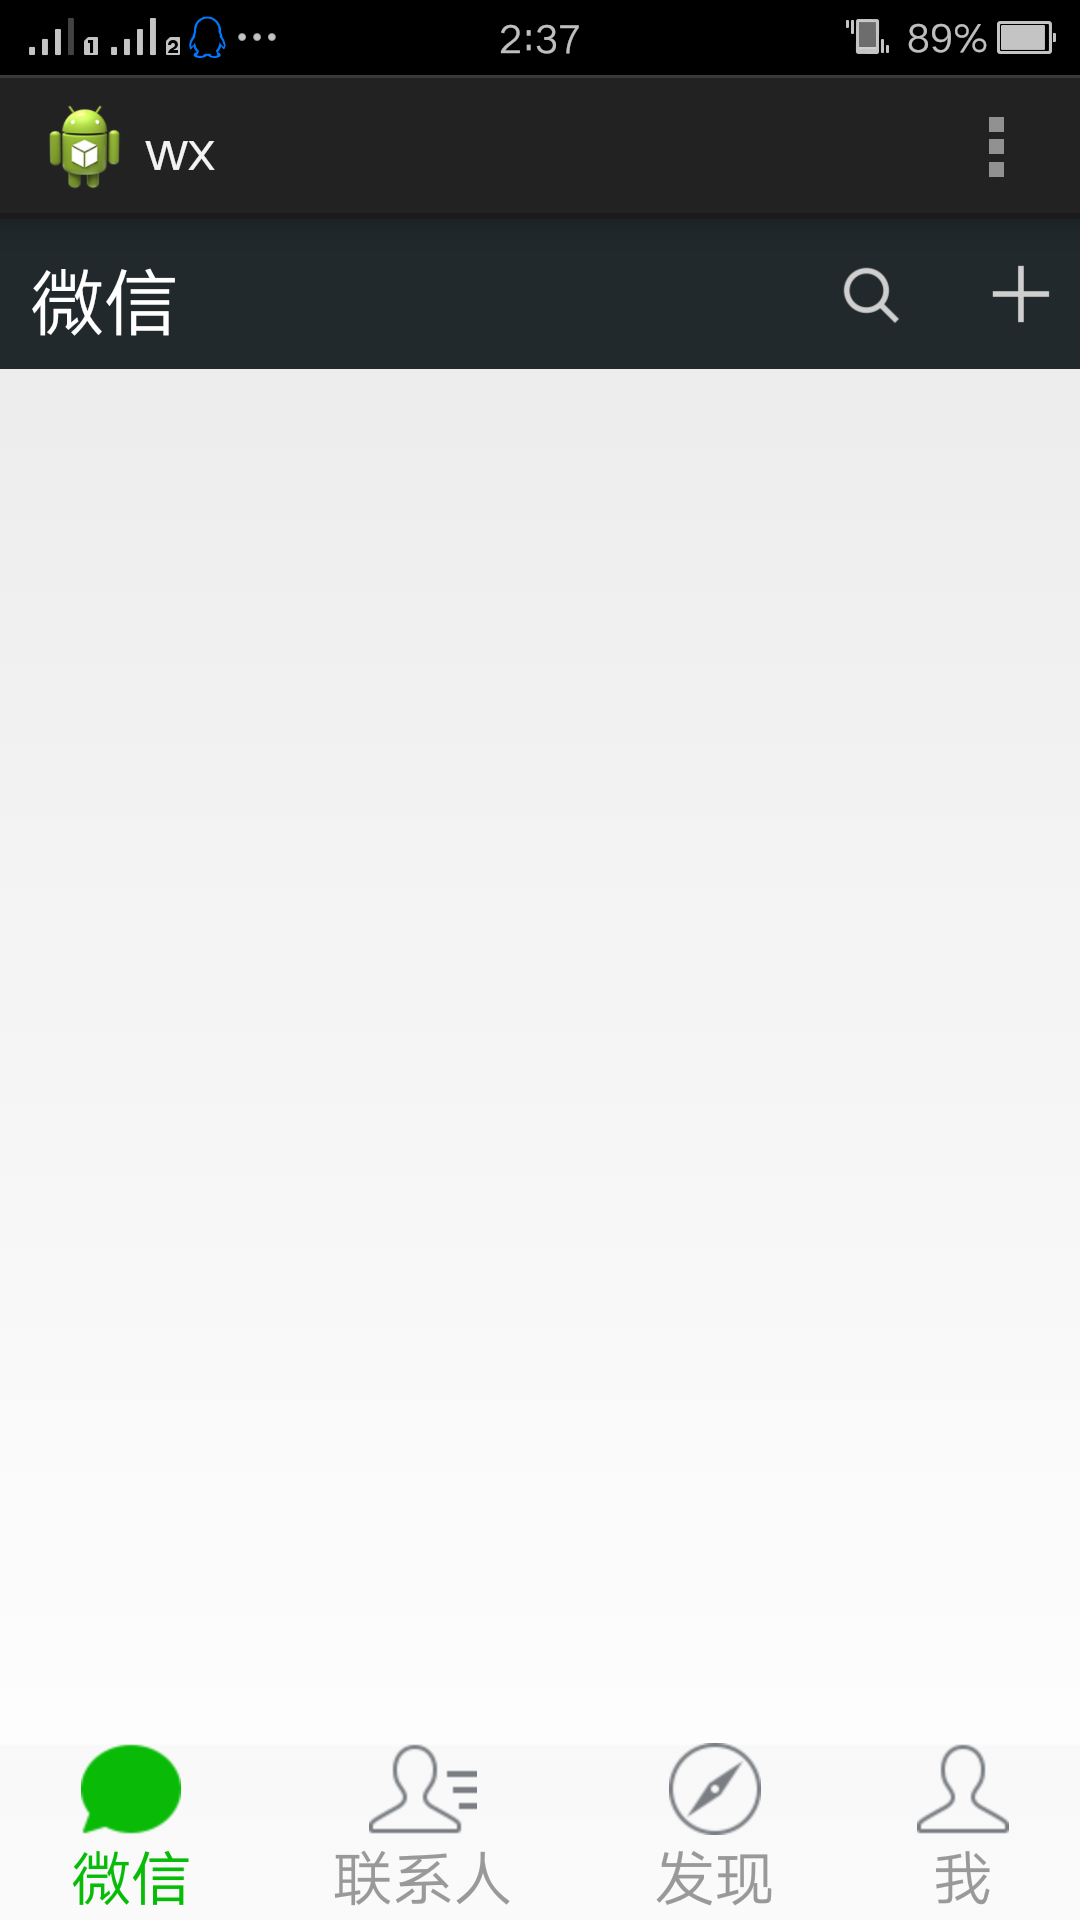
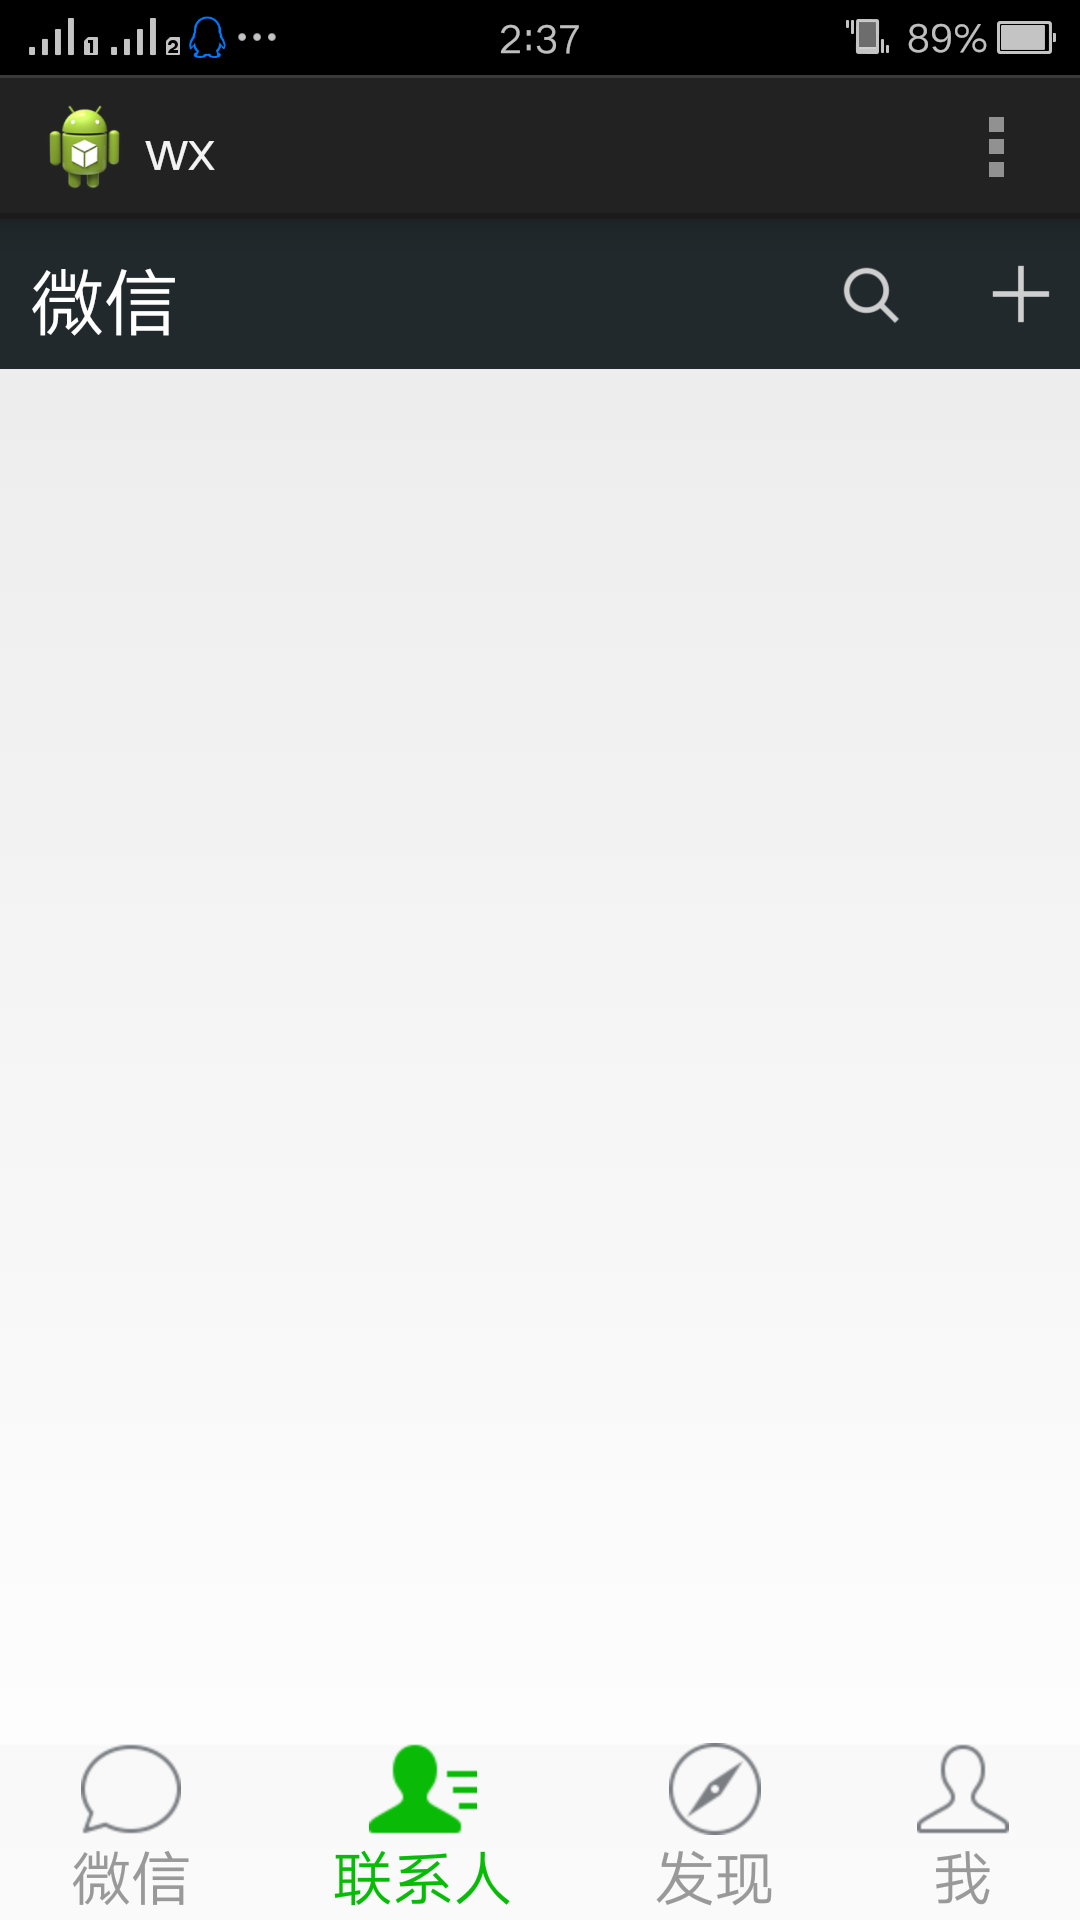
这是目前微信6.0版本的主界面
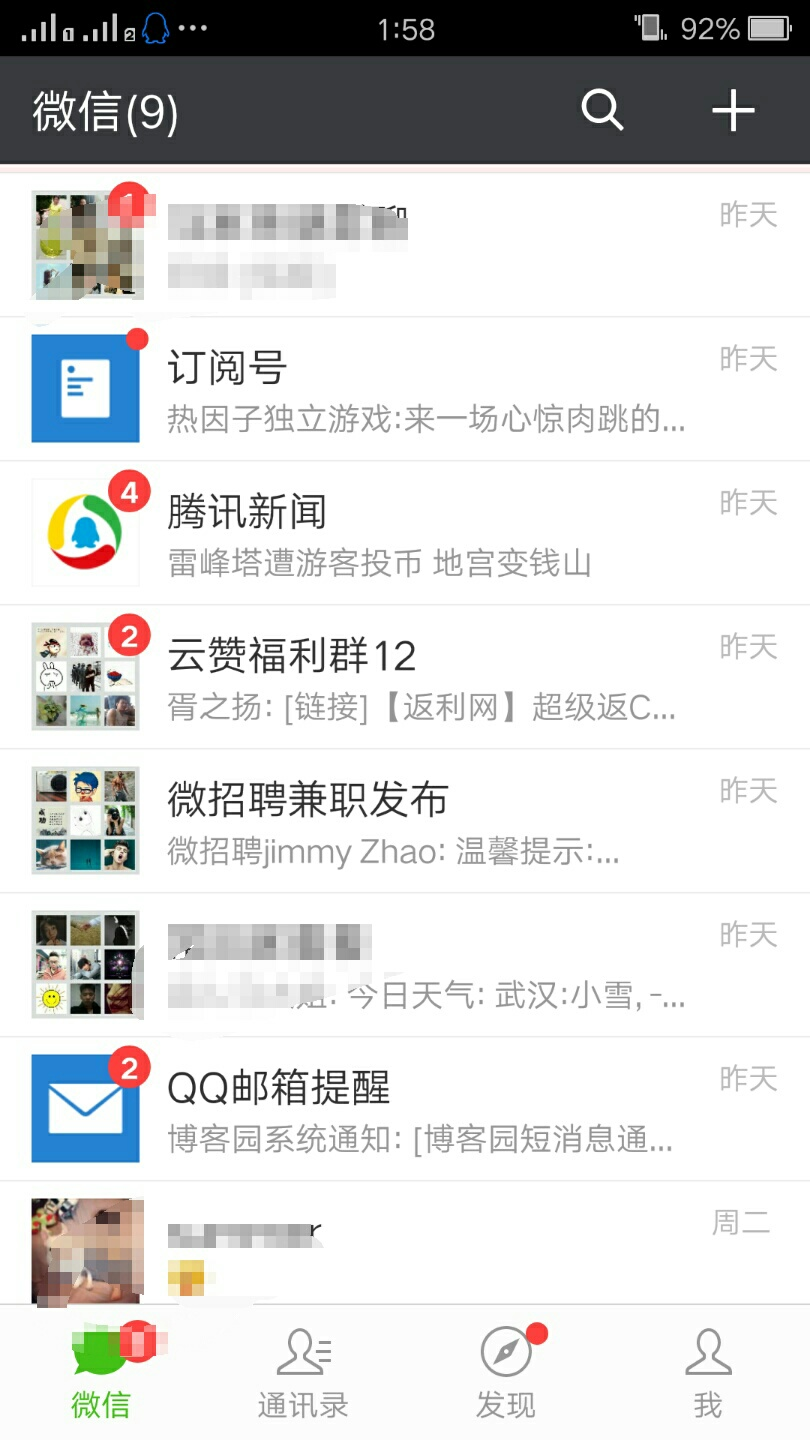
先来分析一波:
1.(top.xml)界面头部有一个微信(6)消息提醒 一个搜索图标 一个更多的的图标+,中间还有一段空白,我们可以弄两个textView(其中一个权重给会自动占其余空白部分),和两个图片按钮
2.(bottom.xml)界面底部可以看到是由4个相同的部分组成,这里我们可以先弄个单选群( <RadioGroup>)给4个包起来,然后再分为4个单选按钮控件(radioButton)
3.(wx.xml)然后我们再建一个wx.xml把前面两个包含进来,有上面图片可看出界面分三部分,所以我们zai'wx.xml新建三个LinearLayout分别显示头部,中部和底部
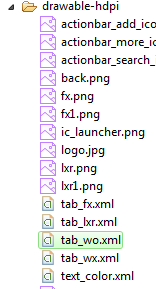
4.底部4个控件当我们点击其中一个会变成绿色,其余为白色,这里我们可以在drawable中添加选择器分别设置(tab_wx.xml,tab_lxr.xml,tab_fx.xml,tab_wo.xml)。
代码如下:
1.top.xml
 1 <?xml version="1.0" encoding="utf-8"?>
 2 <LinearLayout xmlns:android="http://schemas.android.com/apk/res/android"
 3     android:layout_width="match_parent"
 4     android:layout_height="50dp"
 5     android:orientation="horizontal"
 6     android:background="#21292c">
 7
 8     <TextView
 9         android:id="@+id/textView1"
10         android:layout_width="wrap_content"
11         android:layout_height="wrap_content"
12         android:text="微信"
13         android:textColor="#ffffff"
14         android:textSize="20sp"
15         android:layout_gravity="center"
16         android:padding="10dp"/>
17
18     <TextView
19         android:layout_width="wrap_content"
20         android:layout_height="wrap_content"
21         android:layout_weight="1" />
22
23     <LinearLayout
24         android:layout_width="wrap_content"
25         android:layout_height="match_parent"
26         android:gravity="center">
27
28         <ImageView
29             android:id="@+id/imageView2"
30             android:layout_width="40dp"
31             android:layout_height="30dp"
32             android:src="@drawable/actionbar_search_icon"
33             android:layout_marginRight="10dp"/>
34
35         <ImageView
36             android:id="@+id/imageView1"
37             android:layout_width="40dp"
38             android:layout_height="30dp"
39             android:src="@drawable/actionbar_add_icon" />
40
41     </LinearLayout>
42
43 </LinearLayout>
2.bottom.xml
 1 <?xml version="1.0" encoding="utf-8"?>
 2 <LinearLayout xmlns:android="http://schemas.android.com/apk/res/android"
 3     android:layout_width="match_parent"
 4     android:layout_height="match_parent"
 5     android:orientation="horizontal" >
 6
 7     <RadioGroup
 8         android:id="@+id/radioGroup1"
 9         android:layout_width="match_parent"
10         android:layout_height="50dp"
11         padding
12         android:orientation="horizontal"
13         android:background="@drawable/back"
14         android:gravity="center">
15
16         <RadioButton
17             android:id="@+id/radio0"
18             android:layout_width="wrap_content"
19             android:layout_height="wrap_content"
20             android:checked="true"
21             android:text="@string/wx"
22                style="@style/radioStyle"
23                android:drawableTop="@drawable/tab_wx"/>    注:在后面有介绍到
24
25         <RadioButton
26             android:id="@+id/radio1"
27             style="@style/radioStyle"
28             android:layout_width="wrap_content"
29             android:layout_height="wrap_content"
30             android:drawableTop="@drawable/tab_lxr"
31             android:text="@string/lxr" />
32
33         <RadioButton
34             android:id="@+id/radio2"
35             android:layout_width="wrap_content"
36             android:layout_height="wrap_content"
37             android:text="@string/fx"
38                style="@style/radioStyle"
39                android:drawableTop="@drawable/tab_fx"/>
40
41          <RadioButton
42             android:id="@+id/radio3"
43             android:layout_width="wrap_content"
44             android:layout_height="wrap_content"
45             android:text="@string/wo"
46                style="@style/radioStyle"
47                android:drawableTop="@drawable/tab_wo"/>
48     </RadioGroup>
49
50 </LinearLayout>
3.wx.xml
 1 <?xml version="1.0" encoding="utf-8"?>
 2 <LinearLayout xmlns:android="http://schemas.android.com/apk/res/android"
 3     android:layout_width="match_parent"
 4     android:layout_height="match_parent"
 5     android:orientation="vertical" >
 6     <!-- head -->
 7     <LinearLayout
 8         android:layout_width="match_parent"
 9         android:layout_height="wrap_content" >
10         <include layout="@layout/top"/>
11     </LinearLayout>
12
13     <!-- 中间 -->
14     <LinearLayout
15         android:layout_width="match_parent"
16         android:layout_height="wrap_content"
17         android:layout_weight="1">
18     </LinearLayout>
19
20     <!-- 底部 -->
21     <LinearLayout
22         android:layout_width="match_parent"
23         android:layout_height="wrap_content" >
24         <include layout="@layout/bottom"/>
25     </LinearLayout>
26
27 </LinearLayout>
4.tab_wx.xml,tab_lxr.xml,tab_fx.xml,tab_wo.xml 和text_color.xml
前面4个文件都差不多所以只展示一个(分别为底部那四个图片)
1 <?xml version="1.0" encoding="utf-8"?>
2 <selector xmlns:android="http://schemas.android.com/apk/res/android" >
3      <item android:state_checked="true"
4         android:drawable="@drawable/wo1"></item>
5     <item
6         android:drawable="@drawable/wo"></item>
7
8 </selector>
text_color.xml
1 <?xml version="1.0" encoding="utf-8"?>
2 <selector xmlns:android="http://schemas.android.com/apk/res/android" >
3     <item android:state_checked="true"
4         android:color="#07bb07"></item>
5     <item
6         android:color="#999999"></item>
7
8 </selector>
这个text 如何用的呢?
找到values文件下的styles.xml加入下面代码
1  <style name="radioStyle">
2         <item name="android:button">@null</item>
3         <item name="android:layout_weight">1</item>
4         <item name="android:TextSize">15sp</item>
5         <item name="android:gravity">center</item>
6         <item name="android:textColor">@drawable/text_color</item>
7     </style>
整体效果图为