一,作业讲解(代码统计)


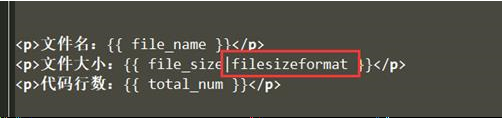
# views.py


from django.shortcuts import HttpResponse,render,redirect

import shutil

import os

import uuid


# 导入settings的方式

from django.conf import settings


ACCEPT_FILE_TYPE  = ['zip','tar','gztar','bztar','xztar','rar']  # 可以给一个全局变量,放在配置文件中,用之前导入


def upload(request):

    if request.method == 'POST':

        file_obj = request.FILES.get('file')

        filename, suffix = file_obj.name.rsplit('.',maxsplit=1)

        if suffix not in ACCEPT_FILE_TYPE:  # 增加强健性

            return HttpResponse('wrong file type')

        with open(file_obj.name,'wb') as f:

            for chunk in file_obj.chunks():  # 从上传文件对象一点一点读取数据

                f.write(chunk)

        real_file_path = os.path.join(settings.BASE_DIR,file_obj.name)  # 拼接得到上传文件的全路径

        upload_path = os.path.join(settings.BASE_DIR,'files',str(uuid.uuid4()))  # 对上传的文件做处理

        shutil.unpack_archive(real_file_path,extract_dir=upload_path)  # 解压代码文件至指定文件夹

        total_num = 0

        for (dir_path,dir_names,filenames) in os.walk(upload_path):

        # os.walk() 用来遍历所有的文件,可以拿到以下三个参数

        # dir_path: 根目录 dir_names: 文件夹 filenames: 文件

            for filename in filenames:

                file_path = os.path.join(dir_path,filename)  # 将文件名和根目录拼接成完整的路径

                file_path_list = file_path.rsplit('.',maxsplit=1)

                if len(file_path_list) != 2:

                    continue

                if file_path_list[1] != 'py':

                    continue

                line_num = 0

                with open(file_path,'r') as f:

                    for line in f:

                        if line.strip().startswith('#'):

                            continue

                        line_num += 1

                total_num += line_num

        return

render(request,'done.html',{'file_name':file_obj.name,'file_size':file_obj.size,'total_num':total_num})

    return render(request,'upload.html')
二,内容补充
目前,this和箭头函数一起使用可能出现问题。所以,推荐尽量少用箭头函数;但要能看懂。
三,今日内容
- 模版语言剩下的
http://www.cnblogs.com/liwenzhou/p/7931828.html
- csrf_token: 用于跨站请求伪造保护。是Django提供的一个解决方案:在提交表单时带着之前Django给该页面生成的token,如果没有token,或token匹配失败,将拒绝继续访问;这样,钓鱼网站就不可以通过单单设置action,而跳转至正经网站某个页面,进而修改正经网站的数据库。
在页面的form表单里面写上{% csrf_token %},在settings中即可不注释csrf相关
#钓鱼网站html
<h1>这是一个钓鱼网站</h1>

<form action="http://127.0.0.1:8000/zhuanzhang/" method="post">

# action直接跳转到别的网站

    <p>转给谁:<input type="text"></p>

    <p><input style="display: none" type="text" name="id" value="3"></p>

    <p>转多少:<input type="text" name="num"></p>

    <p>密码:<input type="password" name="pwd"></p>

    <p><input type="submit" value="提交"></p>

</form>
#正经网站html
<h1>这是一个正经网站</h1>

<form action="/zhuanzhang/" method="post">

    {% csrf_token %}  # 阻止跨站请求伪造

    <p>转给谁:<input type="text" name="id"></p>

    <p>转多少:<input type="text" name="num"></p>

    <p>密码:<input type="password" name="pwd"></p>

    <p><input type="submit" value="提交"></p>

</form>
ps:如果不设置数据库,使用默认的数据库db.sqlite3
- 静态文件相关(取代硬编码(/static/…))
如果有改static这个名字的需求,用硬编码要通篇改;如果使用以下方式,则不存在这个问题;一般来说,上述需求比较不常见
{% load static %}
<img src="{% static "images/hi.jpg" %}" alt="Hi!" />
引用JS文件时使用:
{% load static %}
<script src="{% static "mytest.js" %}"></script>
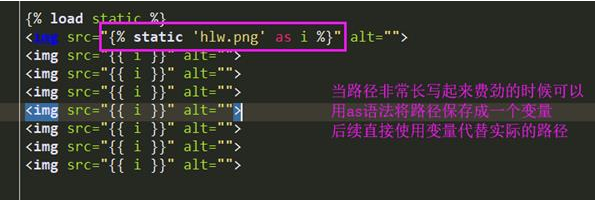
某个文件多处被用到可以存为一个变量
{% load static %}
{% static "images/hi.jpg" as myphoto %}
<img src="{{ myphoto }}"></img>
- get_static_prefix
# 极少使用
{% load static %}
<img src="{% get_static_prefix %}images/hi.jpg" alt="Hi!" />
{% load static %}
{% get_static_prefix as STATIC_PREFIX %}
<img src="{{ STATIC_PREFIX }}images/hi.jpg" alt="Hi!" />
<img src="{{ STATIC_PREFIX }}images/hi2.jpg" alt="Hello!" />
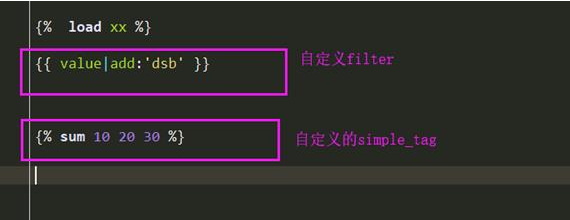
- 自定义simpletag, 和自定义filter类似,只不过接收更灵活的参数。
自定义的filter,simpletag和inclusion_tag都要放在templatetags 这个新建的package中的py文件下
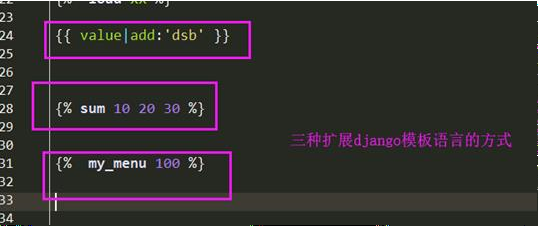
filter: {{ }} 在变量的基础上做额外的调整
simpletag {% %} 可传多个参数,返回它们之间所做运算的结果
定义注册simple tag
@register.simple_tag(name="plus")
def plus(a, b, c):
return "{} + {} + {}".format(a, b, c)
使用自定义simple tag
{% load app01_demo %}
{% plus "1" "2" "abc" %}
- inclusion_tag:多用于返回html代码片段;后续项目会使用
# templatetags/my_inclusion.py
from django import template
register = template.Library()
@register.inclusion_tag('result.html')
def show_results(n):
n = 1 if n < 1 else int(n)
data = ["第{}项".format(i) for i in range(1, n+1)]
return {"data": data}
templates/snippets/result.html
<ul>
{% for choice in data %}
<li>{{ choice }}</li>
{% endfor %}
</ul>
templates/index.html
<!DOCTYPE html>

<html lang="en">

<head>

  <meta charset="UTF-8">

  <meta http-equiv="x-ua-compatible" content="IE=edge">

  <meta name="viewport" content="width=device-width, initial-scale=1">

  <title>inclusion_tag test</title>

</head>

<body>

{% load inclusion_tag_test %}

{% show_results 10 %}

</body>

</html>
urls.py(路由系统)
http://www.cnblogs.com/liwenzhou/p/8271147.html
a. URLconf配置
# 基本格式:
from django.conf.urls import url
urlpatterns = [
url(正则表达式, views视图函数,参数,别名),
]
# 在Django2.0 中用path替换了url (from django.urls import path)
今日作业
用一个函数一个URL匹配模式实现 书书籍表、作者表、出版社表的展示和删除操作
关键点:
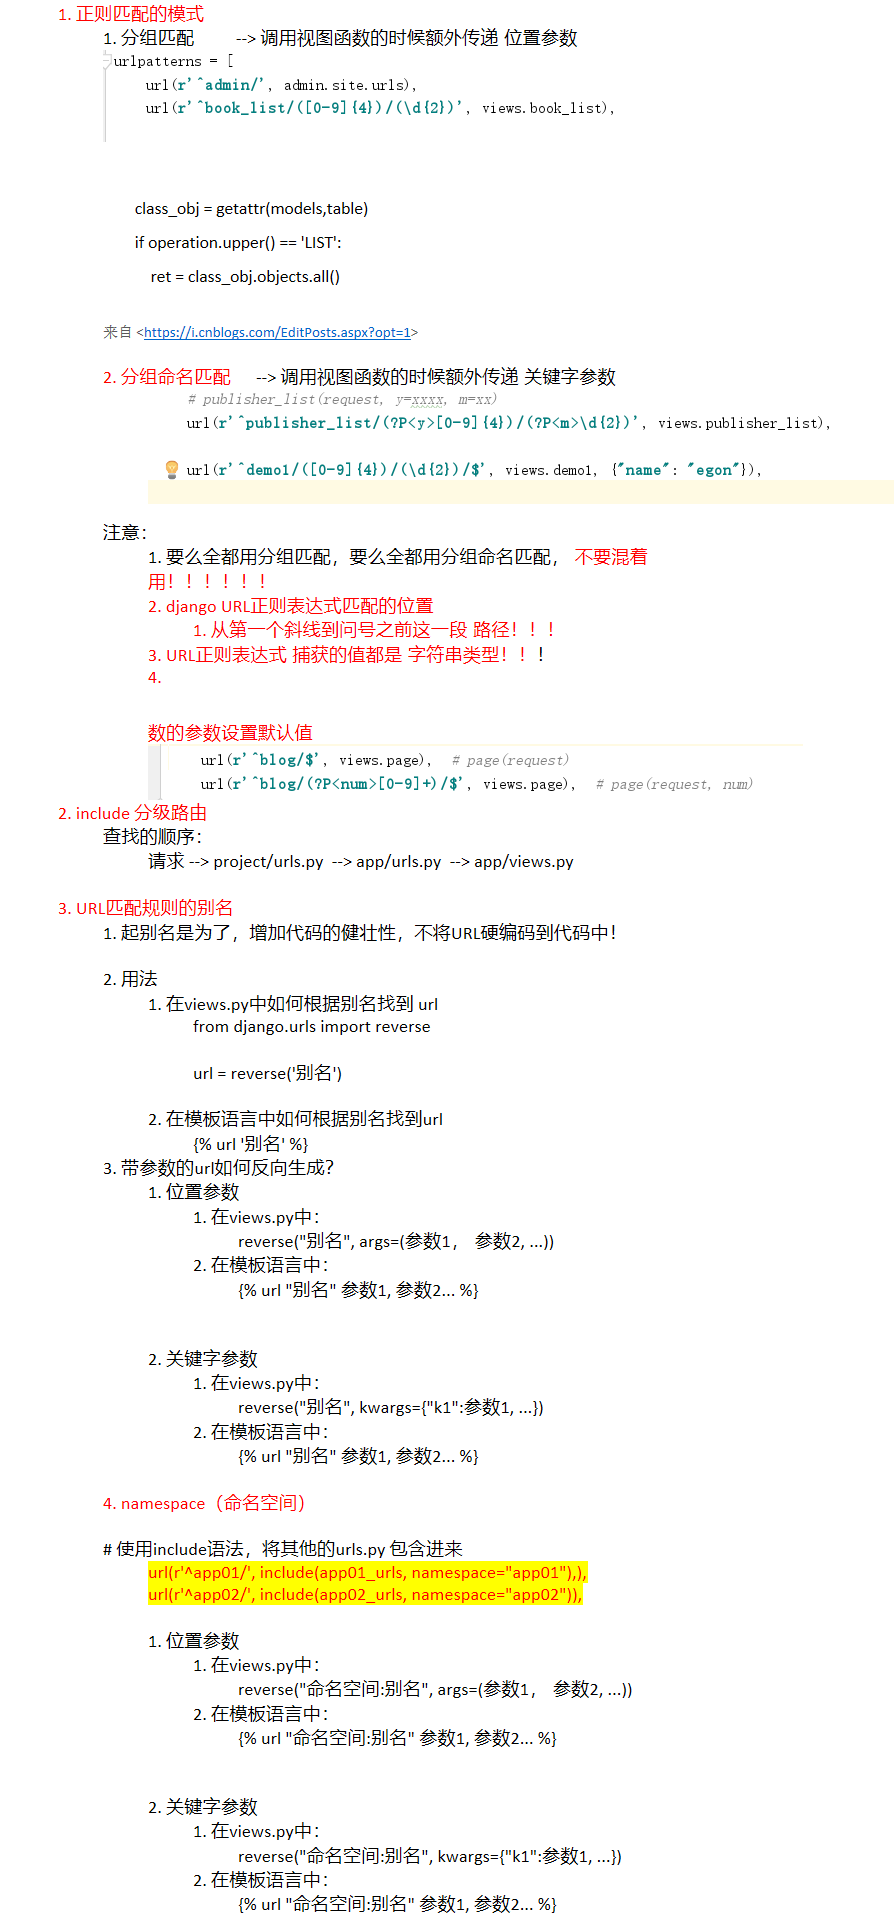
- URL匹配模式的设计(分组匹配或分组命名匹配;给URL匹配模式起别名)
2. 反射:由一个字符串,找到对应的类变量
3. URL的反向解析(别名--> 完整的URL)
4. 正则表达式
import re
# 写一个正则表达式, 只能从 add delete edit list 这四个单次里面选一个
s1 = "delete" # 匹配成功
s2 = "cut" # 匹配不成功
r = re.compile(r'add|delete|edit|list')
print(r.match(s1))
print(r.match(s2))
# urls.py

url(r'(?P<operation>list|delete)_(?P<table_name>[a-zA-Z]+)/', views.op, name = 'list_delete'),


# views.py

def op(request,operation,table_name):

    table = table_name.capitalize()

    if hasattr(models,table):

        class_obj = getattr(models,table)

        if operation.upper() == 'LIST':

            ret = class_obj.objects.all()

            return render(request,'{}_{}.html'.format(table_name,operation),{'ret':ret})

        elif operation.upper() == 'DELETE':

            id = request.GET.get('id')

            class_obj.objects.get(id=id).delete()

            url = reverse('list_delete', kwargs={'operation':'list','table_name':table_name})

            return redirect(url)