1.在windows上安装maven
2.安装Eclipse
3.在eclipse上面配置maven,并新建一个maven项目
4.在maven项目里面找到pom.xml,编辑pom.xml,之后点击保存.
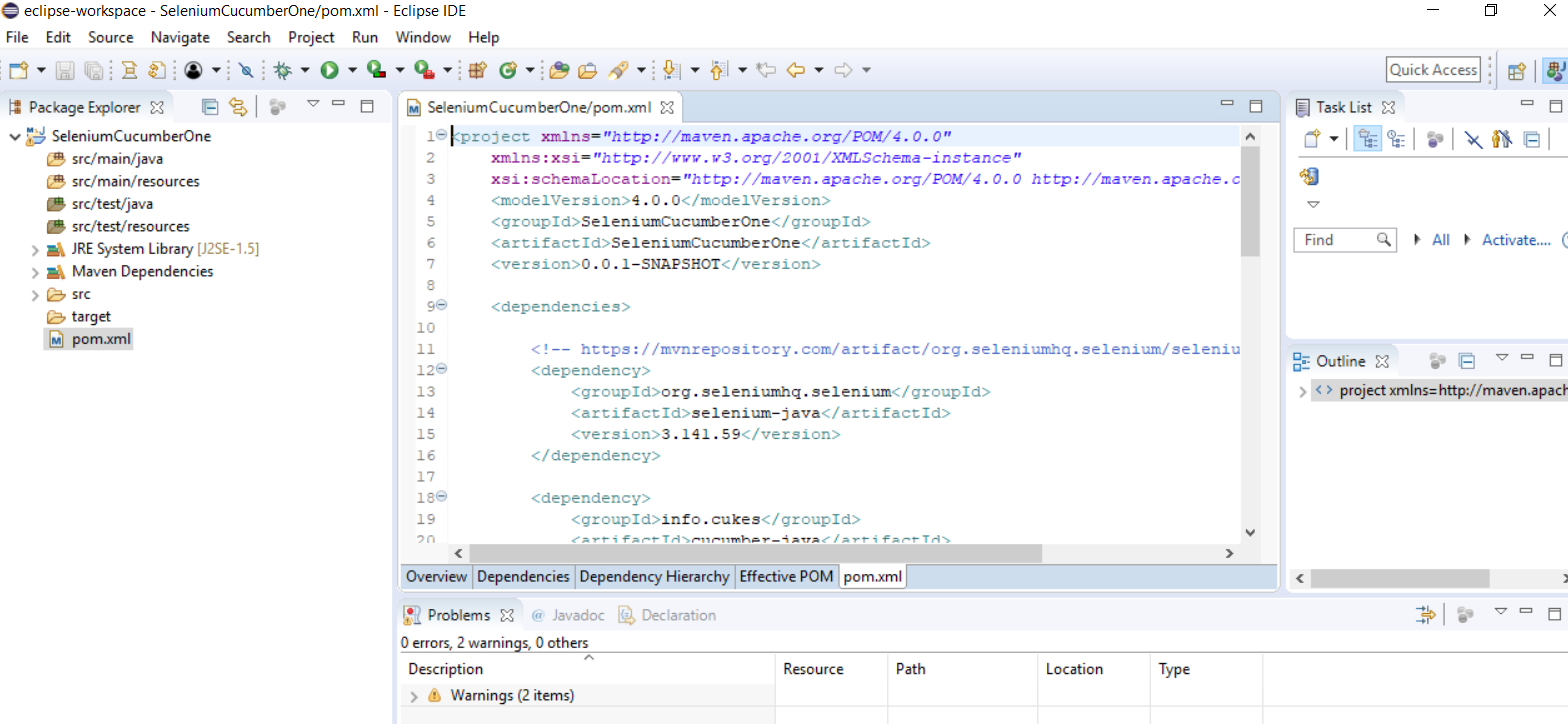
截图中使用到的dependencis:
<project xmlns="http://maven.apache.org/POM/4.0.0"
	xmlns:xsi="http://www.w3.org/2001/XMLSchema-instance"
	xsi:schemaLocation="http://maven.apache.org/POM/4.0.0 http://maven.apache.org/xsd/maven-4.0.0.xsd">
	<modelVersion>4.0.0</modelVersion>
	<groupId>SeleniumCucumberOne</groupId>
	<artifactId>SeleniumCucumberOne</artifactId>
	<version>0.0.1-SNAPSHOT</version>

	<dependencies>

		<!-- https://mvnrepository.com/artifact/org.seleniumhq.selenium/selenium-java -->
		<dependency>
			<groupId>org.seleniumhq.selenium</groupId>
			<artifactId>selenium-java</artifactId>
			<version>3.141.59</version>
		</dependency>

		<dependency>
			<groupId>info.cukes</groupId>
			<artifactId>cucumber-java</artifactId>
			<version>1.2.5</version>
		</dependency>

		<dependency>
			<groupId>info.cukes</groupId>
			<artifactId>cucumber-jvm</artifactId>
			<version>1.2.5</version>
			<type>pom</type>
		</dependency>

		<dependency>
			<groupId>info.cukes</groupId>
			<artifactId>cucumber-junit</artifactId>
			<version>1.2.5</version>
			<scope>test</scope>
		</dependency>

		<dependency>
			<groupId>info.cukes</groupId>
			<artifactId>cucumber-jvm-deps</artifactId>
			<version>1.0.5</version>
			<scope>provided</scope>
		</dependency>

		<dependency>
			<groupId>net.masterthought</groupId>
			<artifactId>cucumber-reporting</artifactId>
			<version>4.3.0</version>
		</dependency>

		<dependency>
			<groupId>junit</groupId>
			<artifactId>junit</artifactId>
			<version>4.12</version>
			<scope>test</scope>
		</dependency>

		<dependency>
			<groupId>info.cukes</groupId>
			<artifactId>gherkin</artifactId>
			<version>2.12.2</version>
			<scope>provided</scope>
		</dependency>

	</dependencies>

</project>