添加第一个页面
在本节中,你将添加一个 About页面,并使用 tag helper 提供从主页页指向它的链接。你将使用 ASP.NET Core 脚手架系统来创建这个页面,该页面由 VS Code 调用终端执行命令进行创建。
如果应用程序从上一节一直运行,你可以打开另一个终端(Ctrl+Shift+'),或者你也可以按 Ctrl+C 关闭 Web 服务器。完成这个操作后,执行以下的命令:
dotnet new page --name About --namespace Bakery.Pages --output Pages
这个命令将生成带有 PageModel 文件的 Razor Page。你需要指定名字空间,否则使用默认值:MyApp.Namespace。 同样的,如果你没有将 Pages 指定为输出目录,则在命令执行的的目录生成页面。
确认页面已经创建成功,打开 About.cshtml 文件(页面内容),修改其内容如以下所示:
@page
@model Bakery.Pages.AboutModel
@{
    ViewData["Title"] = "About Us";
}
<section id="main">
    <h1>A little bit about Fourth Coffee</h1>
    <p>
        Fourth Coffee was founded in 2010 and delivers coffee and fresh baked goods right to your door.
        In another life, Bill Baker was a developer by day and pastry chef by night.
        But soon Bill's innate skills with all things involving butter, flour and sugar put him
        even more in demand than his programming talents and what started out as a way to satisfy
        his own sweet tooth became all-consuming.  Fourth Coffee is not only a candy-coated wonderland
        of coffee, pastries, cookies and cakes, it also honors his tech background by employing a state
        of the art online ordering system that makes it easy for anybody with internet access to
        order his all natural, locally-sourced confections and have them delivered to their
        door within 24 hours.
    </p>
</section>
这是 Web Pages 模板的原始内容。唯一的区别是文件顶部的 @page 指令, 表明这是一个 Razor Page,@ model 声明,以及使用 ViewData 属性来保存页面的标题。 在 Web Pages 中,这是由 PageData 属性处理的,该属性具有基于动态类型的版本。 Razor Pages 背后的团队已经远离使用动态类型。
添加导航
主站点导航位于 Layout 页面中,它作为所有引用它的其他页面的模板,想要修改的话,打开位于 Pages/Shared 文件夹中的 _Layout.cshtml 文件, 找到如下所示的代码行:
<li class="nav-item">
    <a class="nav-link text-dark" asp-area="" asp-page="/Index">Page1</a>
</li>
<li class="nav-item">
    <a class="nav-link text-dark" asp-area="" asp-page="/Index">Page2</a>
</li>
它们从第30行开始,修改为如以下所示的样子:
<li class="nav-item">
    <a class="nav-link text-dark" asp-page="/Index">Home</a>
</li>
<li class="nav-item">
    <a class="nav-link text-dark" asp-page="/About">About</a>
</li>
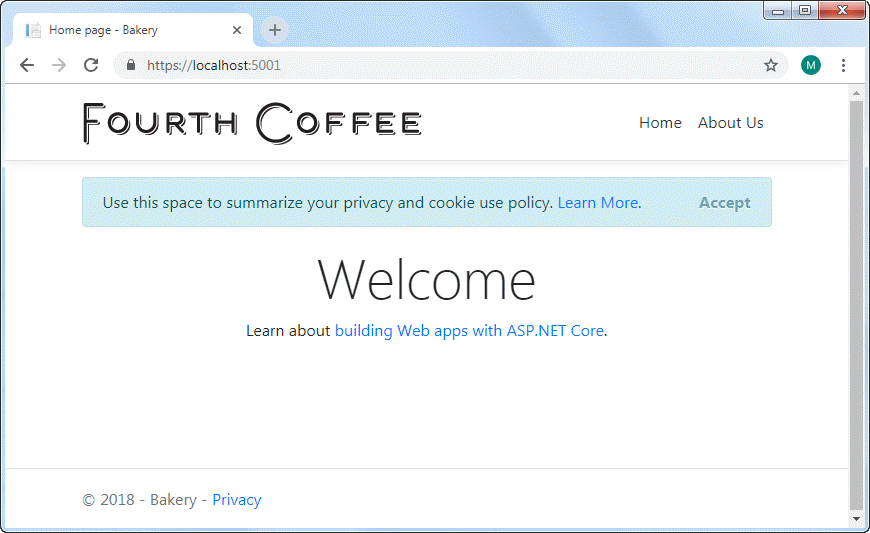
运行应用程序(dotnet run)并导航到 https://localhost:5001。然后点击 About 链接以确保导航正常工作。应该可以到达刚才所创建的页面:

链接由 tag helper 生成。 这些组件旨在针对 HTML 中的特定标记。 锚 tag helper 以 HTML a 元素为目标。 您不是提供指向内部页面的 href 属性, 而是提供一个asp-page属性, 该属性采用页面的路径 ,相对于根页面文件夹。 框架为结果超链接构造正确的URL。 原始标记助手中的 asp-area 属性被分配一个空字符串。 您未使用此示例中的区域,因此已删除该属性以减少混乱。
完成
最后,在本节中,您将稍微调整布局页面以包含品牌形象并添加一些样式。 您可以从我在GitHub上托管的 original bakery template 中获取图像文件。
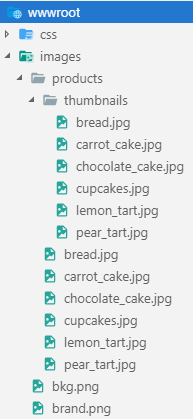
在wwwroot文件夹中创建名为images的文件夹。 在其中, 创建另一个名为products的文件夹, 并在其中创建另一个名为thumbnails的文件夹。 然后将图像复制到正确的文件夹。 最终的文件夹结构应如下所示:
使用 navbar-brand CSS类更改锚标记以包含突出显示部分中显示的图像:
<body>
    <header>
        <nav class="navbar navbar-expand-sm navbar-toggleable-sm navbar-light bg-white border-bottom box-shadow mb-3">
            <div class="container">
                <a class="navbar-brand" asp-page="/Index">
                    <img class="img-fluid" src="/images/brand.png" alt="Fourth Coffee" />
                </a>
                <button class="navbar-toggler" type="button" data-toggle="collapse" data-target=".navbar-collapse" aria-controls="navbarSupportedContent"
                        aria-expanded="false" aria-label="Toggle navigation">
                    <span class="navbar-toggler-icon"></span>
                </button>
最后,添加以下样式的 site.css 文件,可在 wwwroot/css 中找到:
.navbar-nav {
  justify-content: flex-end;
}
Bootstrap 4 使用
CSS Flexible Box Layout(也称为FlexBox)来控制布局, 而不是以前版本的Bootstrap中使用的CSS浮动。
现在, 在浏览器中刷新页面,使用Ctrl + R清除样式表的任何缓存版本。 它应该如下所示:
摘要
在本节中,您已经了解了如何使用 scaffolding 命令添加 Razor Pages。 您还使用了锚标记帮助程序来调整网站的导航, 并为样式表添加了一些样式。 在下一节中,您将通过为应用程序创建 Model 并添加 Entity Framework Core 来开始处理数据。