Hatching Shader 是最初在NICONICO上看到的MME的效果( 手描き風シェーダー by ogugu )·前段时间把它改写为了适合自己引擎的方式·
简单的讲它就是把预制的纹理和场景渲染的结果相互混合·
实作上Hatching Shader本体是个ImageProcess·其输入除去场景的目标纹理·还需要UV纹理·和预制的Hatching纹理至少三张Texture2D·
这里指的UV纹理只是简单的把模型变换后的TexCoord的两个值写入到纹理的RG通道就可以了·
Hatching Shader的计算和Hatching纹理本体是相关的·(这里依旧使用的ogugu的4*4一共16个层级的格式)
	float4 t_OrgColor = SceneMap.Sample( SceneMapSampler, i_TexCoord );
	const float t_Luminous = dot( float3( 0.29891f, 0.58661f, 0.11448f ), t_OrgColor.rgb );       //亮度值
	const int t_Index = min( 15.f, t_Luminous * 16.f );
	const float t_Weight = frac( t_Luminous * 16.f );
首先计算原本场景的亮度值·然后计算对应到HatchingMap的十六个等级·和后面需要用到的权重·
        const float2 t_UV = UVMap.Sample( UVMapSampler, i_TexCoord ).rg;
	float t_f0 = HatchingMap.Sample( HatchingSampler, 0.25f * ( frac( t_UV * float2(-1.f,1.f) * s_TileRepeat) +
			 float2( 3.f - t_Index % 4, t_Index / 4 ) ) ).r;

	const int t_UIndex = t_Index + 1;
	float t_f1 = 1.f; 							                      //限界值
	if( t_UIndex < 16 ){
		t_f1 = HatchingMap.Sample( HatchingSampler, 0.25f * ( frac( t_UV * float2(-1.f,1.f) * s_TileRepeat) +
			float2( 3.f - t_UIndex % 4, t_UIndex / 4 ))).r;
	}
	const float t_f = lerp( t_f0, t_f1, t_Weight );
	float3 t_Color = lerp( t_OrgColor.rgb, s_WhiteLineColor, t_f );

	float4 o_OutColor = float4( lerp( t_OrgColor.rgb, t_Color, s_Mixture ), t_OrgColor.a);
然后通过UVMap来计算HatchingMap所对应的位置(UV决定X轴,亮度决定Y轴)·最后通过插值(其实这里想怎么弄都可以)得到最终的输出颜色···
(这里s_TileRepeat是HatchingMap的重复周期·s_Mixture为最终混合权重·)
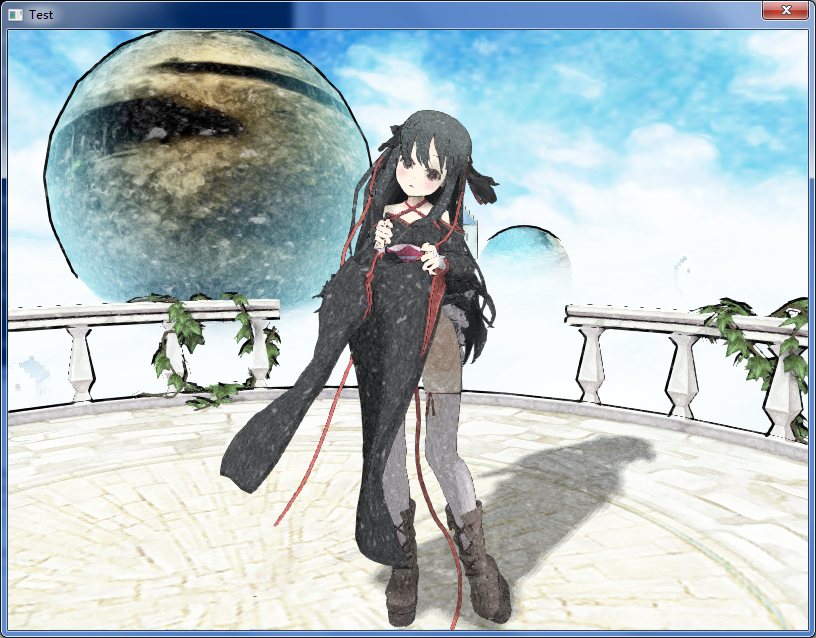
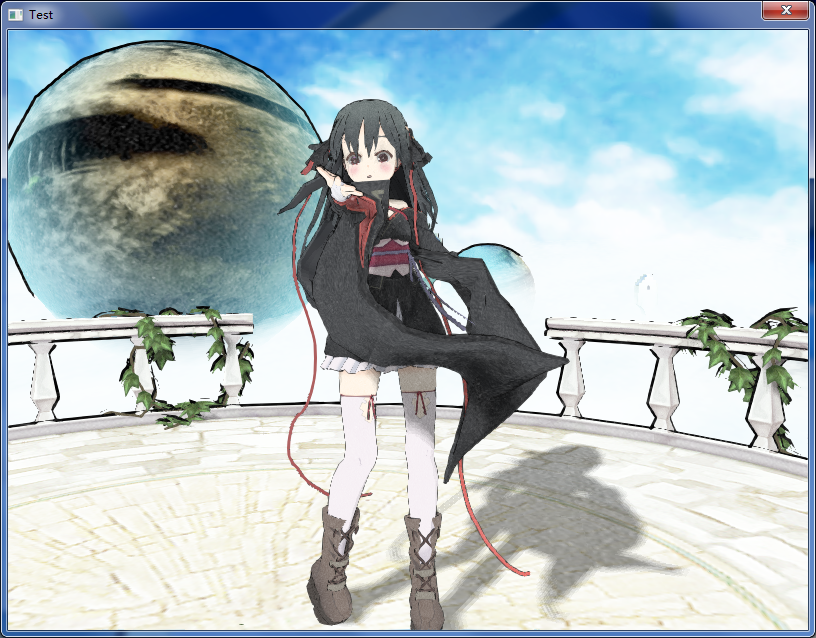
更换不同的HatchingMap可以得到不同的效果·
(人物模型为 机巧少女TV官方配布的 yeye, 背景模型为 天界 )