1、安装LNMP之前要安装EPEL,以便安装源以外的软件,如Nginx,phpMyAdmin等。
yum install epel-release
提示:EPEL,即Extra Packages for Enterprise Linux,企业版linux附加包。这个软件仓库里有很多非常常用的软件,而且是专门针对RHEL设计的,对RHEL标准yum源是一个很好的补充,完全免费使用,由Fedora项目维护,所以如果你使用的是RHEL,或者CentOS,Scientific等RHEL系的linux,可以非常放心的使用EPEL的yum源。
yum update
2、安装Nginx
a) yum install nginx
b) systemctl start nginx #启动nginx
c) systemctl enable nginx #设置开机启动
3、安装PHP
yum install -y php php-devel php-fpm php-mysql php-common php-devel php-gd libjpeg* php-imap php-ldap php-odbc php-pear php-xml php-xmlrpc php-mbstring php-mcrypt php-bcmath php-mhash libmcrypt libmcrypt-devel
4、开启php-fpm
a)
systemctl start php-fpm #开启php-fpm
b) systemctl enable php-fpm #开机自动启动
5、安装mysql
CentOS
7的yum源中貌似没有正常安装mysql时的mysql-sever文件,需要去官网上下载
# wget http://dev.mysql.com/get/mysql-community-release-el7-5.noarch.rpm
# rpm -ivh mysql-community-release-el7-5.noarch.rpm
# yum install mysql-community-server
成功安装之后重启mysql服务
# service mysqld restart
初次安装mysql是root账户是没有密码的
设置密码的方法
# mysql -uroot
mysql> set password for 'root'@'localhost' = password('mypasswd');
mysql> exit
6、配置
A)
修改php.ini的配置
vim /etc/php.ini
cgi.fix_pathinfo=1 #将注释去掉,开启PHP的pathinfo伪静态功能。
max_execution_time = 0 #脚本运行的最长时间,默认30秒
max_input_time = 300#脚本可以消耗的时间,默认60秒
memory_limit = 256M#脚本运行最大消耗的内存,根据你的需求更改数值,默认128M
post_max_size = 100M #单提交的最大数据,此项不是限制上传单个文件的大小,而是针对整个表单的提交数据进行限制的。限制范围包括表单提交的所有内容.例如:发表贴子时,贴子标题,内容,附件等…默认8M
upload_max_filesize = 10M#上载文件的最大许可大小 ,默认2M
B)
修改php-fpm的配置
vim /etc/php-fpm.d/www.conf
找到以下两行,解除注释
listen.owner = nobody
listen.group = nobody
找下以下两行,将各自的apache改为nginx
user = apache -> user = nginx
group = apache -> group = nginx
C)
修改nginx的配置
vim /etc/nginx/conf.d/default.conf
server {
listen 80;
server_name 服务器IP;
root /usr/share/nginx/html;
location / {
root /usr/share/nginx/html;
index index.php index.html index.htm;
}
error_page 404 /404.html;
# redirect server error pages to the static page /50x.html
error_page 500 502 503 504 /50x.html;
location = /50x.html {
root /usr/share/nginx/html;
}
location ~ .php$ {
root /usr/share/nginx/html;
try_files $uri =404;
fastcgi_pass 127.0.0.1:9000;
fastcgi_index index.php;
fastcgi_param SCRIPT_FILENAME $document_root$fastcgi_script_name;
include fastcgi_params;
}
}
vim /etc/nginx/nignx.conf
添加一下内容
location / {
root /usr/share/nginx/html;
index index.php index.html index.htm;
}
location ~ .php$ {
root /usr/share/nginx/html;
try_files $uri =404;
fastcgi_pass 127.0.0.1:9000;
fastcgi_index index.php;
fastcgi_param SCRIPT_FILENAME $document_root$fastcgi_script_name;
include fastcgi_params;
}
8.调试
PHP-FPM
监听9000 端口正常
[root@localhost ~]# netstat -npa | grep 9000
tcp 0 0 127.0.0.1:9000 0.0.0.0:* LISTEN 2142/php-fpm: maste
改变目录的组和用户
chown nginx.nginx /usr/lib64/php/modules
修改目录下所有文件所属
chown -R nginx.nginx /usr/share/nginx/html
修改目录下所有文件权限
chmod -R 777 /usr/share/nginx/html
查找配置
find / -name nginx.conf
9.1安装phpmyadmin
a)
wget https://files.phpmyadmin.net/phpMyAdmin/4.4.12/phpMyAdmin-4.4.12-all-languages.zip
b) unzip phpMyAdmin-4.4.12-all-languages.zip
c) mv phpMyAdmin-4.4.12-all-languages /usr/share/nginx/html/phpmyadmin
d) chown -R nginx.nginx /var/lib/php/session
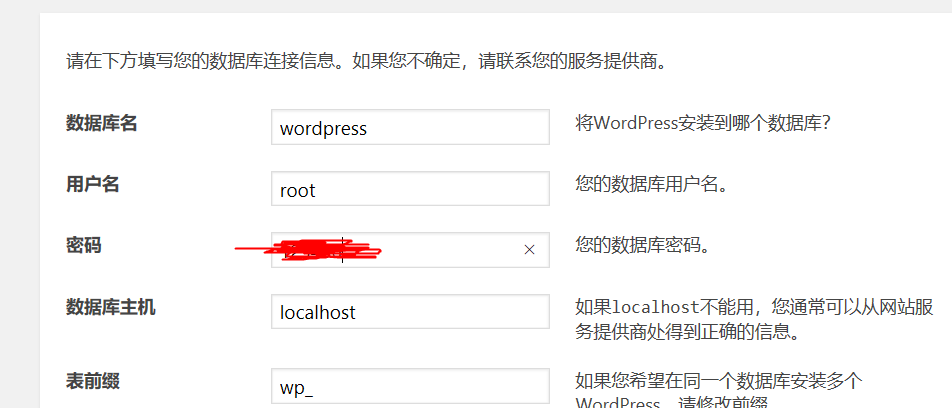
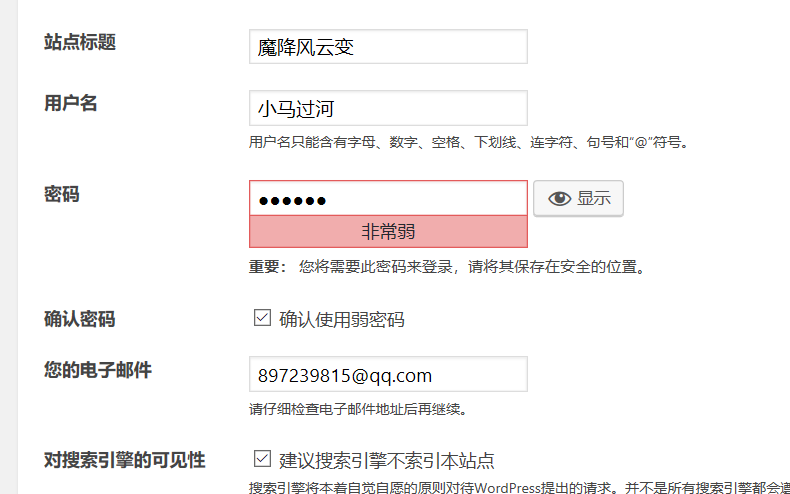
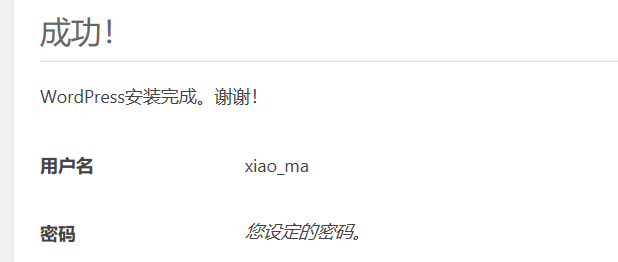
9.2安装wordpress.
官网链接:https://cn.wordpress.org/download/

. 配置mysql数据库信息(SQL语句)
mysql -uroot -p123456
a 创建wordpress博客数据存储数据库
create database wordpress;
b 创建数据库授权用户
grant all on wordpress.* to 'wordpress'@'10.0.0.%' identified by 'oldboy123';
flush privileges;
注:/usr/share/nginx/html/为网站跟目录
参考:https://blog.csdn.net/u011323949/article/details/73379146