目标
1、Docker网络配置
2、Docker部署SpringCloud项目
Docker网络配置
Docker网络模式介绍
Docker在创建容器时有四种网络模式:bridge/host/container/none,bridge为默认不需要用--net去指定,其他三种模式需要在创建容器时使用--net去指定
1.bridge模式(默认模式)
docker run时使用--net=bridge,这种模式会为每个容器分配一个独立的Network Namespace,
同一个宿主机上的所有容器会在同一个网段下,相互之间是可以通信的
注1:bridge为默认模式,不需要使用参数--net去指定,使用了--net参数反而无效
注2:bridge模式无法指定容器IP(但非绝对
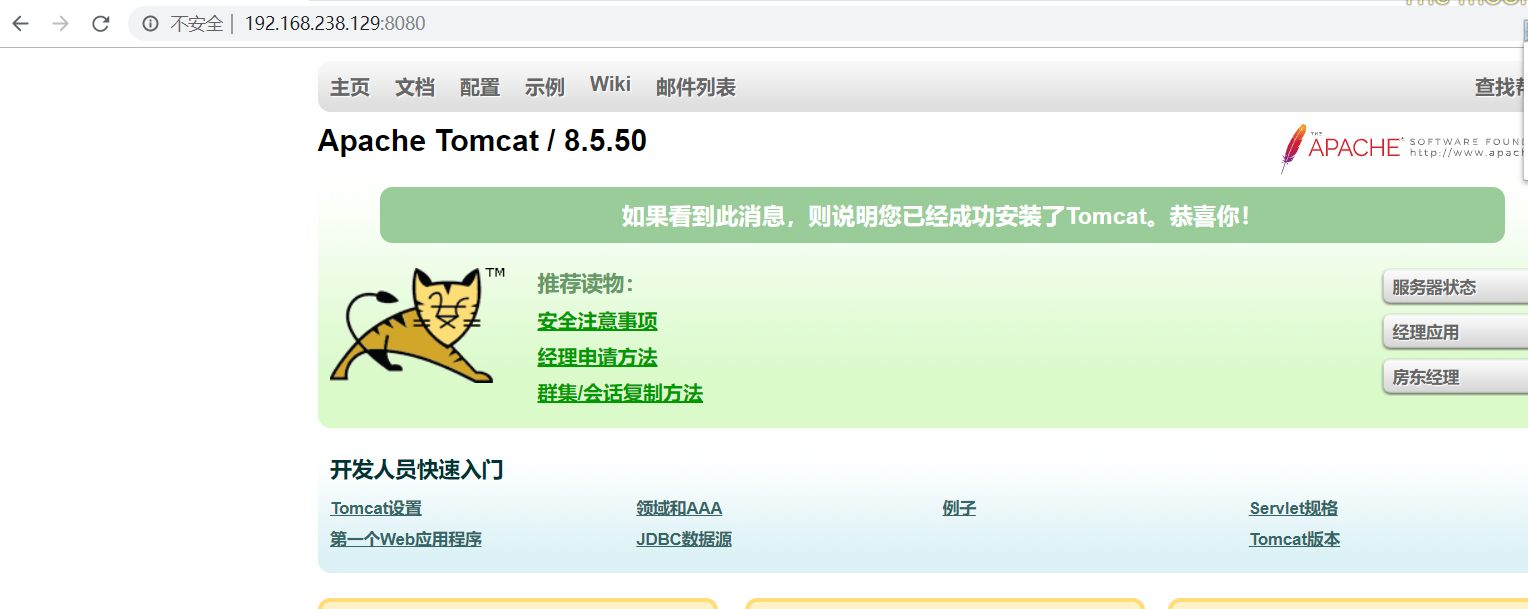
Docker run -it --name mytomcat01 -p 8081:8080 镜像ID
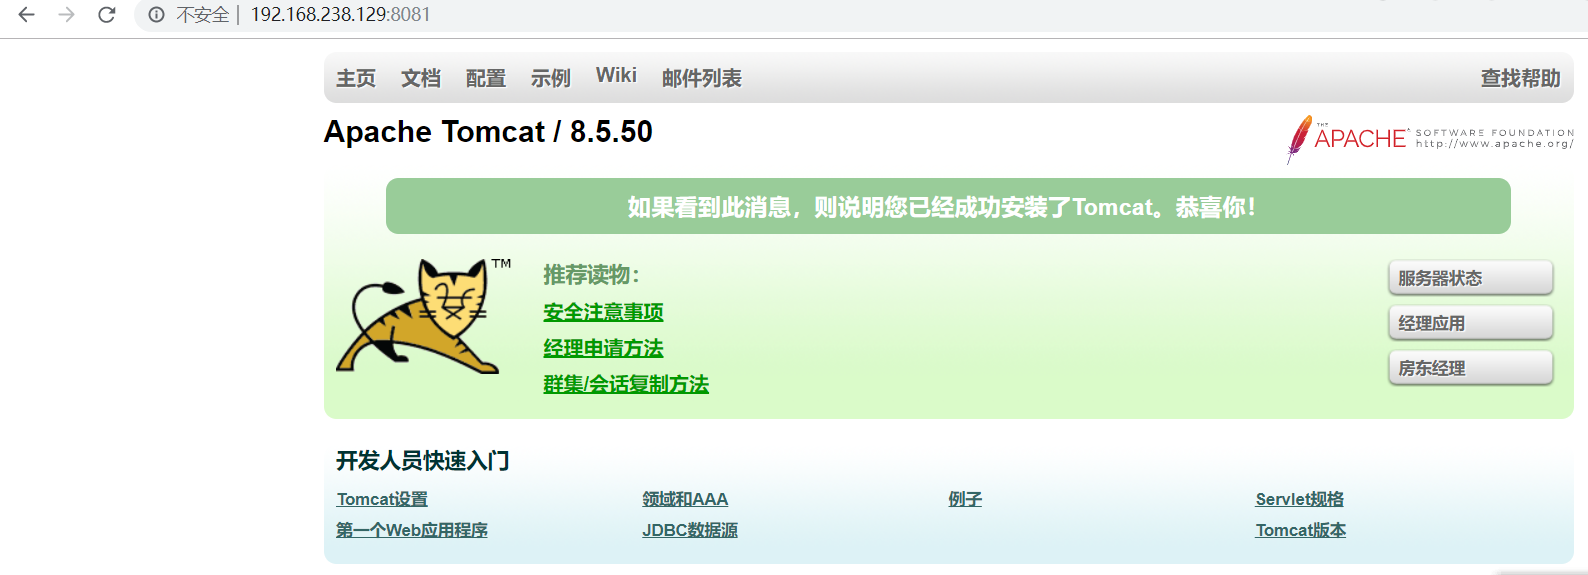
Docker run -it --name mytomcat01 -p 8082:8080 镜像ID

2.host模式
docker run时使用--net=host,容器将不会虚拟出IP/端口,而是使用宿主机的IP和端口
docker run -it --name mytomcat03 --net=host [镜像id]

注1:host模式不能使用端口映射和自定义路由规则,这些都与主机一致,-p 与-icc 参数是无效的
以上几种均未跨主机,也就是说容器均运行在一台宿主机上,但实际生产环境不可能只用一台来跑。
肯定会用到多台,那么多台主机之间的容器如何通信
1.使用路由机制打通网络
2.使用Open vSwitch(OVS)打通网络
3.使用flannel来打通网络
4.使用Quagga来实现自动学习路由
注1:详情见
https://www.cnblogs.com/yy-cxd/p/6553624.html
外部访问docker容器
1.bridge模式
docker run -itd -p 7101:7101 镜像ID
## -p参数可以出现多次,绑定多个端口号
docker run -itd -p 8080:8080 -p 8088:8088 镜像ID
实例:
docker run -it --name mytomcat02 -p 8081:8080 882487b8be1d
2.host模式
docker run -itd --net=host 镜像ID
实例:
docker run -itd --net=host 882487b8be1d
注1:不需要添加-p参数,因为它使用的就是主机的IP和端口,添加-p参数后,反而会出现以下警告:
WARNING: Published ports are discarded when using host network mode
注2:宿主机的ip路由转发功能一定要打开,否则所创建的容器无法联网!
echo 1 > /proc/sys/net/ipv4/ip_forward
3.相关命令
#停止并删除所有容器
docker stop $(docker ps -aq) && docker rm $(docker ps -aq)
4.网桥查看工具bridge-utils
apt install bridge-utils
brctl show
Docker部署SpringCloud项目
先确保工程能够正常访问
http://eureka2001.yuan.com:2001/
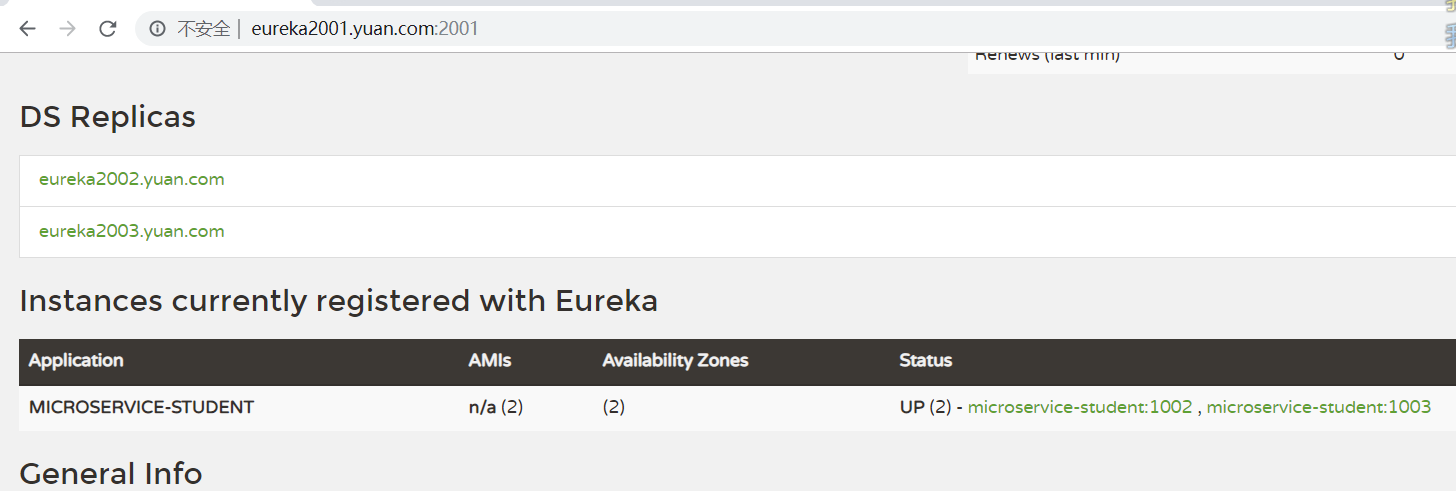

http://localhost:1003/student/list

以这五个部署为例

idea中springcloud项目打jar包
1.在idea运行springcloud项目,不报错,均可正常访问
2.修改主模块的pom
<version>0.0.1-SNAPSHOT</version>
<!-- 1.注意更改为pom而不是jar -->
<!--
<packaging>jar</packaging>
-->
<packaging>pom</packaging>
<!-- 2.主模块不要配置插件 -->
<build></build>
3.在各个子module模块的pom.xml文件中添加插件依赖
 1 <build>
 2         <plugins>
 3             <!--添加maven插件-->
 4             <plugin>
 5                 <groupId>org.springframework.boot</groupId>
 6                 <artifactId>spring-boot-maven-plugin</artifactId>
 7                 <configuration>
 8                     <!--添加自己的启动类路径!-->
 9                <mainClass>com.yuan.microservicestudentproviderhystrix.MicroserviceStudentProviderHystrixApplication</mainClass>
10                 </configuration>
11                 <executions>
12                     <execution>
13                         <goals>
14                             <!--可以把依赖的包都打包到生成的Jar包中-->
15                             <goal>repackage</goal>
16                         </goals>
17                     </execution>
18                 </executions>
19             </plugin>
20         </plugins>
21      </build>
4.点击idea的view ——》Tool windows ——》maven projects
先双击clean(去掉之前打的包target文件夹)——》再创建install
5.将项目各子模块target目录下的jar包,复制到指定目录,例如:d: empapps目录下,再通过java命令直接运行
cmd
d:
cd d: empapps
java -jar *.jar --spring.profiles.active=xxx
例如:
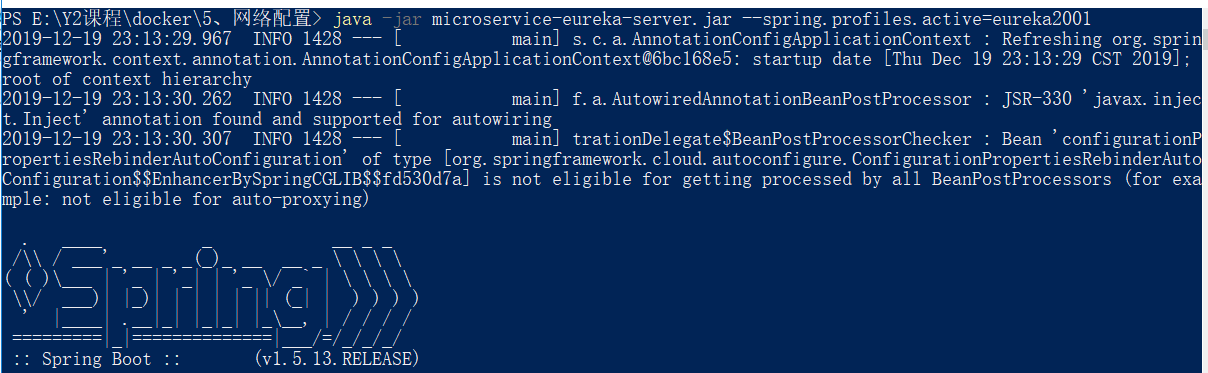
1 java -jar microservice-eureka-server.jar --spring.profiles.active=eureka2001
2 java -jar microservice-eureka-server.jar --spring.profiles.active=eureka2002
3 java -jar microservice-student-provider-hystrix.jar --spring.profiles.active=provider-hystrix-1005
4 java -jar microservice-student-provider-hystrix.jar --spring.profiles.active=provider-hystrix-1006
5 java -jar microservice-student-consumer-feign-80.jar


docker部署springcloud
1.宿主机修改hosts文件
vim /etc/hosts
## 在里面添加要映射的域名即可
127.0.0.1 eureka2001.yuan.com
127.0.0.1 eureka2002.yuan.com

2.宿主机创建文件夹apps,rz上传eureka-server-cluster.jar包至apps
## 此目录稍后作为数据卷,在宿主机和容器之间共享数据
mkdir /apps
3.使用jre:8镜像启动容器,并挂载指定目录为数据卷
docker run -d
-it
--net=host
--name student-consumer-feign1
--mount type=bind,source=/lys/apps,target=/lys/apps
747ead4f5a69 镜像ID
注1:jre:8是自定义镜像,已安装jre1.8
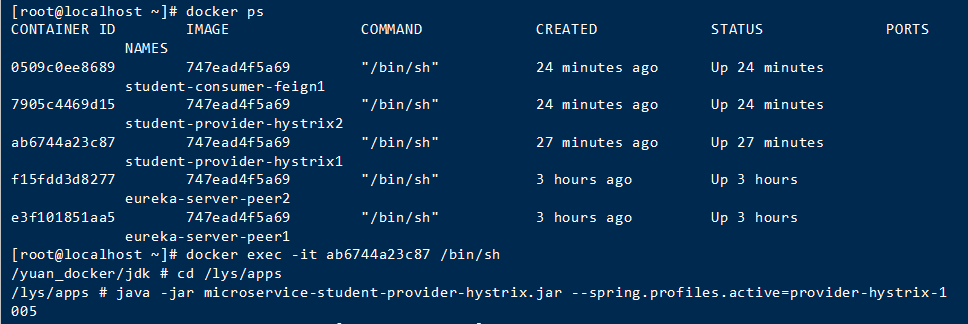
4.进入容器,java命令启动微服务
docker exec -it eureka-server-peer1 /bin/sh
java -jar microservice-eureka-server.jar --spring.profiles.active=eureka2001
docker exec -it 0509c0ee8689 /bin/sh
java -jar microservice-student-consumer-feign-80.jar

注1:同理可以启动eureka-server-peer2
注2:docker start $(docker ps -aq)
推荐博客
1、打jar包过程中出错:https://yq.aliyun.com/articles/703936
2、docker启动项目时出现MySQL,jdbc的错:https://blog.csdn.net/qq_45174759/article/details/103630070
测试:

配置原因,同时启动不了太多的项目,分开测试了没截图。。。
http://192.168.238.129:81/student/list

http://192.168.238.129:1005/info

http://192.168.238.129:81/student/hystrix
