上一篇中,我们简单的实现了toscrapy网页信息的爬取,并存储到mongo,本篇文章信息看看数据的存储。这一篇主要是实现信息的存储,我们以将信息保存到文件和mongo数据库为例,学习数据的存储,依然是上一节的例子。
编写爬虫
修改items.py文件来定义我们的item
Item 是保存爬取到的数据的容器;其使用方法和python字典类似。虽然你也可以在Scrapy中直接使用dict,但是Item提供了额外保护机制来避免拼写错误导致的未定义字段错误。简单的来说,你所要保存的任何的内容,都需要使用item来定义,比如我们现在抓取的页面,我们希望保存名言,作者和tags, 那么你就要在items.py文件中定义他们,以后你会发现,items.py文件里面你所要填写的信息是最简单的了。
import scrapy
class QuoteItem(scrapy.Item):
    # define the fields for your item here like:
    # name = scrapy.Field()
    text = scrapy.Field()
    author = scrapy.Field()
    tags = scrapy.Field()
这样就已经定义好了。
编写spider文件
在项目中的spiders文件夹下面创建一个文件,命名为quotes.py我们将在这个文件里面编写我们的爬虫。先上代码再解释。
# -*- coding: utf-8 -*-
import scrapy
from bs4 import BeautifulSoup    #新增加
from tutorial.items import QuoteItem #新增加
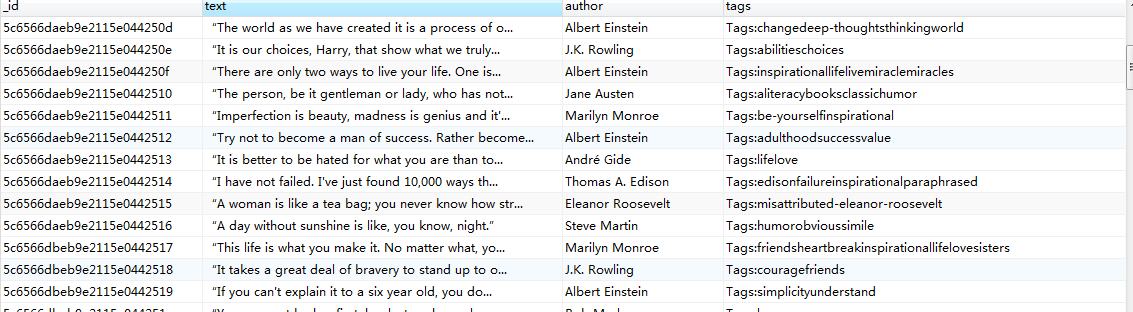
class QuotesSpider(scrapy.Spider):

    name = 'quotes'
    allowed_domains = ['quotes.toscrape.com']
    start_urls = ['http://quotes.toscrape.com/']

    def parse(self, response):
        quotes = BeautifulSoup(response.text,'lxml')
        for quote in quotes.find_all(name = 'div',class_='quote'):
            item = QuoteItem() #使用items中定义的数据结构
            for s in quote.find_all(name = 'span',class_='text'):
                item['text'] = s.text
            for s in quote.find_all(name= 'small',class_='author'):
                item['author'] = s.text
            for s in quote.find_all(name='div', class_='tags'):
                item['tags'] = s.text.replace('
','').strip().replace(' ','')
            yield item

        nexts = quotes.find_all(name='li', class_='next')
        for next in nexts:
            n = next.find(name='a')
            url = 'http://quotes.toscrape.com/' + n['href']
            yield scrapy.Request(url = url,callback = self.parse)
下面主要对新添加或者修改的地方讲解
- 导入QuoteItem自定义类,注意:新建项目中带有scrapy.cfg文件的那个目录默认作为项目的根目录,因此from tutorial.items import QuoteItem
就是从tutorial项目里面的items.py文件里面导入我们自定义的那个类,名称是QuoteItem,就是上面我们定义的那个QuoteItem ,只有导入了这个类,我们才可以保存我们的字段。 - item = QuoteItem() 实例化,不多说。
- item['text'] = s.text, item['author'] = s.text , item['tags'] = s.text.replace(' ','').strip().replace(' ',''), item其实就是可以简单的理解为字典,这个地方就是相当于给字典里面的键赋值。
- yield item生成器,scrapy会将item传递给pipeline进行后续的处理,当然,前提是你打开了settings设置里面的设置项,相关的设置马上就会说到。
- nexts = quotes.find_all(name='li', class_='next') 获取下一页,遍历nexts,如果有下一页,则 yield Request() ,此Request会作为一个新的Request加入调度队列,等待调度。
修改pipelines.py文件,实现保存。
class MongoPipeline(object):

    def __init__(self,mongo_url,mongo_db):
        self.mongo_url = mongo_url
        self.mongo_db = mongo_db

    @classmethod
    def from_crawler(cls,crawler):
        return cls(
            mongo_url=crawler.settings.get('MONGO_URL'),
            mongo_db = crawler.settings.get('MONGO_DB')
        )

    def open_spider(self,spider):
        self.client = pymongo.MongoClient(self.mongo_url)
        self.db = self.client[self.mongo_db]

    def process_item(self,item, spider):
        name = item.__class__.__name__
        self.db[name].insert(dict(item))
        return item

    def close_spider(self,spider):
        self.client.close()
修改settings.py文件
之前,我们修改了两个内容,ROBOTSTXT_OBEY和DEFAULT_REQUEST_HEADERS,这里我们在之前的基础上,在添加如下内容。
ITEM_PIPELINES = {
    'tutorial.pipelines.textPipeline':300,
    'tutorial.pipelines.MongoPipeline':400
}

MONGO_URL = 'localhost'
MONGO_DB = 'test'
对于新修改的内容简单的解释,如果你仅仅想保存到txt文件,就将后者注释掉,同样的道理,如果你仅仅想保存到数据库,就将前者注释掉,当然,你可以两者都实现保存,就不用注释任何一个。对于上面的含义,tutorial.pipelines.textPipeline 其实就是应用tutorial/pipelines模块里面的textPipeline类,就是我们之前写的那个,300和400的含义是执行顺序,因为我们这里既要保存到文件,也要保存到数据库,那就定义一个顺序,这里的设置就是先执行保存到文件,在执行保存到数据库,数字是0-1000,你可以自定义。
运行爬虫
进入到项目文件,执行scrapy crawl quotes
可以看到mongo数据库新增了相应的内容。