最近准备好好学习下k8s,为了图方便,直接使用docker集成的k8s,但是网上找了一些教程但都没能一次性成功,只好自己从头跑一遍,顺手写个教程可以方便有类似需求的同学参考。
话不多说,直接上步骤。
1.下载docker
直接去官网下载即可。
由于docker官网需要fq,我使用了阿里云的镜像服务:https://cr.console.aliyun.com/cn-hangzhou/instances/mirrors
2.启动docker
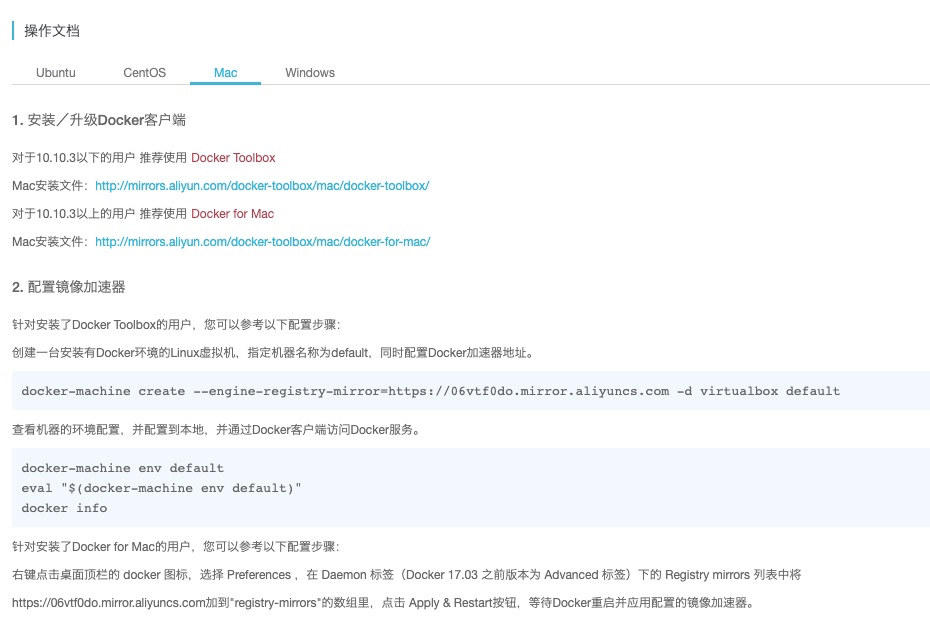
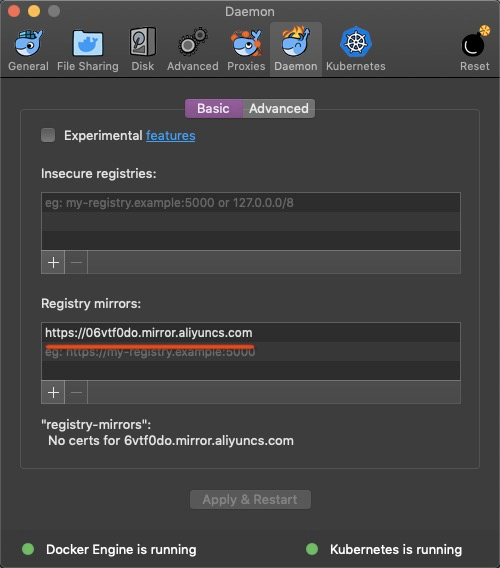
下载完docker.dmg后点击安装,随后正常打开即可。并在Preference->Daemon中设置阿里云的mirrors,docker自带的mirror需要fq。
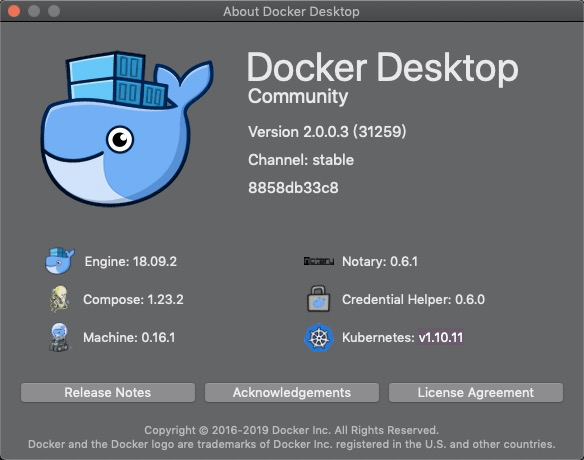
3.确认k8s的版本。
打开About Docker DeskTop查看,我的k8s是 v1.10.11。
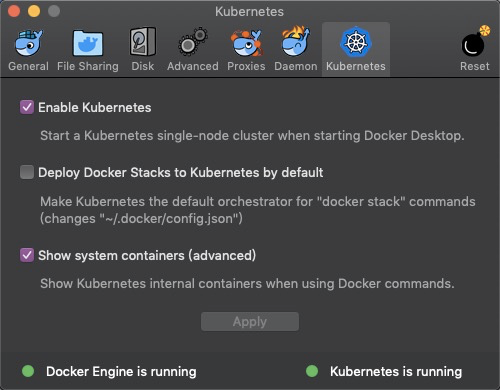
4.启动k8s
如图,勾选相关选项。这个图是已经启动好了,如果不能启动会一直显示“k8s is starting”。
如果一直显示“k8s is starting....” ,需要确认下k8s依赖是否下载。使用docker images查看。
一般来说,是没法正常启动的。在寻求各路大神之后,找到了一种行之有效的办法。
5.解决方案
更改k8s版本为v1.10.11后生成load_images.sh文件,并执行 ./load_images.sh。
#!/bin/bash

set -e
# Check version in https://kubernetes.io/docs/reference/setup-tools/kubeadm/kubeadm-init/
# Search "Running kubeadm without an internet connection"
# For running kubeadm without an internet connection you have to pre-pull the required master images for the version of choice:
KUBE_VERSION=v1.10.11
KUBE_DASHBOARD_VERSION=v1.10.1
KUBE_PAUSE_VERSION=3.1
ETCD_VERSION=3.1.12
DNS_VERSION=1.14.8
GCR_URL=k8s.gcr.io
ALIYUN_URL=registry.cn-hangzhou.aliyuncs.com/google_containers

images=(kube-proxy-amd64:${KUBE_VERSION}
kube-scheduler-amd64:${KUBE_VERSION}
kube-controller-manager-amd64:${KUBE_VERSION}
kube-apiserver-amd64:${KUBE_VERSION}
pause-amd64:${KUBE_PAUSE_VERSION}
etcd-amd64:${ETCD_VERSION}
k8s-dns-sidecar-amd64:${DNS_VERSION}
k8s-dns-kube-dns-amd64:${DNS_VERSION}
k8s-dns-dnsmasq-nanny-amd64:${DNS_VERSION}
kubernetes-dashboard-amd64:${KUBE_DASHBOARD_VERSION})

for imageName in ${images[@]} ; do
docker pull $ALIYUN_URL/$imageName
docker tag $ALIYUN_URL/$imageName $GCR_URL/$imageName
docker rmi $ALIYUN_URL/$imageName
done

docker images
等待下载完毕后,重置k8s。k8s即可正常启动。
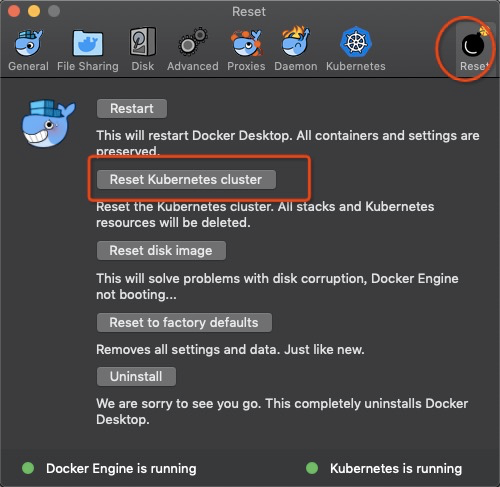
6.设置 contexts(非常关键,一定要设置为docker-for-desktop,minikube无法连接)可参考:https://docs.docker.com/docker-for-mac/
$ kubectl config get-contexts
$ kubectl config use-context docker-for-desktop
7.启动 dashboard:
启动dashboard还需要执行
kubectl create -f https://github.com/kubernetes/dashboard/tree/v1.10.1/src/deploy/recommended/kubernetes-dashboard.yaml
部署成功后,我们进行启动 proxy。
kubectl proxy
8.登陆dashboard
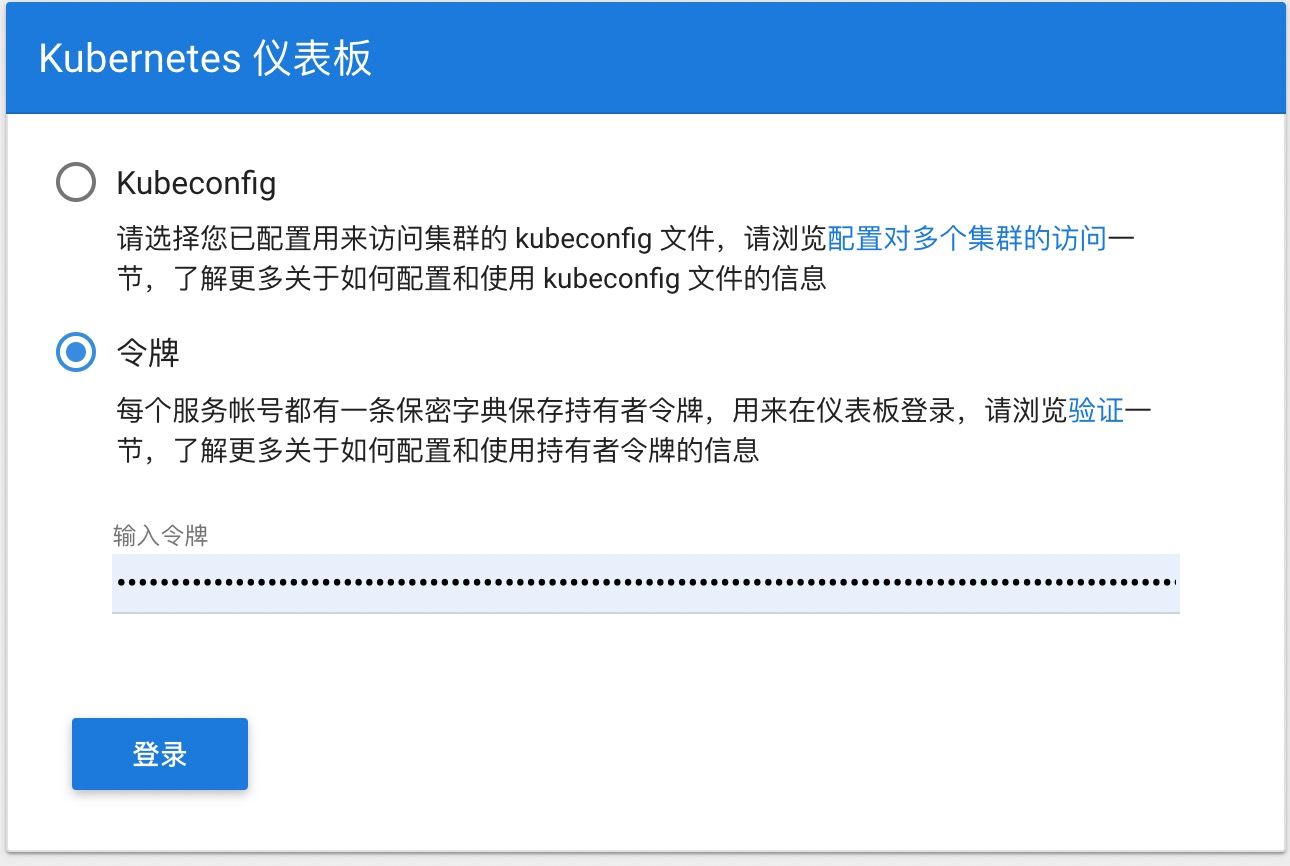
这一步需要token:
kubectl -n kube-system describe secret default| awk '$1=="token:"{print $2}'
到此时,k8s已经run起来了。
k8s有点偏运维的方向,但是作为一名站在后端的开发也应该不断学习,后续会持续更新k8s的学习记录。