1.全局安装json-server【可能需要管理员权限】
npm i -g json-server
2.创建文件夹jsonerver,初始化package.json文件
npm init
3.局部安装json-server
npm i json-server --save
4.修改package.json文件,配置启动方式
"scripts":{
"json:server":"json-server --watch db.json"
}
5.创建db.json文件
{
	"users":[
		{
			"name":"zs",
			"phone":"123",
			"email":"zs@qq.com",
			"id":1,
			"age":12,
			"companyId":1           // 这个companyId 使用驼峰命名的,不然是查询不到的
		},
		{
			"name":"ls",
			"phone":"234",
			"email":"ls@qq.com",
			"id":2,
			"age":13,
			"companyId":2
		},
		{
			"name":"ww",
			"phone":"345",
			"email":"ww@qq.com",
			"id":3,
			"age":14,
			"companyId":3
		},
		{
			"name":"cl",
			"phone":"456",
			"email":"cl@qq.com",
			"id":4,
			"age":15,
			"companyId":3
		}
	],
	"companies":[
		{
			"id":1,
			"name":"Apple",
			"des":"apple is good"
		},
		{
			"id":2,
			"name":"ms",
			"des":"ms is good"
		},
		{
			"id":3,
			"name":"gg",
			"des":"gg is good"
		}
	]
}
6.运行
npm run json:server
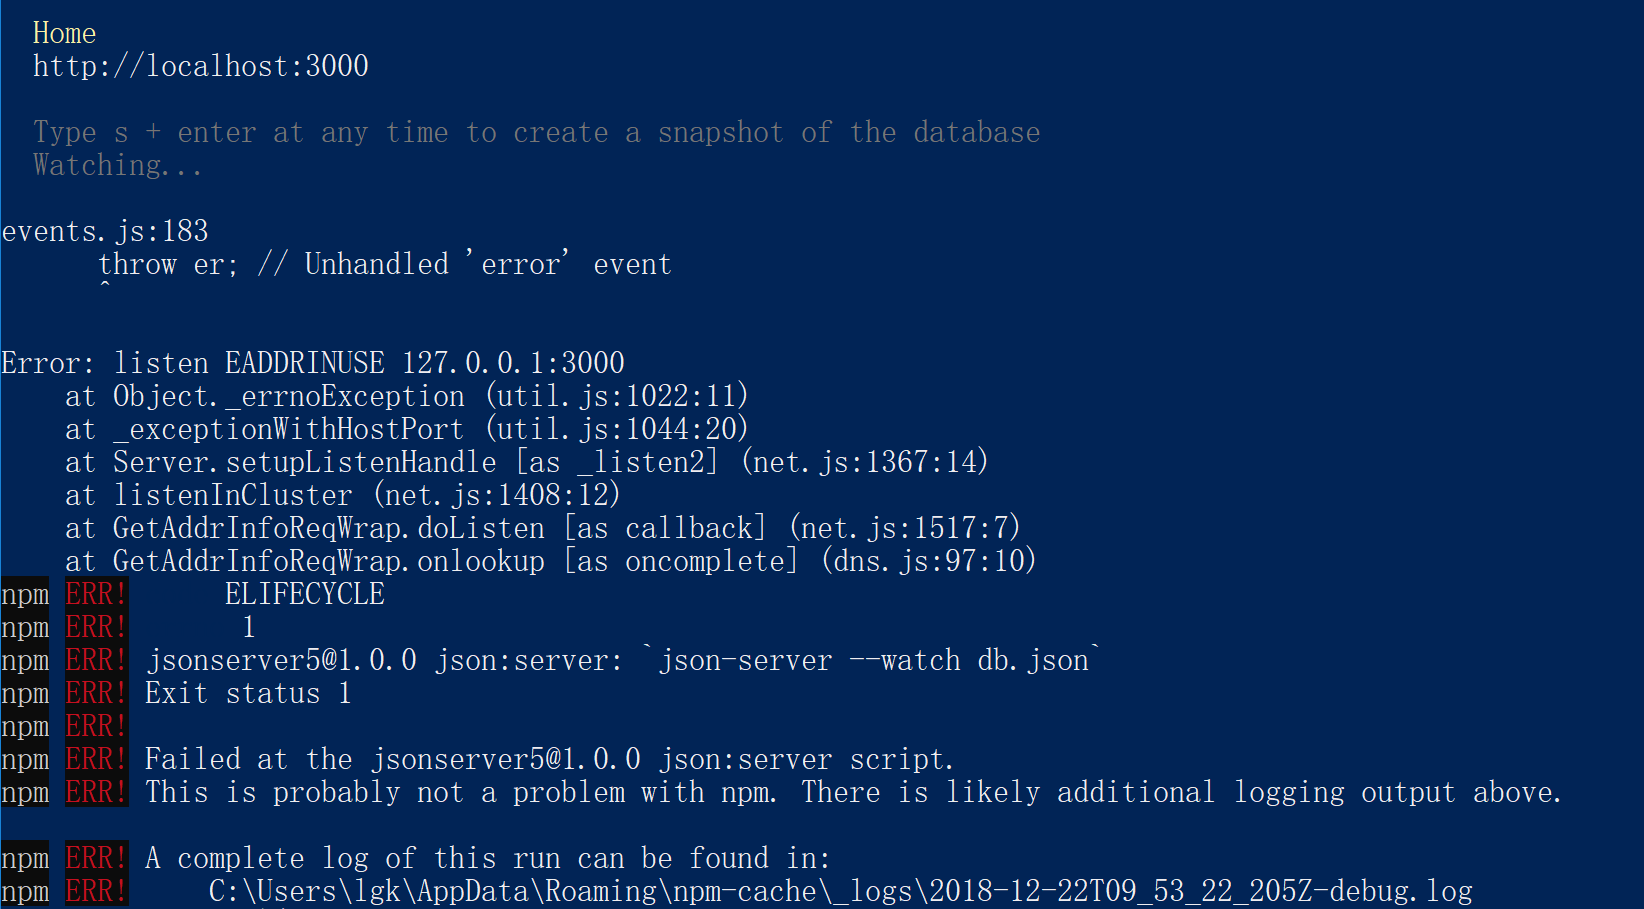
localhost:3000/xxx
只能运行一个3000的端口,如果含有另一个3000端口,会运行不成功
7.运行后,可以查询如下信息
//获取所有用户信息
http://localhost:3000/users
//获取id为1的用户信息
http://localhost:3000/users/1
//获取所有公司的信息
http://localhost:3000/companies
//获取id为1的公司信息
http://localhost:3000/companies/1
//获取id为3的公司的所有用户
http://localhost:3000/companies/3/users
//获取名字为ms的公司
http://localhost:3000/companies?name=ms
//获取名字为ms和gg的公司
http://localhost:3000/companies?name=ms&name=gg
//一页显示两条数据
http://localhost:3000/companies?_page=1&_limit=2
//根据公司id的降序排序(desc 降序,asc 升序)
http://localhost:3000/companies?_sort=id&_order=desc
//获取年龄大于25的用户
http://localhost:3000/users?age_gte=25
//获取年龄小于20的用户
http://localhost:3000/users?age_lte=20
//获取年龄15到30的用户
http://localhost:3000/users?age_lte=30&age_gte=15
//搜索用户信息 q=s 搜索用户信息中含有s字符串的信息
http://localhost:3000/users?q=s
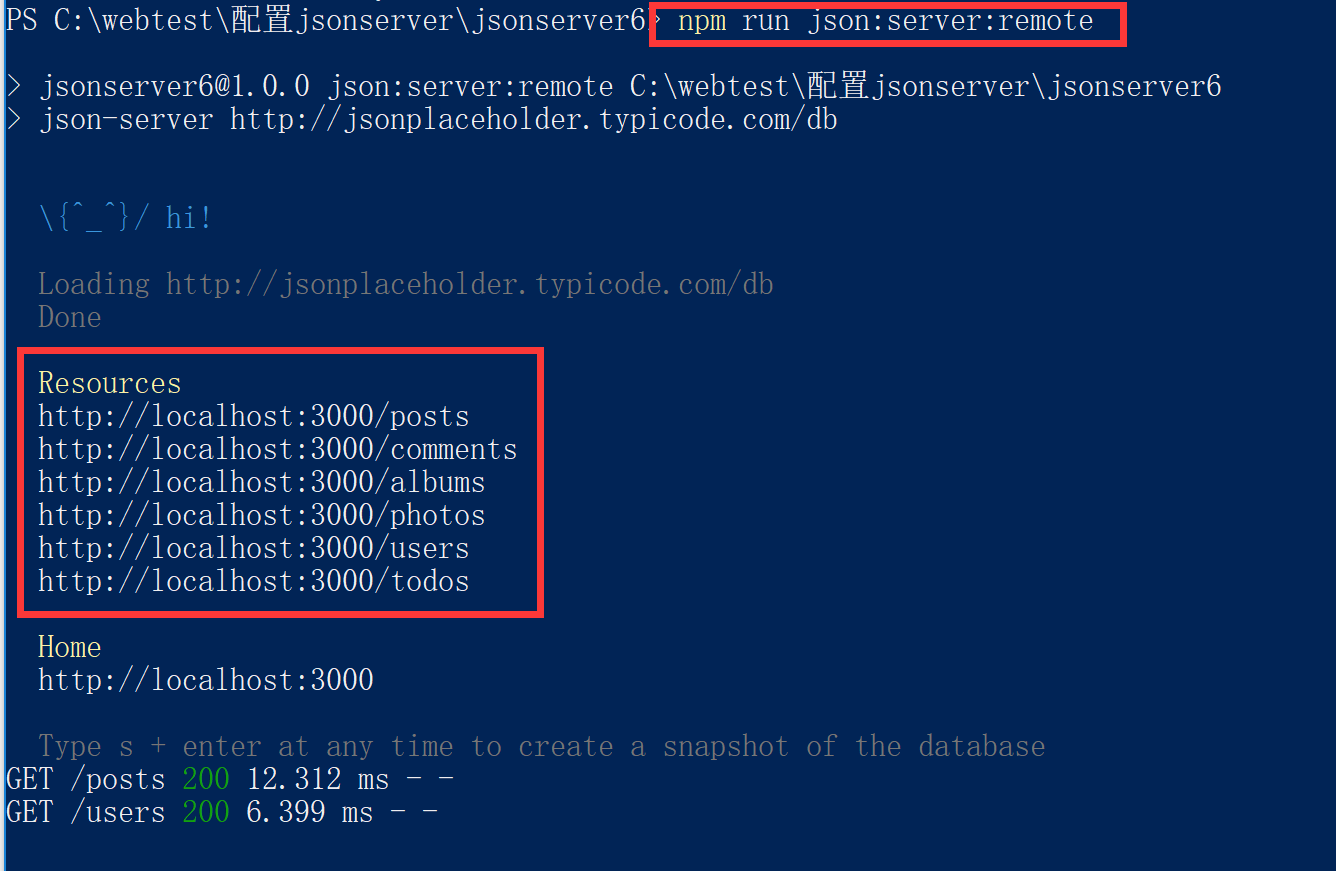
8.通过json-server,把jsonplacehoder的数据,提取到本地
在package.json文件中,配置
 "scripts": {
    "json:server": "json-server --watch db.json",
    "json:server:remote": "json-server http://jsonplaceholder.typicode.com/db"     //添加这行
  },
重新运行,npm run json:server:remote,可以访问到jsonplaceholder中的数据