写在前面:
持续记录一下自己在解决api网关kong上的各种问题。
1、关于Kong网关
这是官网地址:https://konghq.com/
2、通过brew安装postgres
因为kong的数据持久化是
brew install postgresql

initdb /usr/local/var/postgres -E utf8

pg_ctl -D /usr/local/var/postgres -l logfile start

/usr/local/bin/psql -d postgres
成功后初始化kong用户和数据库:
CREATE USER kong;
CREATE DATABASE kong OWNER kong;
3、通过Navicat工具新建postgres连接

创建好后:

4、通过brew安装Kong
brew tap kong/kong

brew install kong
5、安装好Kong后设置系统环境变量
vi ~/.bash_profile

export PATH="$PATH:/usr/local/Cellar/openresty@1.15.8.3/1.15.8.3/bin"

export PATH="$PATH:/usr/local/Cellar/kong/2.0.3/bin"
6、从官网按教程下载 kong.conf.default 并将文件移动 /etc/kong/kong.conf 并改名
注意:这个kong.conf配置文件的信息需要修改,其中包括配置postgres数据库的地址账号密码等信息。
其中我的配置如下:
database = postgres             # Determines which of PostgreSQL or Cassandra

pg_host = 127.0.0.1             # Host of the Postgres server.
pg_port = 5432                    # Port of the Postgres server.
pg_timeout = 5000               # Defines the timeout (in ms), for connecting,

pg_user = kong                    # Postgres user.
pg_password = kong             # Postgres user's password.
pg_database = kong             # The database name to connect to.

pg_ssl = off                         # Toggles client-server TLS connections

pg_ssl_verify = off               # Toggles server certificate verification if
执行命令:
sudo mkdir -p /etc/kong

sudo cp kong.conf.default /etc/kong/kong.conf
7、运行Kong migrations 进行Database初始化操作
kong migrations up -c /etc/kong/kong.conf
8、运行启动Kong网关
kong start -c /etc/kong/kong.conf
9、验证Kong网关启动成功
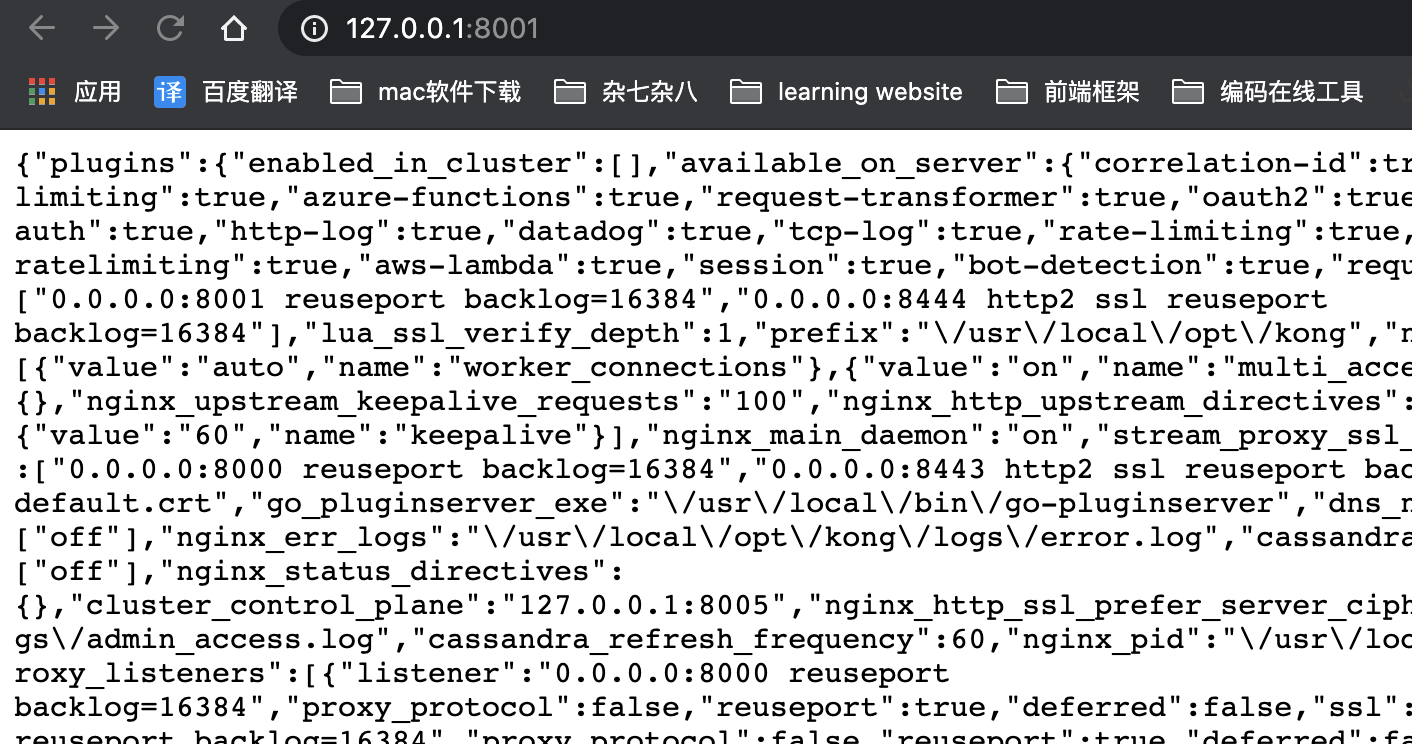
访问127.0.0.1:8001,出现一大串Json数据,说明Kong网关已经启动成功。如下图:
至此,本地搭建Kong网关的步骤已经全部完成。