Zabbix搭建,监控tomcat、mysql三台服务器,以及微信告警
系统详情:Centos6.5 Centos6.8 Centos6.7
新项目上线在即,现在在测试阶,搭建zabbix进行监控tomcat,mysql,等服务和服务器状态,两台IDC机房服务器,一台阿里云服务器。长期更新
因为Zabbix需要lamp或lnmp所以先搭建环境需求。我这里选择lnmp。
-
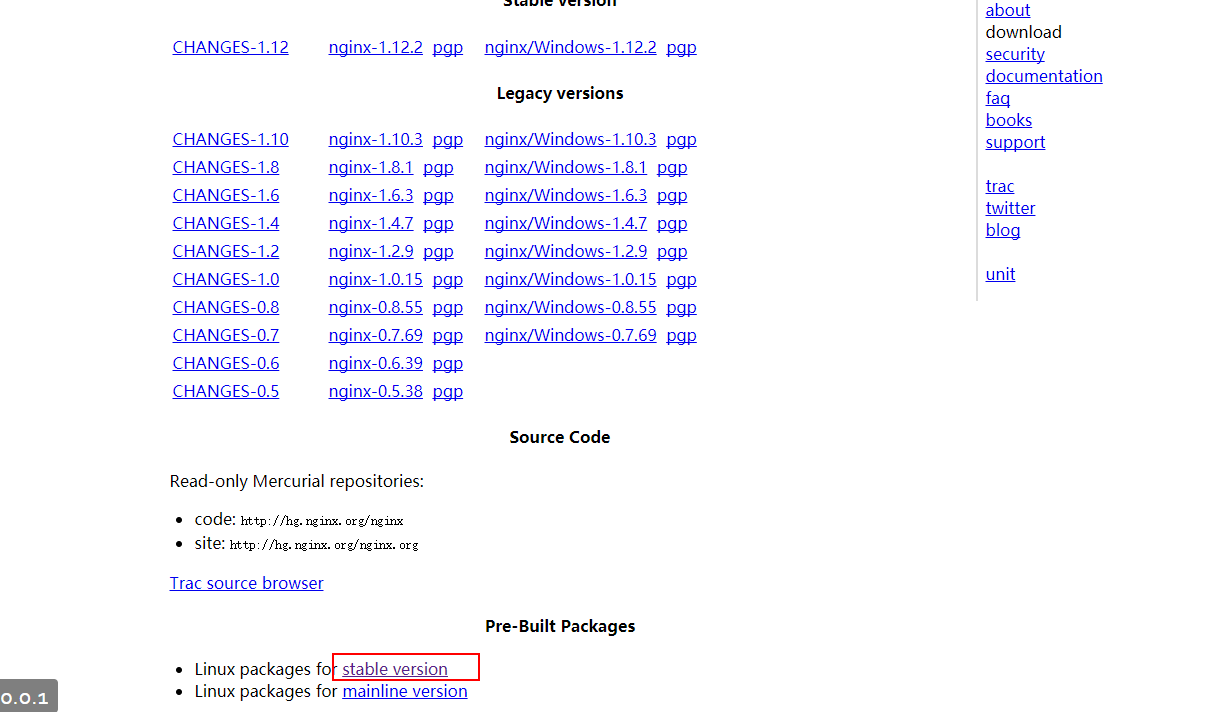
1.根据nginx官网,下载稳定版,新建/etc/yum.repos.d/nginx.repo
填写内容:
name=nginx repo
baseurl=http://nginx.org/packages/OS/OSRELEASE/$basearch/
gpgcheck=0
enabled=1
Replace “OS” with “rhel” or “centos”, depending on the distribution used, and “OSRELEASE” with “6” or “7”, for 6.x or 7.x versions, respectively.
根据这个提示将OS改成你的系统centos,OSRELEASE改成你的系统版本首位,我的是6
    yum makecache

    yum -y install nginx
默认80端口 直接浏览器访问你的服务器地址,如下图:

- 2.搭建php5.6.30:
我得tar包都是本地的,所以用lrzsz直接拖到服务器上就行,没有的可以安装lrzsz
现在安装依赖文件
yum install make apr* autoconf automake curl-devel gcc gcc-c++ zlib-devel openssl openssl-devel pcre-devel gd kernel keyutils patch perl kernel-headers compat* mpfr cpp glibc libgomp libstdc++-devel ppl cloog-ppl keyutils-libs-devel libcom_err-devel libsepol-devel libselinux-devel krb5-devel zlib-devel libXpm* freetype libjpeg* libpng* php-common php-gd ncurses* libtool* libxml2 libxml2-devel patch
现在还缺少一个php的依赖:
点击下载libmcrypt 2.5.8
tar xvf libmcrypt-2.5.8.tar.gz -C /usr/src/

cd /usr/src/libmcrypt-2.5.8/

./configure && make && make install
tar xvf php-5.6.30.tar.gz -C /usr/src/

cd /usr/src/

./configure --prefix=/usr/local/php5 --sysconfdir=/etc/php5 --with-config-file-path=/etc/php5 --with-apxs2=/usr/local/httpd/bin/apxs --with-mysql=mysqlnd --with-mysqli=mysqlnd --with-pdo-mysql=mysqlnd --with-mhash --with-openssl --with-zlib --with-bz2 --with-curl --with-libxml-dir --with-gd --with-jpeg-dir --with-png-dir --with-zlib --enable-mbstring --with-mcrypt --enable-sockets --with-iconv-dir --with-xsl --enable-zip --with-pcre-dir --with-pear --enable-session  --enable-gd-native-ttf --enable-xml --with-freetype-dir --enable-gd-jis-conv --enable-inline-optimization --enable-shared --enable-bcmath --enable-sysvmsg --enable-sysvsem --enable-sysvshm --enable-mbregex --enable-pcntl --with-xmlrpc --with-gettext --enable-exif --with-readline --with-recode --with-tidy
漫长的等待。。。
mv /etc/php5/php-fpm.conf.default /etc/php5/php-fpm.conf

 vim /etc/php5/php-fpm.conf

user=nginx

group=nginx

pid = run/php-fpm.pid (删除前面的分号注释)

保存退出
vim /etc/php5/php.ini

删除掉date.timezone = PRC前面的注释,后面添加PRC或者Asia/Shanghai
保存退出
cp sapi/fpm/init.d.php-fpm /etc/init.d/php-fpm

chmod +x /etc/init.d/php-fpm