一 .
用AFHTTPSessionManager中的这个方法
- (NSURLSessionDataTask *)POST:(NSString *)URLString
                    parameters:(id)parameters
     constructingBodyWithBlock:(void (^)(id <AFMultipartFormData> formData))block
                      progress:(nullable void (^)(NSProgress * _Nonnull))uploadProgress
                       success:(void (^)(NSURLSessionDataTask *task, id responseObject))success
                       failure:(void (^)(NSURLSessionDataTask *task, NSError *error))failure;
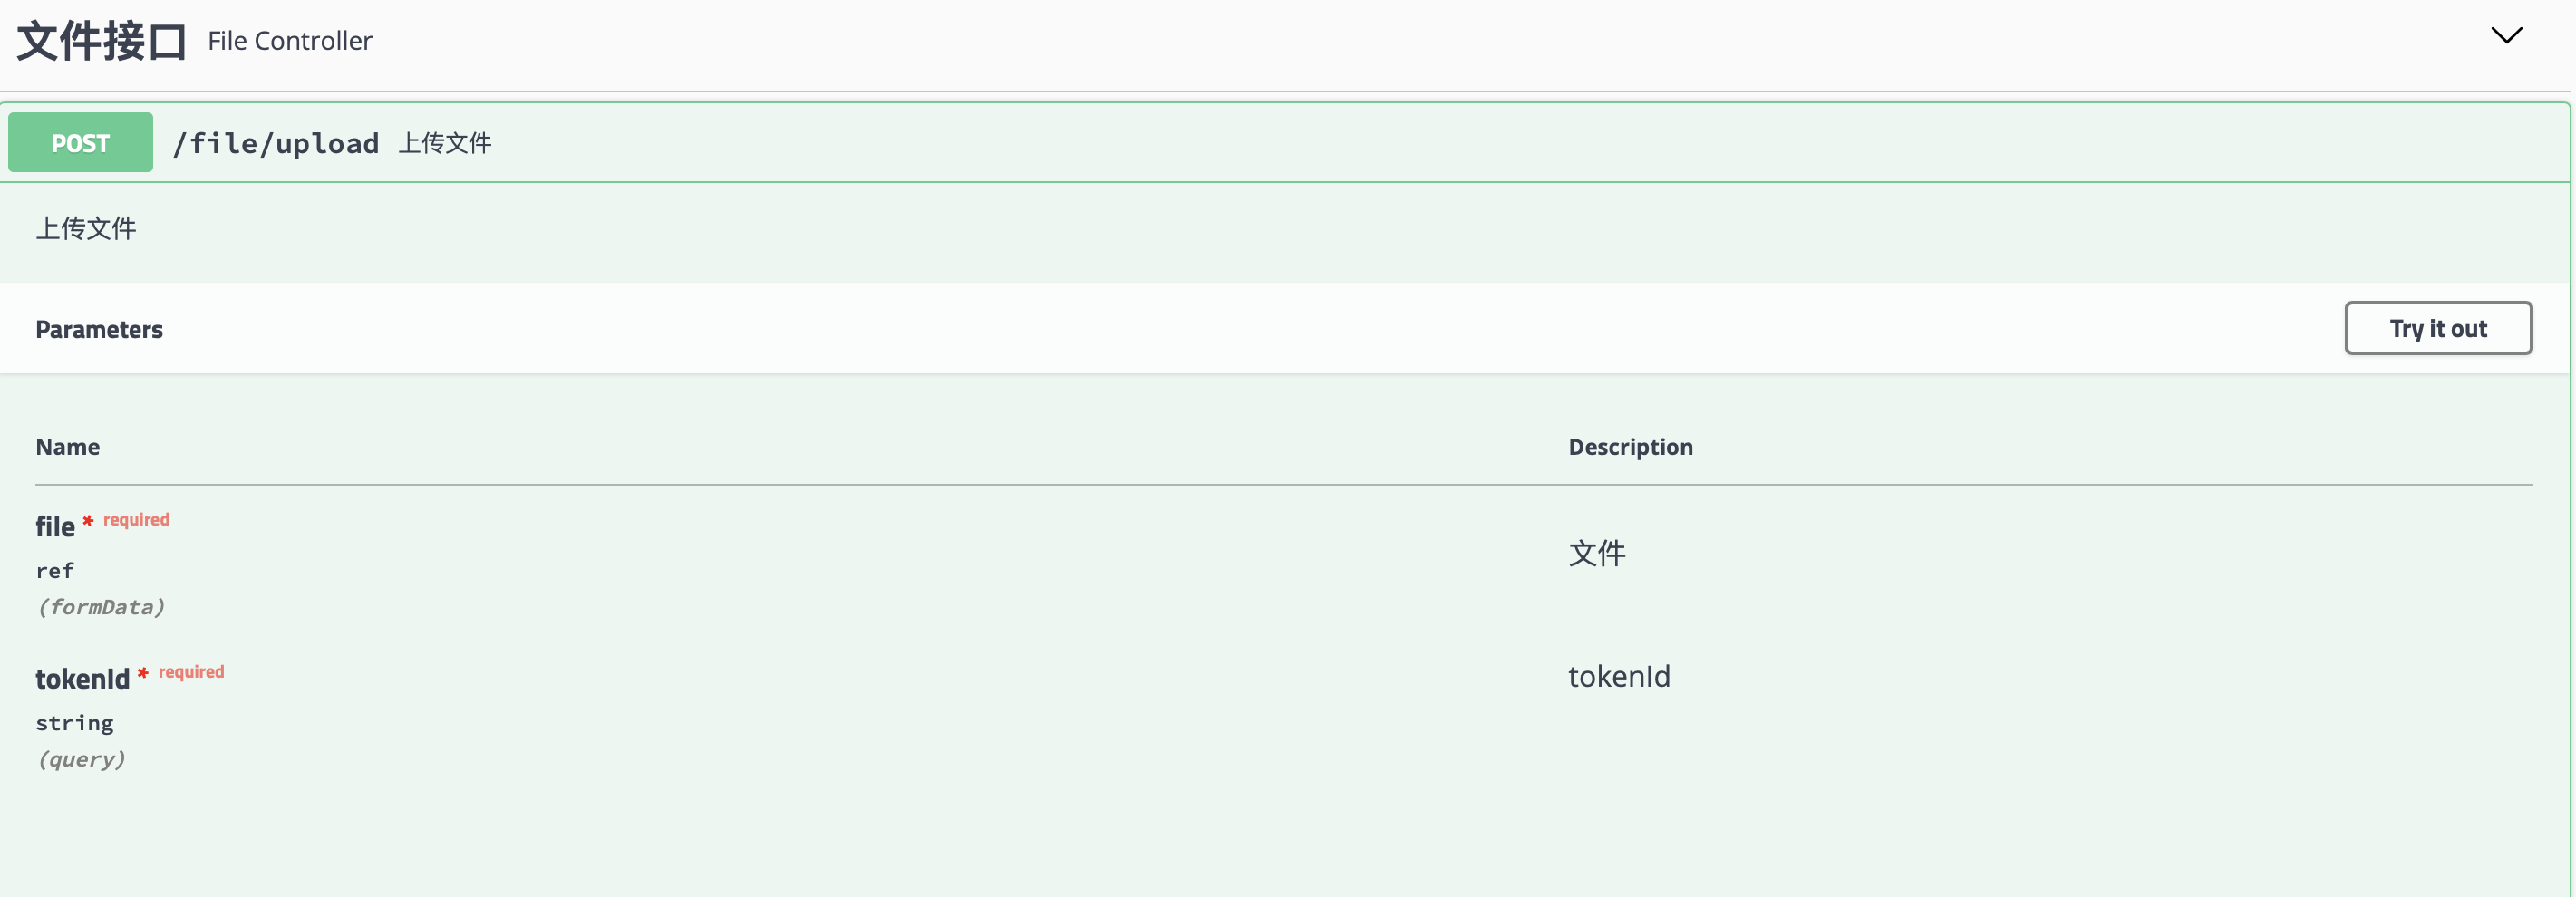
tokenId可以作为参数放到parameters
然后注意file字段:这个file 就是
[formData appendPartWithFileData:file[@"buff"] name:@"file" fileName:file[@"name"] mimeType:@"image/*"];
name的值。之前没搞懂。file[@"buff"],file[@"name"] 这个是方法传过来的字典,与这里说的主题没关系。
详细代码:
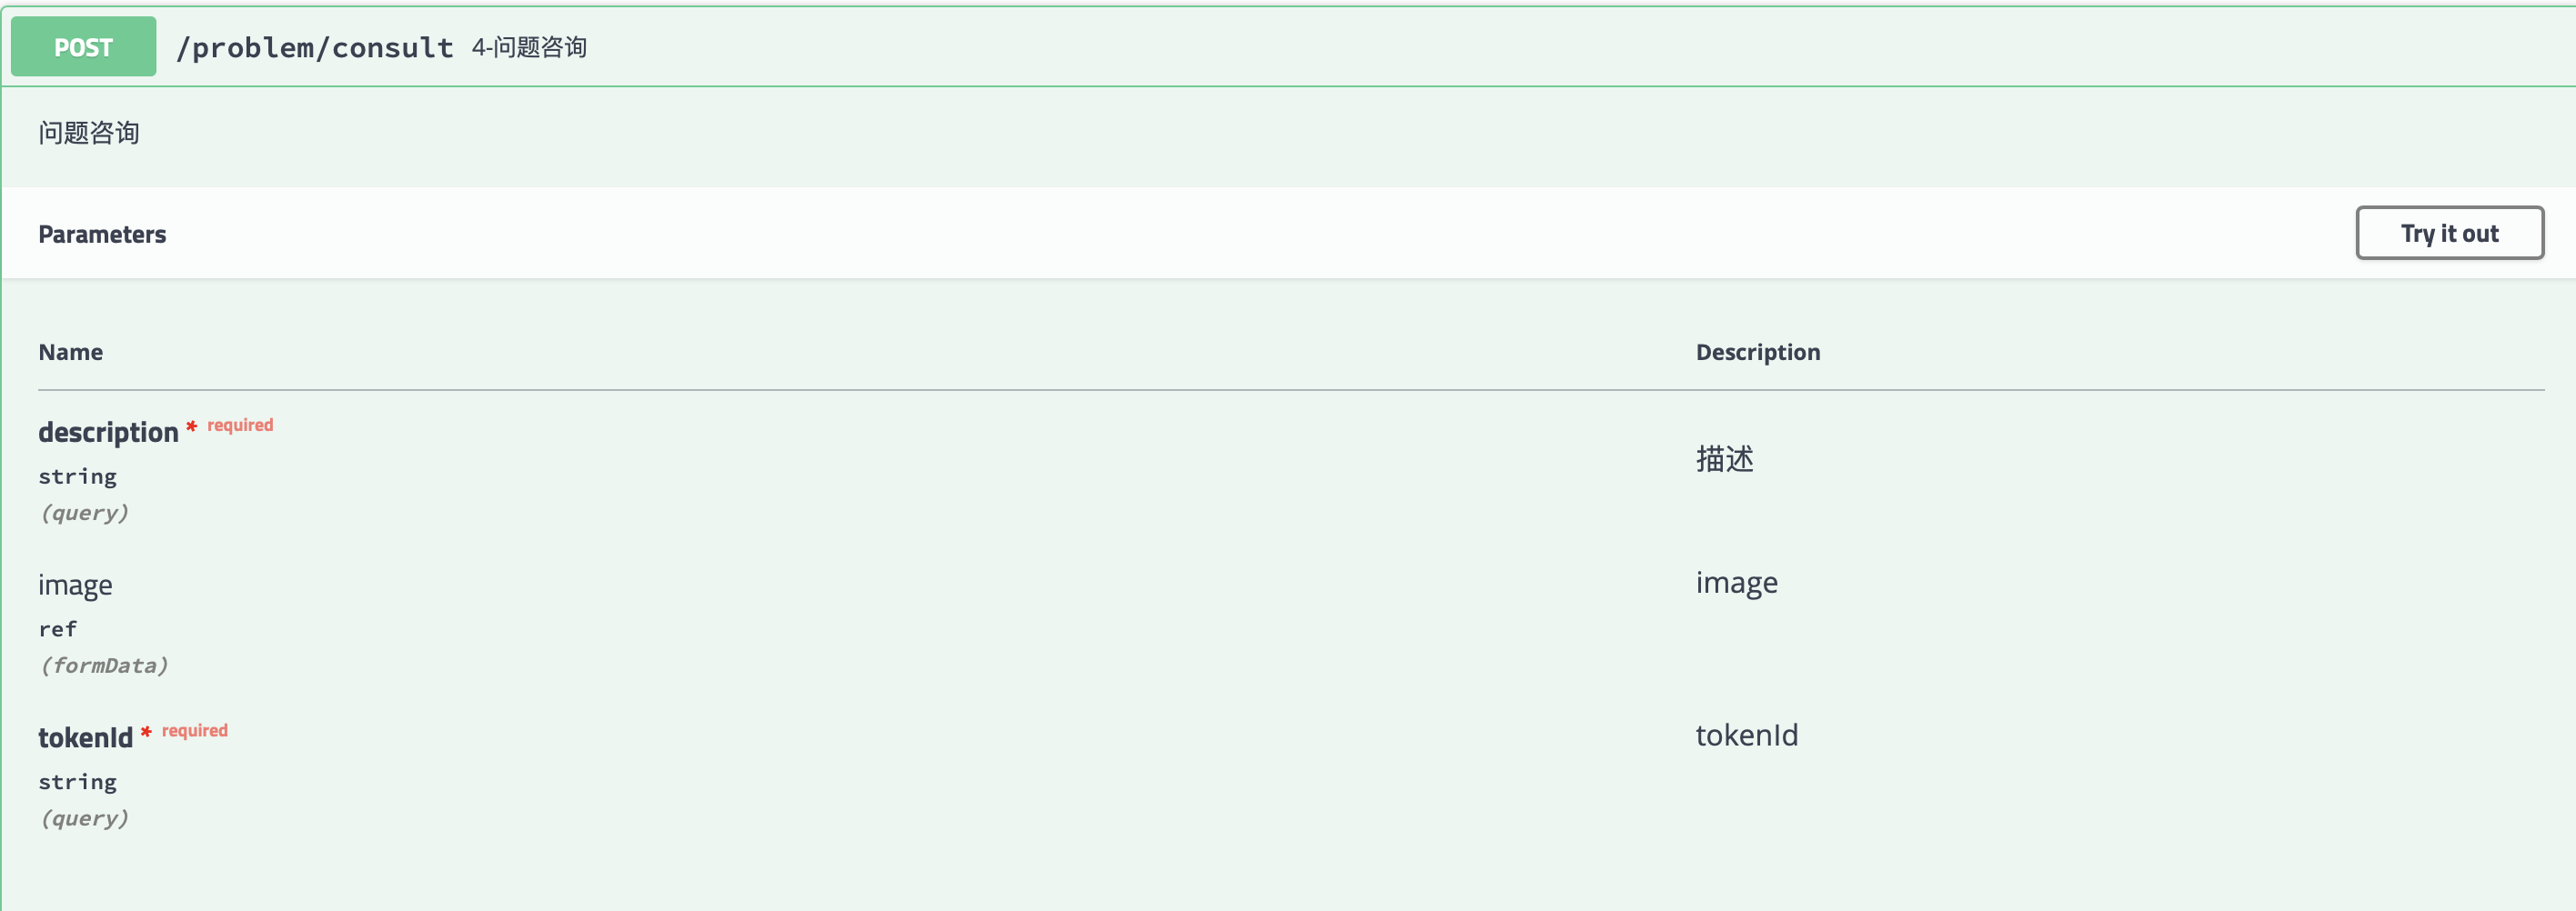
如果是其他地方如头像,则是不同的key。比如
[[WLFNetWorkManager shared] POST:FILE_UPLOAD_URL parameters:@{@"tokenId":tokenId} constructingBodyWithBlock:^(id<AFMultipartFormData>  _Nonnull formData) {

        [formData appendPartWithFileData:file[@"buff"] name:@"file" fileName:file[@"name"] mimeType:@"image/*"];


    } progress:^(NSProgress * _Nonnull uploadProgress) {

        //NSLog(@"uploadProgress = %@",uploadProgress);
    } success:^(NSURLSessionDataTask * _Nonnull task, id  _Nullable responseObject) {

        NSString *json = [[NSString alloc]initWithData:responseObject encoding:NSUTF8StringEncoding];
        NSDictionary *retDict = [[WLFDataTransformTool shareInstance] dictionaryWithJsonString:json];
        complete(retDict);
        /*
         {
             code = 1;
             data =     {
                 fileId = 114587;
                 fileSize = 5081851;
                 fileUrl = "/11/2020/3/18/5c4e397d-13e8-4b05-bc18-3a093ca28dc6.jpg";
             };
             msg = "文件上传成功";
         }
         */

    } failure:^(NSURLSessionDataTask * _Nullable task, NSError * _Nonnull error) {

        faildBlock(error);
    }];
二. 之前项目一直用thrift。现在改成http, 为啥没有用https,后台说他们在后台已经加密了。
这里也顺便记录一下thrift的使用步骤。库地址:https://github.com/apache/thrift
后台边写好了thrift文件之后,然后在thrift/ 同级目录下运行命令:
thrift -out /Users/udc/Desktop/thrift_interface -I ./ --gen cocoa udc_all.thrift
生成
udc_all.h
udc_all.m

两个OC文件。这两个文件中就是相关接口,直接调用就可以了。另外一些模型啊,返回码,状态码。都在thrift/文件中定义了,不用自己写。

如果想生成其他语言接口文件,可以试试如下命令。
#thrift -out /Users/udc/Desktop/thrift_interface -I ./ --gen swift udc_all.thrift

#thrift -out /Users/udc/Desktop/thrift_interface -I ./ --gen cpp udc_all_cpp.thrift

#thrift -out /Users/udc/Desktop/thrift_interface -I ./ --gen js udc_all_js.thrift
用法简略:
-(void)OC封装的接口请求方法名{

    __unsafe_unretained  WLFAPIDataAccess *weakSelf = self;
    [self.asyncQueue addOperationWithBlock:^(void) {

        @try {

            self.transport = [[TSocketTransport alloc] initWithHostname:SERVER_HOST_IP port:SERVER_PORT];//用主机+IP初始化
            self.protocol = [[TBinaryProtocol alloc] initWithTransport:self.transport];
            self.server = [[UdcApiServiceClient alloc]initWithProtocol:self.protocol];

            NSError *error;
            FileInfoResp *fileresponseInfo = [self.server uploadFile:self.udchead file:fileData error:&error]; //调用上面生成udc_all.h文件中的接口 得到返回的数据模型 回调出去

            //DLog(@"UploadFile ret = %@",fileresponseInfo);
            // UploadFile ret = FileInfoResp(response:ResponseInfo(code:1,message:"文件上传成功。"),fileInfo:FileInfo(fileId:24709,fileUrl:"/11/2018/11/8/8ad9212c-32ad-4d9f-8147-3c48077a21b3.JPG",fileName:"IMG_0005",fileSize:473044,originalFileName:"(null)",pkId:0))


            [self.transport close];//关闭thrift传输 避免浪费资源

            [self asyncRequestResultWith:fileresponseInfo complete:complete failed:faildBlock];

        }
        @catch (NSException *e) {
            NSString *errorMsg = e.description;
            //DLog(@" UploadFile Error %@", errorMsg);
            [weakSelf.mainQueue addOperationWithBlock:^(void) {
                complete(errorMsg);
            }];
        }

    }];


}