Chirpstack:一个开源的Lora服务项目,该项目包含Gateway Bridge,Network Server,Application Server,Gateway os等子项目,官网地址:https://www.chirpstack.io/
服务器环境:CentOS Linux release 7.8.2003 (Core)。
一,安装mosquitto。mosauitto是一个开源的MQTT消息代理软件。这个项目中,MQTT承担了各个组件之间互相通信的重任,贯穿了从网桥到AS的整个流程。
1,添加EPEL软件包安装源:yum install https://dl.fedoraproject.org/pub/epel/epel-release-latest-7.noarch.rpm
2,安装mosquitto:yum install mosquitto
3, 配置mosquitto
#创建密码文件
touch /etc/mosquitto/pwfile
#创建策略文件
touch /etc/mosquitto/aclfile
#创建日志目录
mkdir /var/log/mosquitto
#创建日志文件
touch /var/log/mosquitto/mosquitto.log
#创建本地持久化文件目录
mkdir /var/lib/mosquitto
#创建chrip用户
mosquitto_passwd /etc/mosquitto/pwfile chrip
#输入chrip用户的密码
vi /etc/mosquitto/mosquitto.conf
#持久化配置
persistence true
persistence_location /var/lib/mosquitto/
#日志文件配置
log_dest file /var/log/mosquitto/mosquitto.log
#用户名密码认证配置
allow_anonymous false
password_file /etc/mosquitto/pwfile
acl_file /etc/mosquitto/aclfile
配置用户策略:vi /etc/mosquitto/aclfile
user chirp  //用户chirp
topic chirpstack/#   //可对主提chirpstack读写
测试: mosquitto_sub -t chirpstack/# -u chirp -P 123456
日志查看:tail -f /var/log/mosquitto/mosquitto.log
二,安装gateway-bridge
1,新建一个目录,下载redhat安装包到该目录 wget https://artifacts.chirpstack.io/downloads/chirpstack-gateway-bridge/chirpstack-gateway-bridge_3.9.2_linux_386.rpm
2,安装rpm:rpm -ivh chirpstack-gateway-bridge_3.9.2_linux_386.rpm
3,为getway-bridge创建一个mqtt用户及密码:mosquitto_passwd chirp_gateway,并为该用户配置主题为“gateway/#”的读写策略.配置后重启Mosquitto
4,配置MQTT认证信息: vi /etc/chirpstack-gateway-bridge/chirpstack-gateway-bridge.toml
#配置MQTT payloads采用的协议,默认为protobuf
marshaler="json"
#配置MQTT 用户名
username="chirp_gateway"
password="123456"
#如果需要更改udp的监听端口可以改写udp_bind值,默认1700
5, 启动网桥: sudo systemctl start chirpstack-gateway-bridge。查看日志:journalctl -f -n 100 -u chirpstack-gateway-bridge
三,安装配置redis
1,yum install redis
2, vi /etc/redis.conf。找到requirepass,去掉注释并设置新的密码:requirepass redis123456
3,启动redis:systemctl start redis
4,验证密码:redis-cli -h 127.0.0.1 -p 6379 -a redis123456
四,安装配置postgresql
1,rpm源: yum install https://download.postgresql.org/pub/repos/yum/reporpms/EL-7-x86_64/pgdg-redhat-repo-latest.noarch.rpm。安装源见:https://yum.postgresql.org/repopackages/
2,安装:yum install postgresql95-server postgresql95-contrib
3,初始化数据库:/usr/pgsql-9.5/bin/postgresql95-setup initdb
4,修改postgres用户密码: passwd postgres
5,修改postgresql监听地址:vi /var/lib/pgsql/9.5/data/postgresql.conf。修改listen_addresses值为“*”
6,修改postgresql认证方式:vi /var/lib/pgsql/9.5/data/pg_hba.conf。
# TYPE  DATABASE        USER            ADDRESS                 METHOD

# "local" is for Unix domain socket connections only
local   all             all                                     peer
# IPv4 local connections:
host    all             all             127.0.0.1/32            ident
# IPv6 local connections:
host    all             all             ::1/128                 md5
# Allow replication connections from localhost, by a user with the
# replication privilege.
local   replication     postgres                                peer
host    replication     postgres        127.0.0.1/32            ident
host    replication     postgres        ::1/128                 ident
5,启动:systemctl enable postgresql-9.5.service systemctl start postgresql-9.5.service
五,安装network-server
1,添加mqtt账户:mosquitto_passwd /etc/mosquitto/pwfile chirp_network。并配置主题:“gateway/#” 的读写权限。配置后重启Mosquitto
2,添加postgresql账户及数据库
1),进入postgres用户:su postgres,输入psql指令
2),创建角色及密码:create role chirpstack_ns with login password 'dbpassword';
3),创建数据库:create database chirpstack_ns with owner chirpstack_ns;
4),测试:psql -h localhost -U chirpstack_ns -W chirpstack_ns。输入密码。
3,下载chirpstack-network-server:wget https://artifacts.chirpstack.io/downloads/chirpstack-network-server/chirpstack-network-server_3.10.0_linux_386.rpm
4,安装rpm:rpm -ivh chirpstack-network-server_3.10.0_linux_386.rpm
5,配置:vi /etc/chirpstack-network-server/chirpstack-network-server.toml
#postgresql连接字符串
[postgresql]
dsn="postgres://chirpstack_ns:dbpassword@localhost/chirpstack_ns?sslmode=disable"
#redis连接字符串
[redis]
url="redis://requirepass:redis123456@localhost:6379"
#中国lora频点设置
[network_server]
 name="CN470"
#注释掉[[network_server.network_settings.extra_channels]]节点
# [[network_server.network_settings.extra_channels]]
   # frequency=867100000
   # min_dr=0
   # max_dr=5
#mqtt设置
[network_server.gateway.backend]
username="chirp_network"
password="123456"
6,启动network-server:systemctl start chirpstack-network-server。查看日志:journalctl -u chirpstack-network-server -f -n 50
六,安装Chirpstack-Application-server
1,新建Mosquitto用户和策略:mosquitto_passwd /etc/mosquitto/pwfile chrip_application。并配置主题"gateway/#"的读写权限。配置后重启Mosquitto
2,添加postgresql账户及数据库
1),进入postgres用户:su postgres,输入psql指令
2),创建角色及密码:create role chirpstack_as with login password 'dbpassword';
3),创建数据库:create database chirpstack_as with owner chirpstack_as;
4)开启 trigram 和 hstore
c chirpstack_as
create extension pg_trgm;
create extension hstore;
4),测试:psql -h localhost -U chirpstack_as -W chirpstack_as。输入密码。
3,下载application-server:wget https://artifacts.chirpstack.io/downloads/chirpstack-application-server/chirpstack-application-server_3.12.2_linux_386.rpm
4,安装:rpm -ivh chirpstack-application-server_3.12.2_linux_386.rpm
5,利用openssl生成一个密钥:openssl rand -base64 32
6,配置:
#postgresql连接字符串
[postgresql]
dsn="postgres:/chirpstack_as:dbpassword@localhost/chirpstack_as?sslmode=disable"
#redis连接字符串
[redis]
url="redis://requirepass:redis123456@localhost:6379"
#mqtt设置
[application_server]
enabled=["mqtt"]
username="chirp_network"
password="123456"
#jwt密钥,由openssl rand -base64 32生成
jwt_secret="w7X8LWXqee6HM3ach02as3fVB2xslTRXk/UCiTWC/8k="
7,启动:systemctl start chirpstack-application-server。 查看日志:journalctl -f -n 100 -u chirpstack-application-server
七,开放端口
开放 UDP 1700 ,TCP 8080,1883
firewall-cmd --zone=public --add-port=1700/udp --permanent
firewall-cmd --zone=public --add-port=8080/tcp --permanent
firewall-cmd --zone=public --add-port=1883/tcp --permanent
firewall-cmd --reload
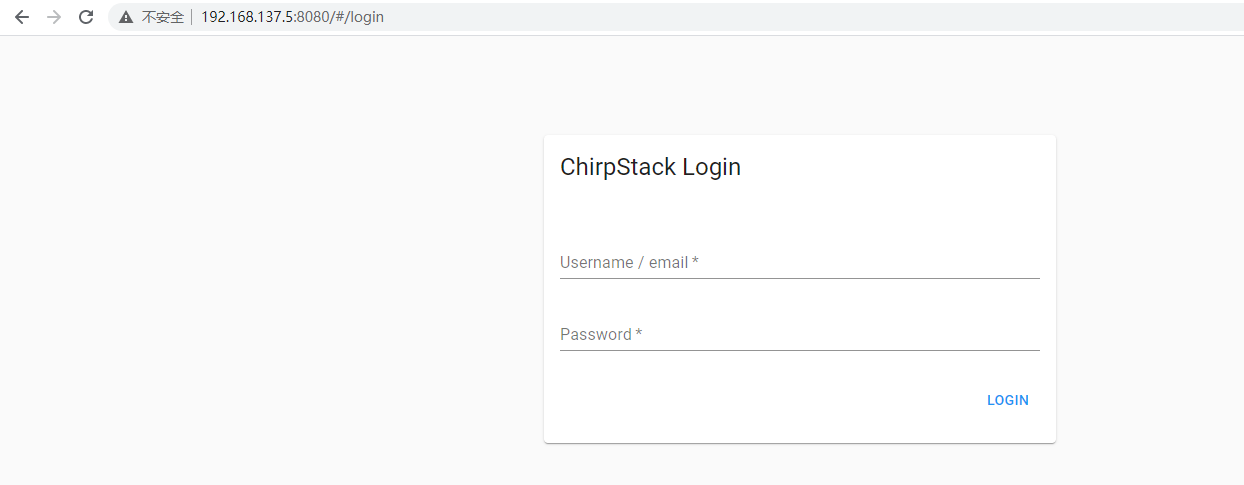
打开applicationServer管理页面,默认用户和密码为admin
八 配置application server
打开管理界面,登录
1,添加services:

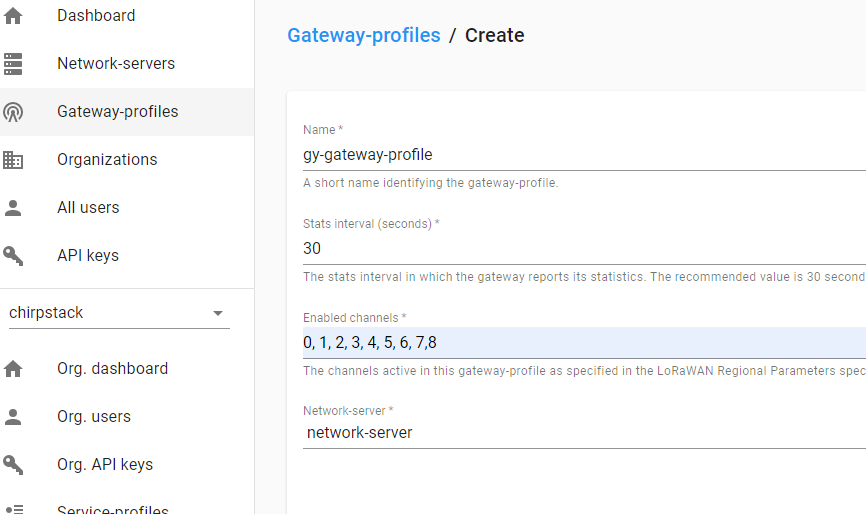
2,添加网关配置
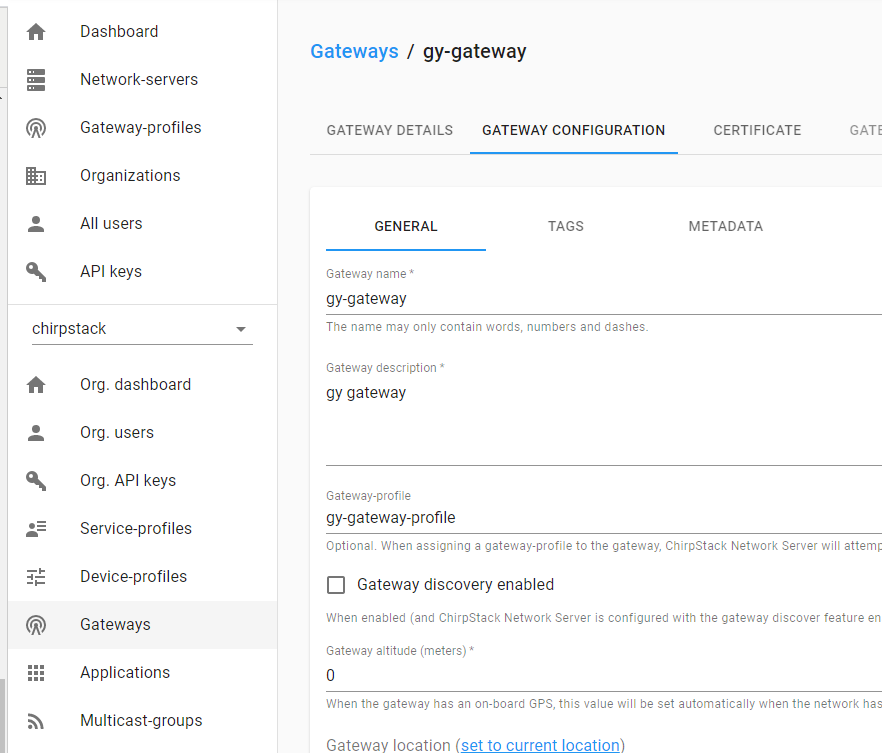
3,配置网关,我手里有一个躬远的Lorawan网关。配置Lora服务器

在application server添加该网关。
查看gateway-bridge日志。可以看到已经可以收到网关的udp包,并发布到Mqtt:journalctl -u chirpstack-gateway-bridge -f -n 50
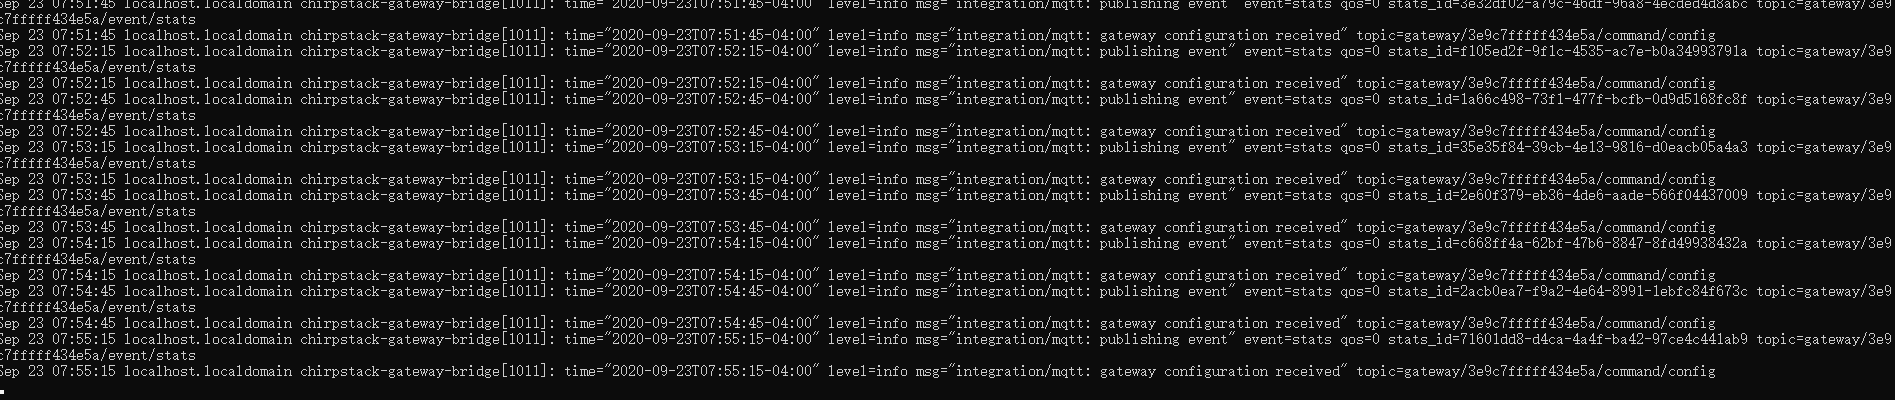
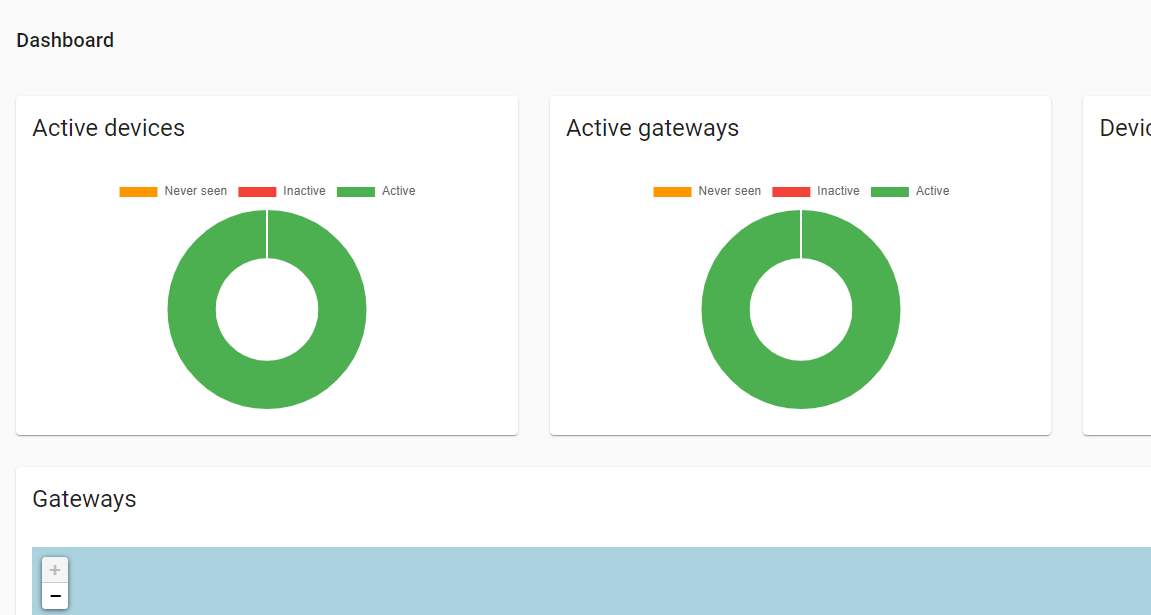
application server上该网关已经是active了。

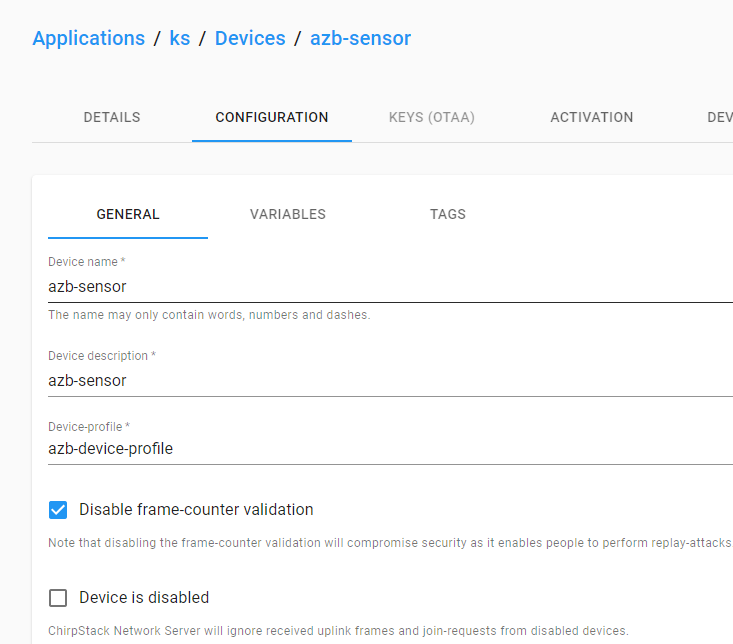
九:添加设备。我手中有安志博的lora倾斜传感器终端,采用abp入网方式。按说明书激活后在application平台添加该设备
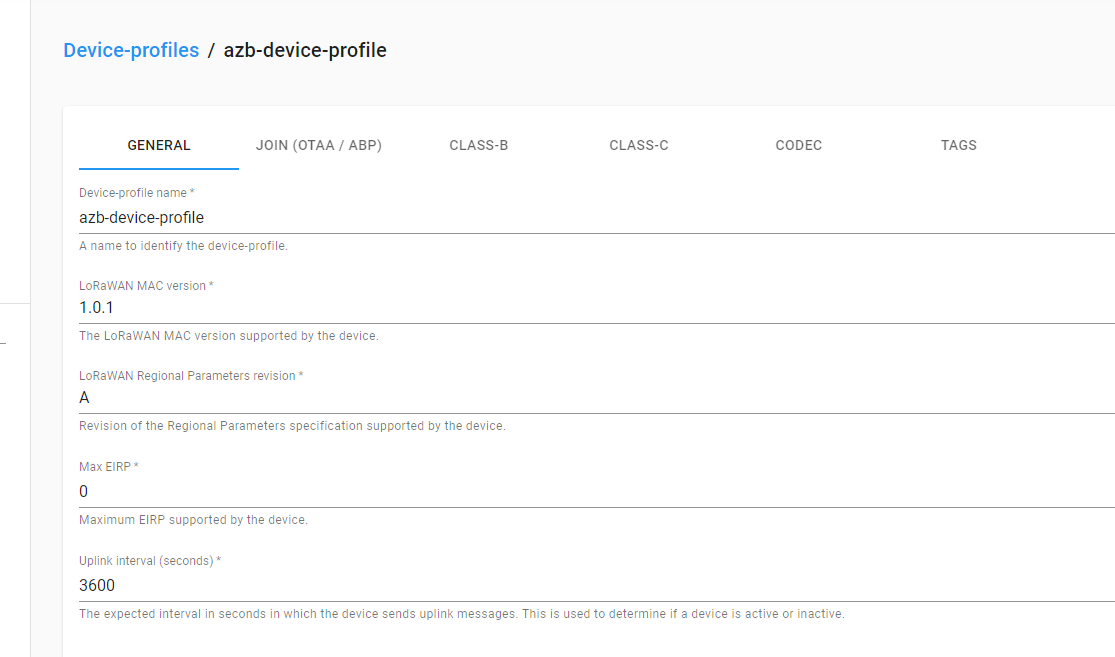
1,添加设备配置文件
2,添加应用域

3,在该应用域下添加设备
4,配置设备的入网参数。该入网参数可以由设备终端提供,也可以自己定好后发给厂家由厂家出厂时设置好。
ABP入网主要有三个参数:1,Device address 2,Network session key,3,Application session key

5,触发该lora终端,applcation平台设备上线
十,从mqtt获取设备的上行数据
利用Mosquitto_sub工具订阅application/#主题:mosquitto_sub -t application/# -u chirp_application -P 123456 。可以新建一个Mosquitto用户和策略,也可以直接用之前部署Application-server时的用户

红框中的数据即为设备所上传的数据,需要用base64解密后转为16进制。
十一,下发数据到设备
可以通过http接口或者mqtt发布二种方式,由于篇幅关系就不一一介绍。参考管网教程:
mqtt方式:https://www.chirpstack.io/application-server/integrations/mqtt/
http方式:https://www.chirpstack.io/application-server/api/http-examples/