引言
Cypress项目中官方写了很多demo,我们可以拿来做测试案例的。地址:https://github.com/cypress-io/cypress-example-recipes
安装
1、首先你要安装git,具体如何安装请百度,安装后,如图:

2、其次,输入命令,回车:
git clone https://github.com/cypress-io/cypress-example-recipes.git
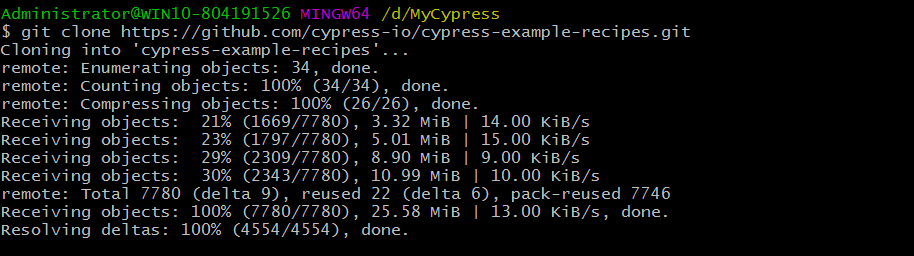
3、安装完后,进入目录查看:
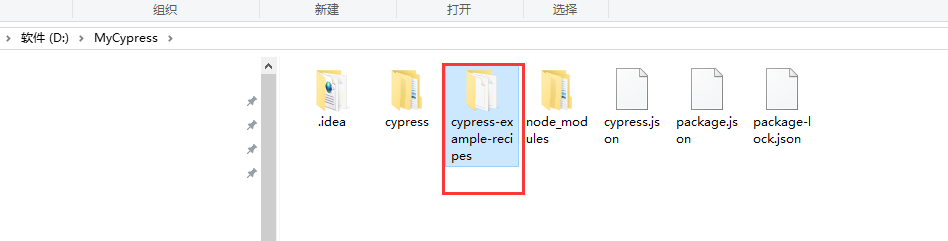
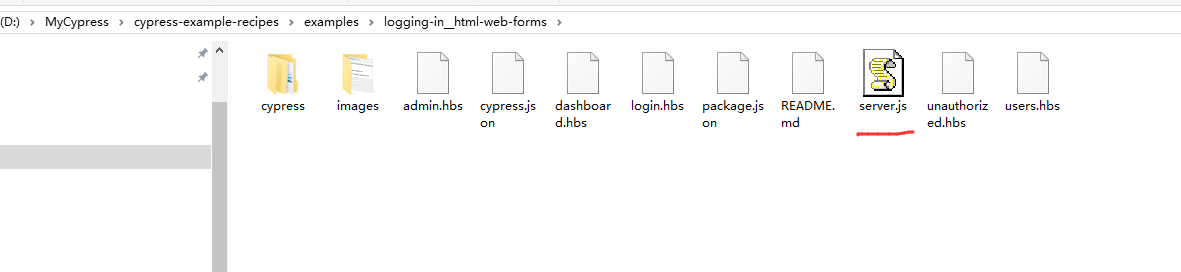
会多一个文件cypress-example-recipes
4、安装依赖:
npm install
如果npm不行,请用下面命令:
npm install cnpm -g --registry=https://registry.npm.taobao.org
再次安装:
cnpm install
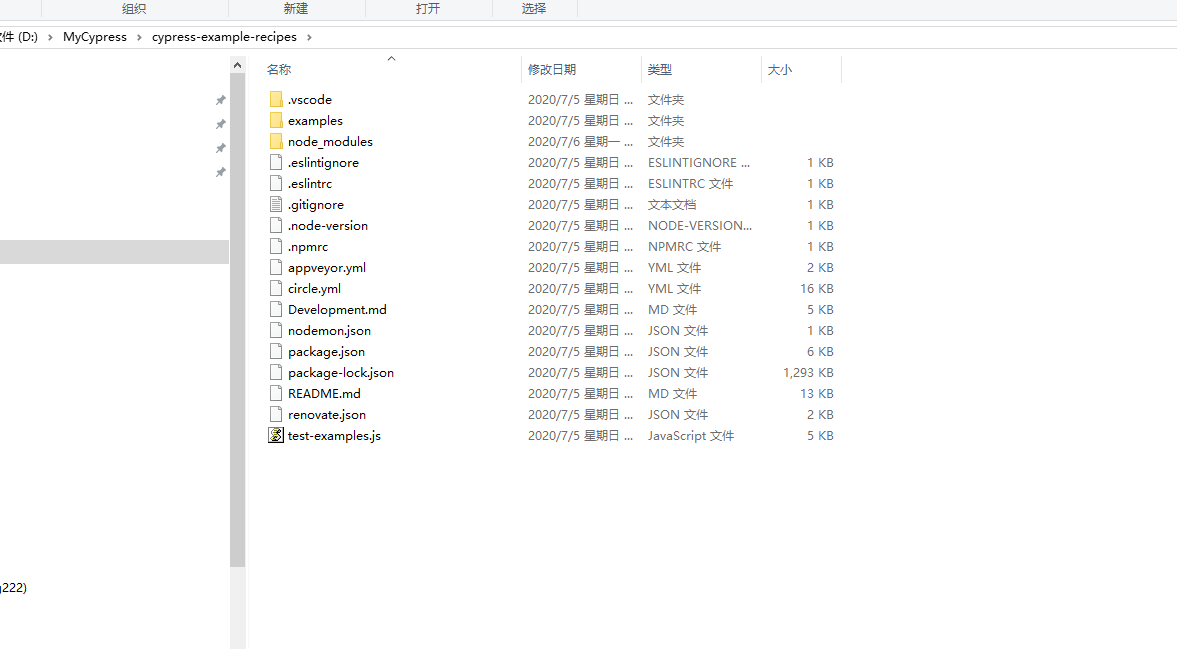
安装完成后,目录结构:
启动
启动测试应用时,可以进入不同子项目文件夹来启动不同的应用;
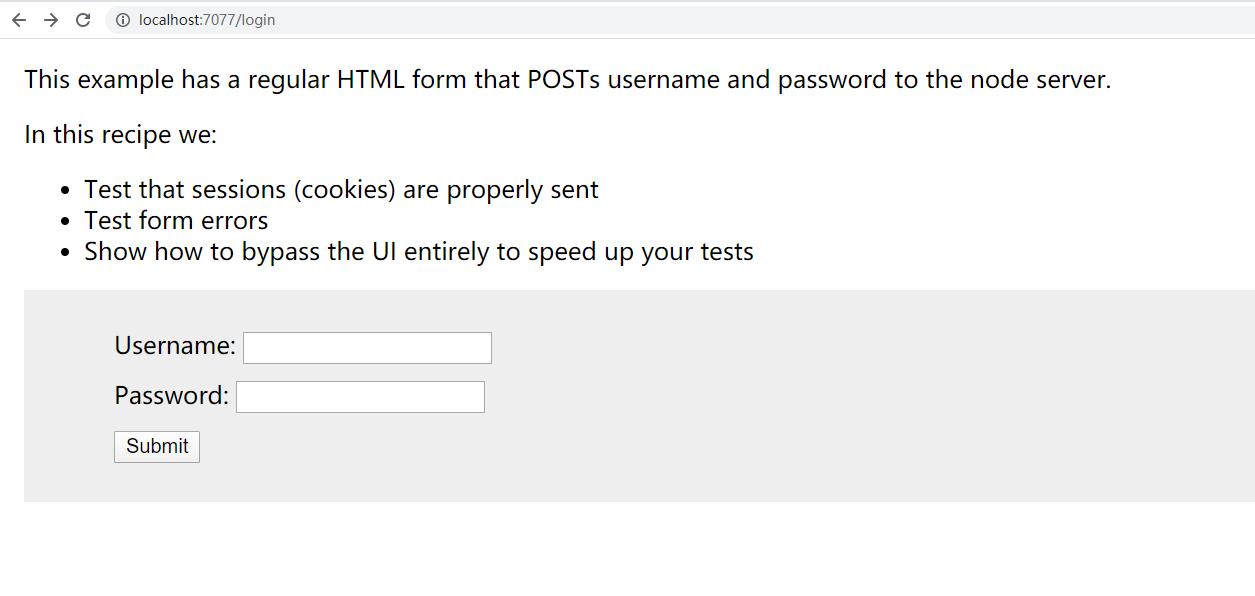
如果我们要测试表单类型的登录,可以打开以下被测应用
cd exampleslogging-in__html-web-forms>
cnpm start

使用浏览器访问:http://localhost:7077/ ,如图:
验证登录是否可用
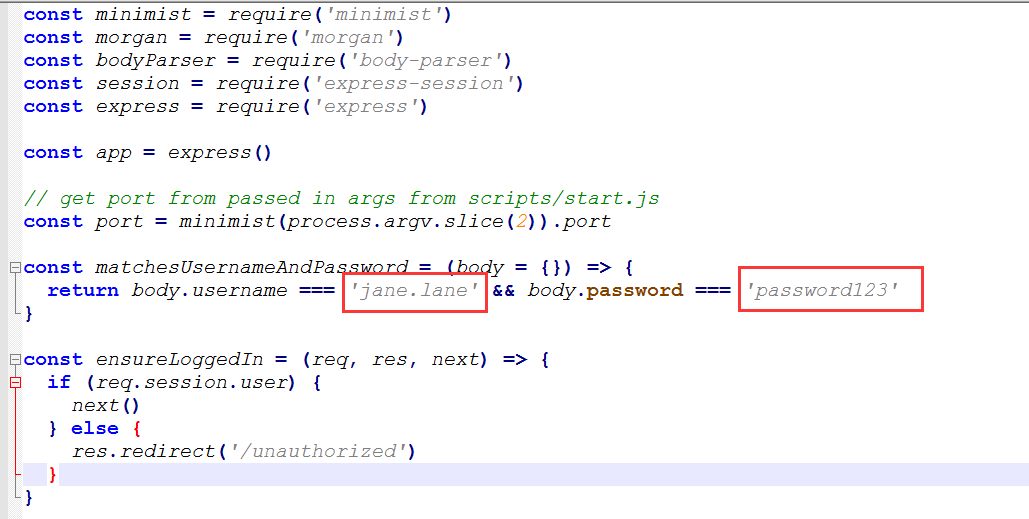
网页是打开了,那么账号密码在哪里呢?
我们打开文件server.js,如图:
使用notepad打开:
知道账号和密码,返回浏览器中登录:
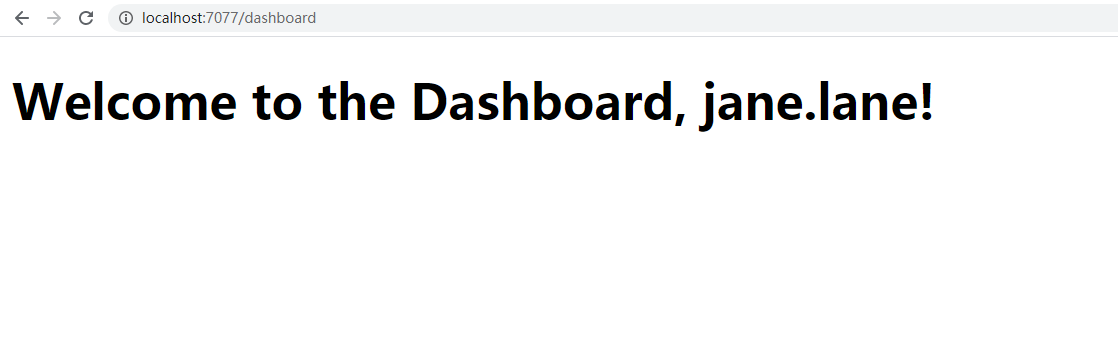
证明登录成功!
编写测试脚本
再来回顾一下测试结构:
- cypress // cypress目录
---- fixtures 测试数据配置文件,可以使用fixture方法读取
---- integration 测试脚本文件
---- plugin 插件文件
---- support 支持文件
- cypress.json // cypress全局配置文件
- package.json //这个要自己创建
而我们脚本是新建在此目录下:cypress安装路径 ode_modules.bincypressintegration ,创建一个 js 文件
/*@author: Leo

@software: pycharm

@file:  demo_login.js

@time: 2020/7/6 0006 23:10

@Desc:
*/


/* __author__ = 'Leo' */

describe('登陆官方案例', function() {
    beforeEach(() => {
          cy.visit('http://localhost:7077/login')
        })

    it("登陆案例", function()
    {
        // 输入用户名
        cy.get('[name="username"]').type('jane.lane')
              .should('have.value', 'jane.lane')
        // 输入密码
        cy.get('[name="password"]').type('password123')
              .should('have.value', 'password123')
        // 提交表单
        cy.get('[type="submit"]').click()
        // 判断页面跳转到 /dashboard
        cy.url().should('include', '/dashboard')
        // Welcome to the Dashboard, jane.lane!
        cy.get('body').should('contain', 'Welcome to the Dashboard, jane.lane!')

    })
    })
运行测试
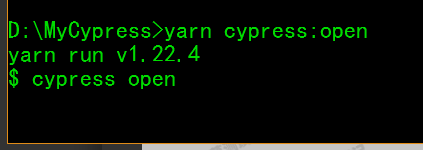
我们换个命令运行:
yarn cypress:open
启动界面:

运行结果:

速度很快,0.2秒完成。
总结
有兴趣可以持续关注。另外喜欢测试开发、性能测试的伙伴可以加入学习交流QQ群,一起学习成长。