前言
目标是自己实现一个vue-router插件,路径是hash模式
实现
vue-router插件代码(DiRouter)
下面的代码中会有详细注释,解释为什么要这么写
插件目录位置src/di-router/index.js
let Vue;
class DiRouter{
    //Vue.use使用插件的时候,会给插件内部的install方法传递Vue构造函数,所以这里需要添加一个install方法来接受传递过来的Vue
    static install(_Vue){
        Vue = _Vue;
    }
    constructor(options){
        //接收传递过来的配置项,内容见解释A
        this.$options = options;
        //定义解析routes对象的变量
        this.routeMap = {};
        //定义路由的地址,使用Vue的方式是为了利用data的响应式,当curr改变时,所有关联了curr的视图也会发生改变
        this.app = new Vue({
            data:{
                curr:"/"
            }
        })

      //调用初始化方法
      this.init();
    }
    init(){
        //1、绑定路由事件
        this.bindEvent();
        //2、创建路由对象
        this.createRouteMap()
        //3、创建组件
        this.createComponents();
    }
    bindEvent(){
        //当页面加载完成执行一次视图更新.之后每次通过hashchange来执行更新
        window.addEventListener("load",this.handleChange.bind(this));
        window.addEventListener("hashchange",this.handleChange.bind(this))
    }
    handleChange(par){
        //更新视图
        var hash = this.getHash() || "/";
        this.app.curr = hash;
    }
    getHash(){
        return location.hash.slice(1);
    }
    createRouteMap(){
        this.$options.routes.forEach((item)=>{
            //routeMap的值见解释B
            this.routeMap[item.path] = item;
        })

    }
    createComponents(){
        //模拟vue-router内置组件router-view和router-link
        Vue.component("router-view",{
            render:h=>{
                var component = this.routeMap[this.app.curr].component;
                return h(component)
            }
        })

        Vue.component("router-link",{
            //router-link会接受父组件传入的to参数
            props:{
                to:{
                    type:String,
                    required:true
                }
            },
            render:function(h){
                return h("a",{
                    attrs:{
                        href:`#${this.to}`
                    }
                },
                this.$slots.default
                )
            }
        })
    }
}

export default DiRouter;
自定义DiRouter组件的路由表配置
在src/router/index.js中
import Vue from "vue";
import DiRouter from "../di-router";
import Home from "../views/Home.vue"
import About from "../views/About.vue"
Vue.use(DiRouter);

const router = new DiRouter({
    routes:[
        {
            path:"/",
            component:Home
        },
        {
            path:"/about",
            component:About
        }
    ]
})

export default router;
自定义DiRouter组件的路由使用
在main.js中引入
import Vue from 'vue'
import App from './App.vue'
import router from "./router"

new Vue({
  router,
  render: h => h(App)
}).$mount('#app')
在App.vue中使用
<template>
  <div id="app">
    <router-link to="/">Home</router-link> |
    <router-link to="/about">About</router-link>
    <router-view/>
  </div>
</template>
组件about.vue
<template>
  <div class="about">
      <h1>hi di ,this is about</h1>
  </div>
</template>
组件home.vue
<template>
  <div class="home">
    <h2>hi di,this is home</h2>
  </div>
</template>
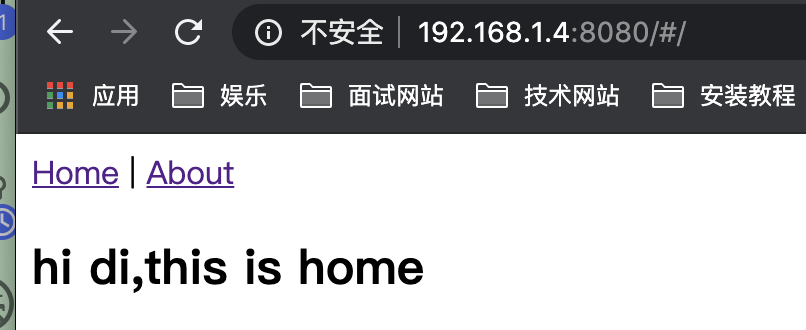
展示效果
启动yarn dev
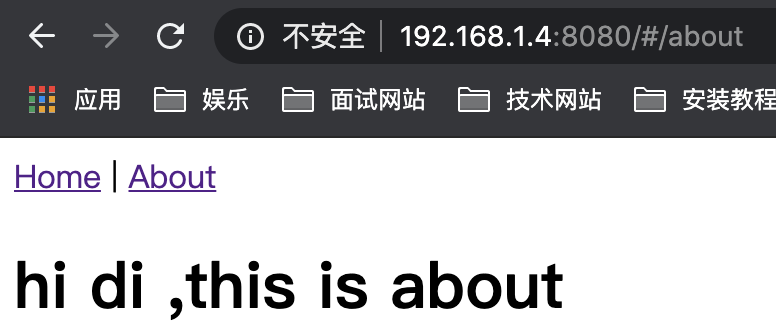
点击about
详细信息表
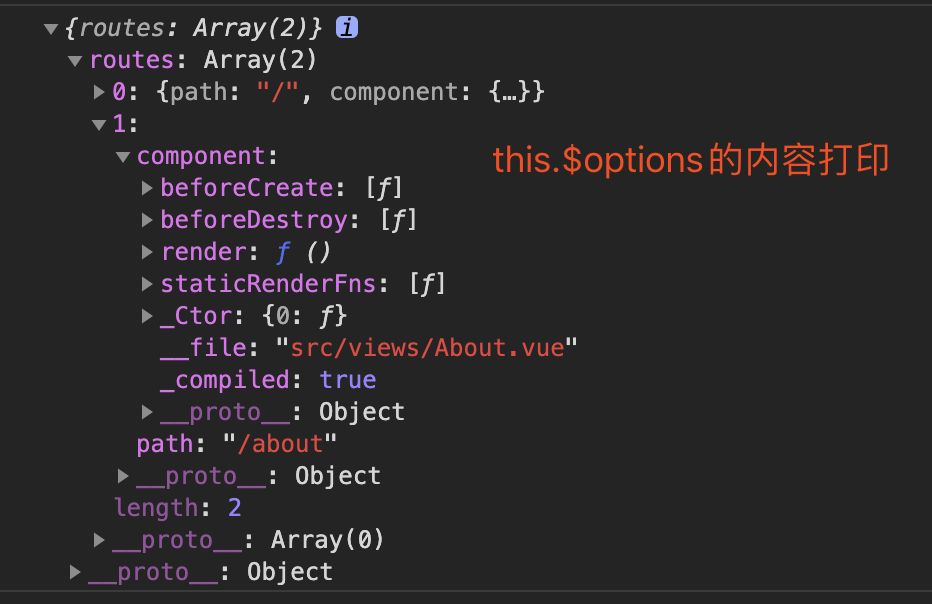
解释A
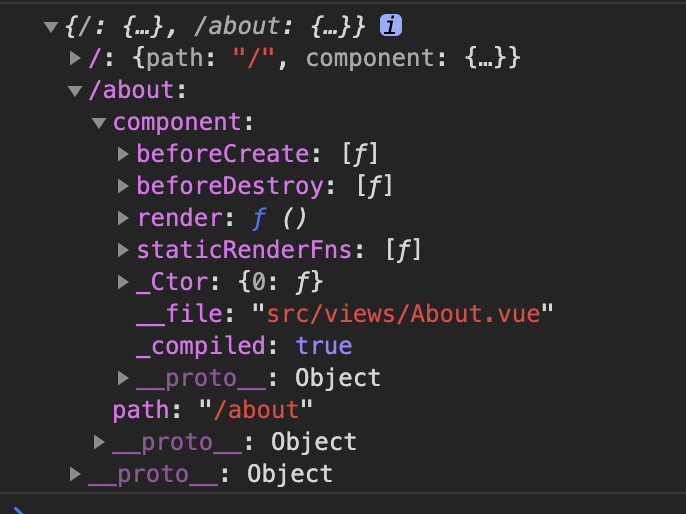
解释B