https://github.com/ElasticHQ/elasticsearch-HQ
- Download or clone the repository.
- Open terminal and point to root of repository. Type:
pip install -r requirements.txt - Run server with:
nohup /usr/bin/python3 -u /usr/local/software/elasticsearch-HQ-master/application.py >>all.log 2>&1 &
- Access HQ with:
http://localhost:5000
安装elasticsearch-sql-6.2.2
cd /usr/local/elasticsearch

./bin/elasticsearch-plugin install https://github.com/NLPchina/elasticsearch-sql/releases/download/6.2.2.0/elasticsearch-sql-6.2.2.0.zip
On elasticsearch 5.x/6.x, download and extract site.
Then start the web front-end like this:
cd site-server
npm install express --save
nohup node node-server.js >>node-server.log 2>&1 &
可以在site-server/site_configuration.json配置文件中修改启动服务的端口。
4.重启es,再启动es-sql前端
添加es-sql插件后,重启es,然后启动es-sql前端服务
启动前端服务:先切换到es-sql/site-server目录下,执行如下语句
node node-server.js &
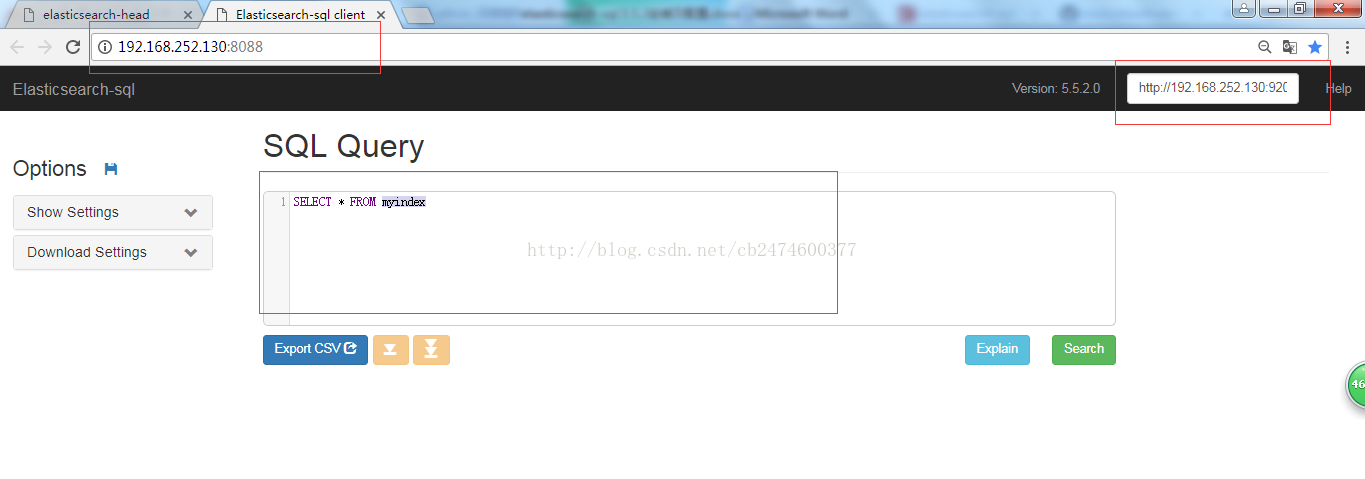
启动后,访问:http://ip:8088/ 然后配置es地址,如下:
- Simple query
http://data.xxxx.com:9200/_sql?sql=select * from t_base_student limit 10
SELECT identity_id,person_id,sum(resource_size_int) as sumall FROM t_resource_info group by identity_id,person_id order by sumall desc limit 100
- Explain SQL to elasticsearch query DSL
http://localhost:9200/_sql/_explain?sql=select * from indexName limit 10