一、目标
输入网址,生成网址的二维码
二、概况
1.效果:UI丑,但功能实现了

2.项目目录

三、用到的第三方资源
1.google的扫码包zxing
2.JQuery
四、步骤(用myEclipse)
1.新建工程,选择web project

2.加入第三方资源(zxing包和jQuery)
2.1
2.1.1复制,粘贴,加入zxing的jar包(所有文件在附件中下载)

2.2.2右键jar包加入buildpath

2.2加入jQuery文件
2.2.1在WebRoot下新建文件夹js


复制粘贴jQuery文件到此文件夹

3.按需求修改webroot下的index.jsp页面如下:
|
1
2
3
4
5
6
7
8
9
10
11
12
13
14
15
16
17
18
19
20
21
22
23
24
25
26
27
28
29
30
31
|
<%@ page language="java" import="java.util.*" pageEncoding="utf-8"%><%String path = request.getContextPath();String basePath = request.getScheme()+"://"+request.getServerName()+":"+request.getServerPort()+path+"/";%><!DOCTYPE HTML PUBLIC "-//W3C//DTD HTML 4.01 Transitional//EN"><html> <head> <base href="<%=basePath%>"> <title>二维码</title> <script src="js/jquery.min.js"></script> <script> $(function(){ $("input[type=submit]").click(function(e){ e.preventDefault(); $("#qrcode_div").empty().append("<img id='qrImg' />"); $("#qrImg").attr("src", "qrcode?website="+$("input[type=text][name=website]").val());//此处会访问servlet }); }); </script> </head> <body> <form> 网址<input type="text" name="website" /> <input type="submit" value="生成二维码" /> <div id="qrcode_div"></div> </form> </body></html> |
4.新建servlet文件
4.1右键工程文件夹--》new ---->servlet(myEclipse会自动配置servlet到web.xml文件)


QRCode.java servlet文件的代码如下:
|
1
2
3
4
5
6
7
8
9
10
11
12
13
14
15
16
17
18
19
20
21
22
23
24
25
26
27
28
29
30
31
32
33
34
35
|
package servlet;import java.io.IOException;import javax.servlet.ServletException;import javax.servlet.http.HttpServlet;import javax.servlet.http.HttpServletRequest;import javax.servlet.http.HttpServletResponse;import util.QRCodeUtil;import com.google.zxing.WriterException;public class QRCode extends HttpServlet { public void doGet(HttpServletRequest request, HttpServletResponse response) throws ServletException, IOException { request.setCharacterEncoding("utf-8"); response.setCharacterEncoding("utf-8"); String website = request.getParameter("website"); try { QRCodeUtil.genGR(website, response.getOutputStream()); } catch (WriterException e) { e.printStackTrace(); } //String website = request.getAttribute("website").toString(); } public void doPost(HttpServletRequest request, HttpServletResponse response) throws ServletException, IOException { doGet(request, response); }} |
5.新建辅助类文件,作用是生成二维码(QRCodeUtil.java)
5.1右键工程文件夹--》new--->class,如下图


QRCodeUtil.java的代码如下:
|
1
2
3
4
5
6
7
8
9
10
11
12
13
14
15
16
17
18
19
20
21
22
23
24
25
26
27
28
29
30
31
32
33
34
35
36
37
38
39
40
41
42
43
44
45
46
|
package util2;import java.awt.image.BufferedImage;import java.io.IOException;import java.io.OutputStream;import java.util.Hashtable;import javax.imageio.ImageIO;import com.google.zxing.BarcodeFormat;import com.google.zxing.EncodeHintType;import com.google.zxing.MultiFormatWriter;import com.google.zxing.WriterException;import com.google.zxing.common.BitMatrix;public class QRCodeUtil { private static final int BLACK = 0xFF000000; private static final int WHITE = 0xFFFFFFFF; public static void genGR(String website, OutputStream output) throws WriterException, IOException { int width = 300; int height = 300; String format = "jpg"; Hashtable<EncodeHintType, String> hints = new Hashtable<EncodeHintType, String>(); //Hashtable hints = new Hashtable(); hints.put(EncodeHintType.CHARACTER_SET, "utf-8"); BitMatrix bm = new MultiFormatWriter().encode(website, BarcodeFormat.QR_CODE, width, height, hints); BufferedImage image = toImage(bm); ImageIO.write(image, format, output); //把二维码写到response的输出流 } private static BufferedImage toImage(BitMatrix bm) { int width = bm.getWidth(); int height = bm.getHeight(); BufferedImage image = new BufferedImage(width, height, BufferedImage.TYPE_INT_RGB); for(int x = 0;x < width; x++){ for(int y = 0; y < height; y++ ){ image.setRGB(x, y, bm.get(x, y) ? BLACK : WHITE); } } return image; }} |
6.至此,所有文件已完成,接下来布置项目,启动tomcat,访问文件,如下图

布置完成后,点击debug启动项目
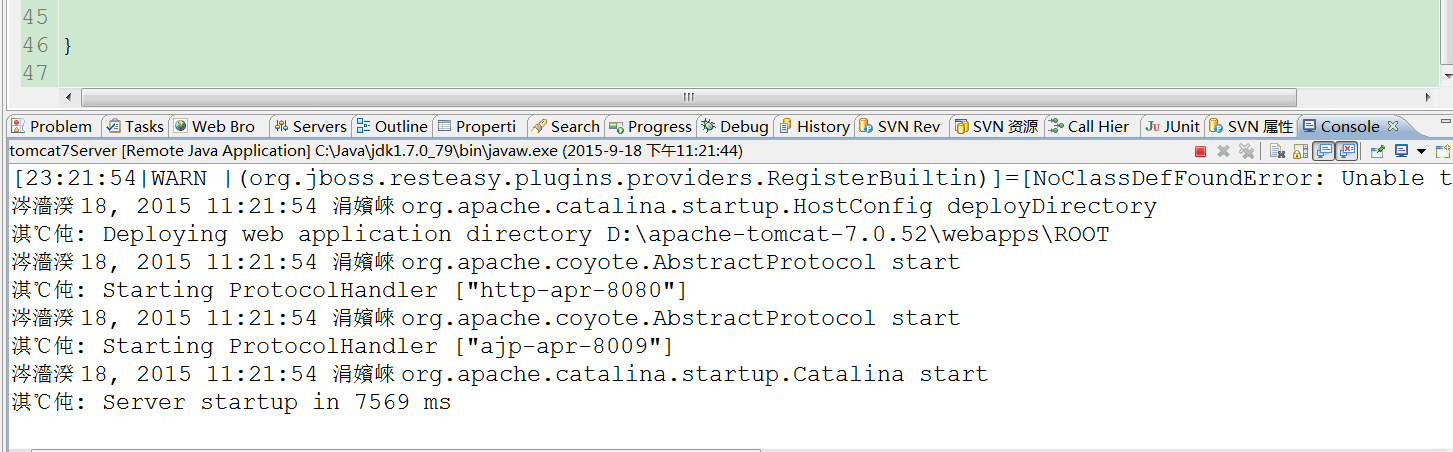
启动成功后,在浏览器中访问文件

PS:
可以修改QRCodeUtil.java文件中的颜色配置,以生成彩色的二维码,例如:
private static final int BLACK = 0xff0000ff;//0xFF000000;
private static final int WHITE = 0xffffff00;//0xFFFFFFFF;

常见颜色代码如下:
这些颜色常数是定义在android.graphics.Color里的:
|
类型 |
常数 |
值 |
色码 |
|
int |
BLACK |
-16777216 |
0xff000000 |
|
int |
BLUE |
-16776961 |
0xff0000ff |
|
int |
CYAN |
-16711681 |
0xff00ffff |
|
int |
DKGRAY |
-12303292 |
0xff444444 |
|
int |
GRAY |
-7829368 |
0xff888888 |
|
int |
GREEN |
-16711936 |
0xff00ff00 |
|
int |
LTGRAY |
-3355444 |
0xffcccccc |
|
int |
MAGENTA |
-65281 |
0xffff00ff |
|
int |
RED |
-65536 |
0xffff0000 |
|
int |
TRANSPARENT |
0 |
0x00000000 |
|
int |
WHITE |
-1 |
0xffffffff |
|
int |
YELLOW |
-256 |
0xffffff00 |
项目附件:
http://files.cnblogs.com/files/shamgod/QRCode.zip