ActiveMQ安装
下载 activeMQ jar包。(https://activemq.apache.org/download.html)
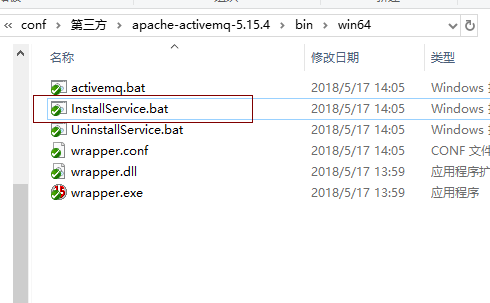
1、直接运行

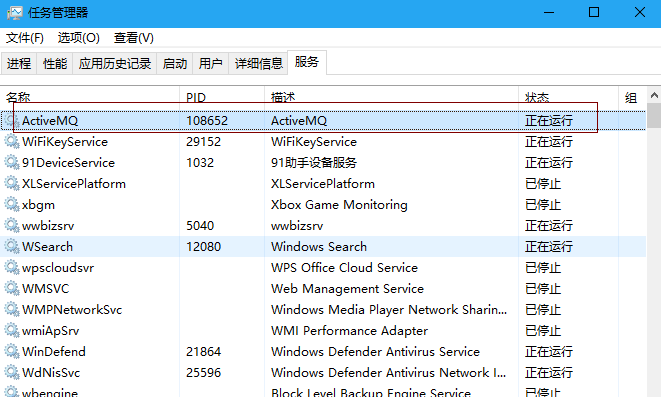
2、在服务里运行(如果要安装服务,点击InstallService.bat ,安装服务后,可以再服务控制台启动mq)
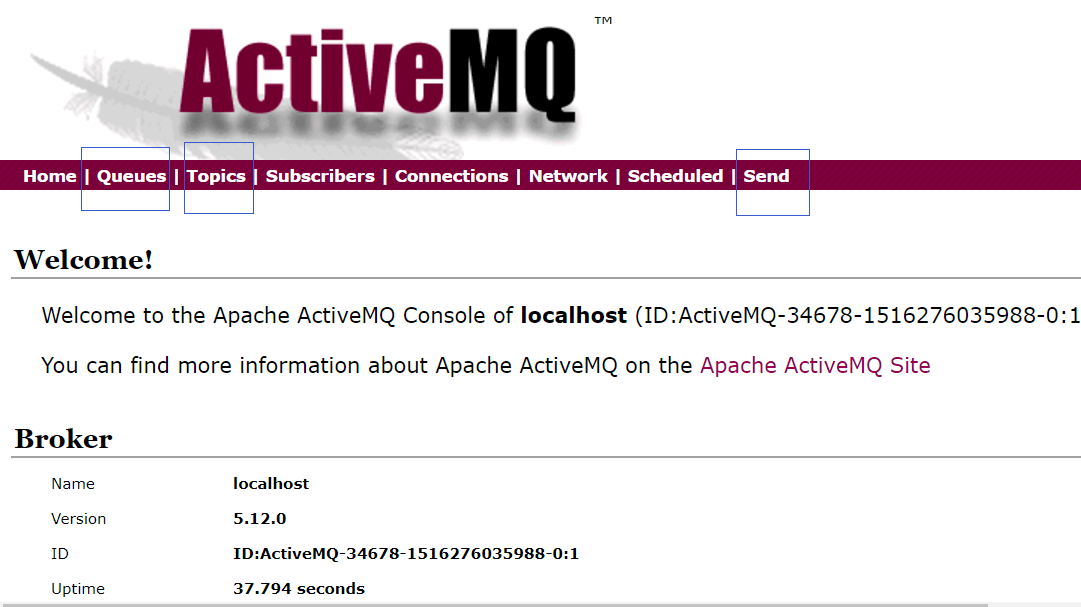
进入管理后台进行测试:http://127.0.0.1:8161,用户名、密码一般为admin:admin
例:
接收端:
@Component //申明为spring组件
public class GetSpeechRecognition_XF implements MessageListener{
    // 静态初使化当前类
    public static GetSpeechRecognition_XF getSpeechRecognitionInfo;
    //注解@PostConstruct,这样方法就会在Bean初始化之后被Spring容器执行
    @PostConstruct
    public void init() {
        getSpeechRecognitionInfo = this;
    }

    private static final Logger logger = Logger.getLogger(GetSpeechRecognition_XF.class);
    private  String ipAndPortXF = SysConfigItemValue.getValue("IpAndPortXF");//监听地址
    private  String courtIdXF = SysConfigItemValue.getValue("CourtIdXF");//ID
    private static MessageConsumer consumer = null;
    private static Connection connection = null;
    private static Destination destination = null;
    private static Session session = null;
    private static ConnectionFactory connectionFactory = null;
    public static String textMessage = "";
    /**
     * 启动监听
     */
    public void reciveXF() {
                try {
                    //连接工厂(连接工厂,JMS 用它创建连接)
                    connectionFactory = new ActiveMQConnectionFactory(
                            ActiveMQConnection.DEFAULT_USER,
                            ActiveMQConnection.DEFAULT_PASSWORD,
                            ipAndPortXF //"tcp://213.138.160.57:61616"
                            );
                    //构造从工厂连接对象(JMS 客户端到JMS Provider 的连接)
                    connection = connectionFactory.createConnection();
                    connection.start();
                    //获取操作连接(一个发送或接收消息的线程)
                    session = connection.createSession(Boolean.FALSE, Session.AUTO_ACKNOWLEDGE);
                    //获取session,发布订阅的Topic方式(消息的目的地;消息发送给谁.)
                    destination = session.createTopic(courtIdXF);//session.createQueue("hzzy01");
                    //(消费者,消息接收者)
                    consumer = session.createConsumer(destination);
                    // 开始监听
                    consumer.setMessageListener(this);//(异步接收)
                } catch (JMSException e) {
                    e.printStackTrace();
                    logger.error("reciveXF(启动对讯飞语音识别监听)异常:"+e.getMessage());
                }finally {

                }
    }

    public void recive()
    {
        try {
            if (connection == null) {
                reciveXF();
            }
        } catch (Exception e) {
            e.printStackTrace();
            logger.error("recive(监听)异常:"+e.getMessage());
        }
    }

    /**
    * 异步接收(进行MessageListener监听)
    */
    @Override
    public void onMessage(Message arg0) {
        try {
            if(arg0 instanceof TextMessage)
            {
                TextMessage txtMsg = (TextMessage) arg0;
                String txtContent = txtMsg.getText();
                JSONObject jsonObject = JSONObject.parseObject(txtContent);
                String text = JSONObject.parseObject(jsonObject.getString("messageMap")).getString("text");
                String pgs = JSONObject.parseObject(jsonObject.getString("messageMap")).getString("pgs");//讯飞校验后的语音
                if (text != null && !text.equals("") && pgs.equals("1")) {
                    ConfWebSocketService.sendMessage(text, "2");//向页面发送消息
                }
                logger.debug("讯飞返回消息:"+txtContent);
            }
        } catch (Exception e) {
            logger.error("onMessage(讯飞语音识别)异常:"+e.getMessage());
            e.printStackTrace();
        }
    }
}
发送端:
@Component //申明为spring组件
public class GetSpeechRecognition_XF2_Send {private static final Logger logger = Logger.getLogger(GetSpeechRecognition_XF2_Send.class);
    private static final int SEND_NUMBER = 5;
    private  String systemId = SysConfigItemValue.getValue("SystemIdYJ");//系统编号

    public void sendXF() {
        ConnectionFactory connectionFactory; // ConnectionFactory--连接工厂,JMS用它创建连接
        // Provider 的连接
        Connection connection = null; // Connection :JMS 客户端到JMS
        Session session; // Session: 一个发送或接收消息的线程
        Destination destination; // Destination :消息的目的地;消息发送给谁.
        MessageProducer producer; // MessageProducer:消息发送者
        try {
            // 构造ConnectionFactory实例对象,此处采用ActiveMq的实现jar
            //connectionFactory = new ActiveMQConnectionFactory("tcp://localhost:61616");
            connectionFactory = new ActiveMQConnectionFactory(ActiveMQConnection.DEFAULT_USER,
                    ActiveMQConnection.DEFAULT_PASSWORD, "tcp://127.0.0.1:61616");
            // 构造从工厂得到连接对象
            connection = connectionFactory.createConnection();
            // 启动
            connection.start();
            // 获取操作连接
            session = connection.createSession(Boolean.TRUE, Session.AUTO_ACKNOWLEDGE);
            // 获取session注意参数值xingbo.xu-queue是一个服务器的queue,须在在ActiveMq的console配置
            destination = session.createTopic("hzzy01");
            // 得到消息生成者【发送者】
            producer = session.createProducer(destination);
            // 设置不持久化,此处学习,实际根据项目决定
            producer.setDeliveryMode(DeliveryMode.NON_PERSISTENT);
            // 构造消息,此处写死,项目就是参数,或者方法获取
            sendMessage(session, producer);
            //session.commit();
        } catch (Exception e) {
            e.printStackTrace();
        } finally {
            try {
                if (null != connection)
                    connection.close();
            } catch (Throwable ignore) {
            }
        }

    }

    public static void sendMessage(Session session, MessageProducer producer) throws Exception {
        //for (int i = 1; i <= SEND_NUMBER; i++) {
            TextMessage message = session.createTextMessage("ActiveMq 发送的消息" + 1);
            // 发送消息到目的地方
            System.out.println("发送消息:" + "ActiveMq 发送的消息" + 1);
            producer.send(message);
            //提交消息
            session.commit();
            Thread.sleep(500);
        //}
    }
}