Apache Zookeeper 使用-安装
官方网站
Zookeeper 是什么?
ZooKeeper is a centralized service for maintaining configuration information, naming, providing distributed synchronization, and providing group services. All of these kinds of services are used in some form or another by distributed applications. Each time they are implemented there is a lot of work that goes into fixing the bugs and race conditions that are inevitable. Because of the difficulty of implementing these kinds of services, applications initially usually skimp on them, which make them brittle in the presence of change and difficult to manage. Even when done correctly, different implementations of these services lead to management complexity when the applications are deployed.
总结:ZooKeeper 是一个分布式协调服务。
安装步骤
环境要求:JDK 1.8+
JDK 安装可参考:https://www.cnblogs.com/lihw-study/p/15201670.html
1、下载安装包
下载地址:https://downloads.apache.org/zookeeper/zookeeper-3.6.3/apache-zookeeper-3.6.3-bin.tar.gz
这里使用 3.6.3 版本。
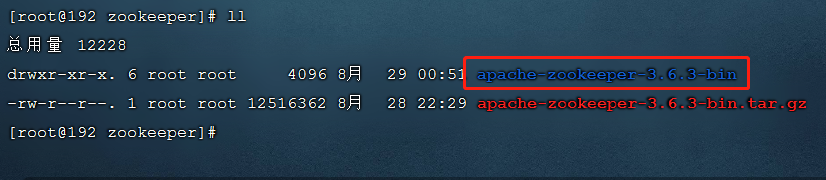
2、上传到服务器并解压压缩包

# 解压  tar 包
tar -xzvf apache-zookeeper-3.6.3-bin.tar.gz
3、重命名配置文件
如果 zoo.cfg 存在,那么跳过此步骤。
cd /opt/zookeeper/apache-zookeeper-3.6.3-bin/conf
cp zoo_sample.cfg zoo.cfg
查看 zoo.cfg 内容:
# 心跳间隔,单位:毫秒
tickTime=2000
# 初始化同步数据允许花费的时间,10 * tickTime = 20秒
initLimit=10
# 发送请求和获取ACK 确认的时间间隔 5 * tickTime = 10秒
syncLimit=5
# 快照保存的路径
dataDir=/tmp/zookeeper
# zookeeper 服务占用端口
clientPort=2181
# 客户端链接的最大数量
#maxClientCnxns=60
#
# Be sure to read the maintenance section of the
# administrator guide before turning on autopurge.
#
# http://zookeeper.apache.org/doc/current/zookeeperAdmin.html#sc_maintenance
#
# The number of snapshots to retain in dataDir
#autopurge.snapRetainCount=3
# Purge task interval in hours
# Set to "0" to disable auto purge feature
#autopurge.purgeInterval=1

## Metrics Providers
#
# https://prometheus.io Metrics Exporter
#metricsProvider.className=org.apache.zookeeper.metrics.prometheus.PrometheusMetricsProvider
#metricsProvider.httpPort=7000
#metricsProvider.exportJvmInfo=true
4、修改 zoo.cfg 配置参数
4.1、单机部署
需要修改的参数有:
tickTime=2000  # 心跳时间间隔,单位:毫秒
dataDir=/var/lib/zookeeper # 数据文件存放路径
clientPort=2181  # 占用端口
修改后:
tickTime=2000  # 心跳时间间隔,单位:毫秒
dataDir=/opt/zookeeper/apache-zookeeper-3.6.3-bin/data # 数据文件存放路径
clientPort=2181  # 占用端口
4.2、集群部署
需要修改的参数有:
tickTime=2000
dataDir=/var/lib/zookeeper
clientPort=2181
initLimit=5
syncLimit=2
server.1=zoo1:2888:3888
server.2=zoo2:2888:3888
server.3=zoo3:2888:3888
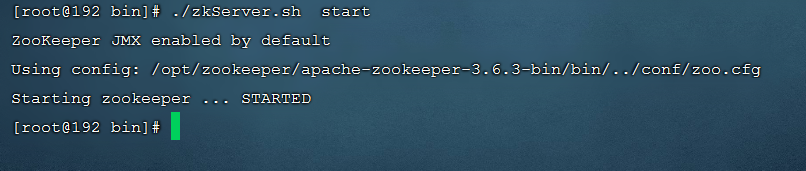
5、单机启动 zookeeper
/opt/zookeeper/apache-zookeeper-3.6.3-bin/bin
./zkServer.sh  start
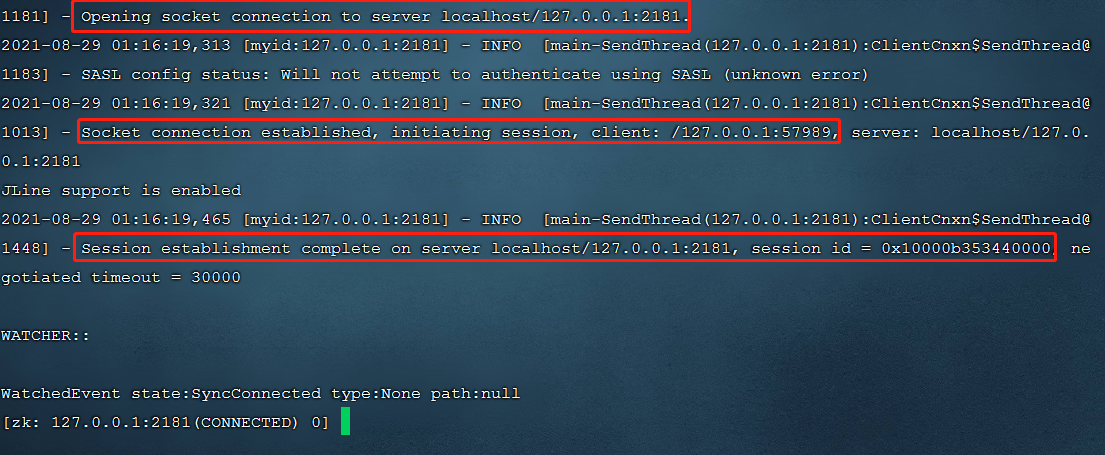
校验:
/opt/zookeeper/apache-zookeeper-3.6.3-bin/bin
./zkCli.sh -server 127.0.0.1:2181
查看 /opt/zookeeper/apache-zookeeper-3.6.3-bin/data 下的数据文件:
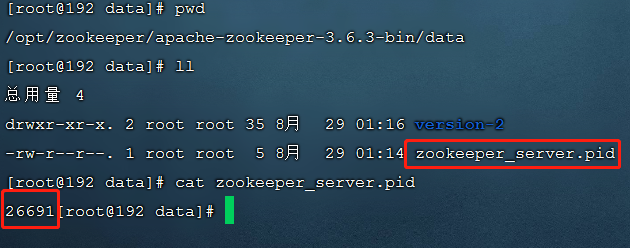
至此,zookeeper 安装完成。