安装参考菜鸟教程:
https://www.runoob.com/w3cnote/linux-subversion-yum.html
linux安装svn服务器(yum方式)
分类 编程技术
1.查看yum是否安装
在终端中输入yum即可如果已经安装,会显示yum的参数,如果没有安装,会提示yum未安装或无效命令……
2.安装svn
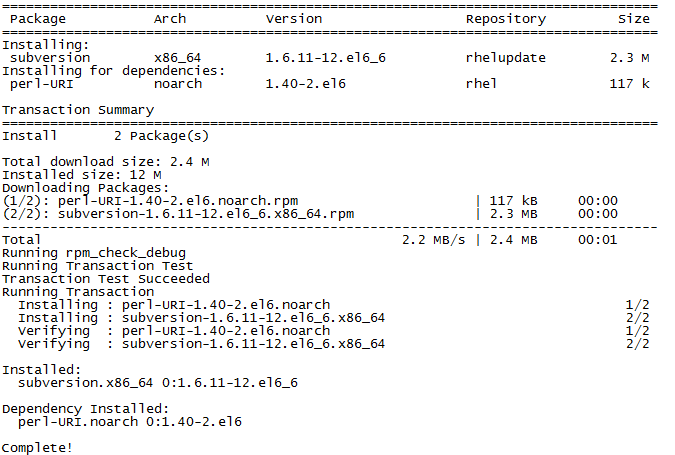
yum -y install subversion
出现下面截图后,表示安装完成。
3.创建目录并配置
建立版本库目录
mkdir -p /data/svn/repo
配置 /p>
svnadmin create /data/svn/repo
执行上面的命令后,自动建立repo测试库,查看/data/svn/repo 文件夹发现包含了conf, db,format,hooks, locks, README.txt等文件,说明一个SVN库已经建立。
4.用户密码passwd配置
[root@localhost password]# cd /data/svn/repos/conf
[root@admin conf]# vim passwd
修改passwd为以下内容:
[users]
# harry = harryssecret
# sally = sallyssecret
hello=123
用户名=密码
这样我们就建立了hello用户, 123密码
以上语句都必须顶格写, 左侧不能留空格, 否则会出错.
5.权限控制authz配置
[root@admin conf]# vi authz
目的是设置哪些用户可以访问哪些目录,向authz文件追加以下内容:
#设置[/]代表根目录下所有的资源   或者写成[repl:/]
[/]
hello = rw
意思是hello用户对repo测试库下所有的目录有读写权限,当然也可以限定。 如果是自己用,就直接是读写吧。
以上语句都必须顶格写, 左侧不能留空格, 否则会出错.
6.服务svnserve.conf配置
[root@admin conf]# vim svnserve.conf
追加以下内容:
[general]
#匿名访问的权限,可以是read,write,none,默认为read
anon-access=none
#使授权用户有写权限
auth-access=write
#密码数据库的路径
password-db=passwd
#访问控制文件
authz-db=authz
#认证命名空间,subversion会在认证提示里显示,并且作为凭证缓存的关键字
realm=/data/svn/repositories
以上语句都必须顶格写, 左侧不能留空格, 否则会出错.
7.启动svn服务
查看svn的服务是否启动
ps -ef|grep svn
如果没有启动执行 下面命令即可:
svnserve -d -r /data/svn/repo --listen-port=3690
8.开启端口
 /sbin/iptables -I INPUT -p tcp --dport 3690 -j ACCEPT
 /etc/rc.d/init.d/iptables save
 /etc/init.d/iptables restart
 /etc/init.d/iptables status
9.访问
svn://ip地址
端口默认为3690,输入配置好的用户名和密码即可。
注意:此处千万不能 svn://ip地址/repo,否则无法访问。
。。。。。。。。。。。。。。。。。。。。。。。。。。。。。。。。。。。。。。。。。。。。。。。。。。。
设置自启动参考:
Linux下设置svn开机自启动
Linux下设置svn开机自启动
- [root@iZjvr37lpviqbkZ init.d]# vi /lib/systemd/system/svnserve.service
- [root@iZjvr37lpviqbkZ init.d]# vi /etc/sysconfig/svnserve
- [root@iZjvr37lpviqbkZ init.d]# systemctl enable svnserve.service
- Created symlink from /etc/systemd/system/multi-user.target.wants/svnserve.service to /usr/lib/systemd/system/svnserve.service.
安装好 svn 服务后,默认是没有随系统启动自动启动的, CentOS 7 的 /etc/rc.d/rc.local 是没有执行权限的, 系统建议创建 systemd service 启动服务
于是查看 systemd 里 svn 的配置文件 /lib/systemd/system/svnserve.service
- [Unit]
- Description=Subversion protocol daemon
- After=syslog.target network.target
- [Service]
- Type=forking
- EnvironmentFile=/etc/sysconfig/svnserve
- ExecStart=/usr/bin/svnserve --daemon --pid-file=/run/svnserve/svnserve.pid $OPTIONS
- [Install]
- WantedBy=multi-user.target
- vi /etc/sysconfig/svnserve
将 OPTIONS="-r /var/svn" 改为 svn 版本库存放的目录,:wq 保存退出
在提示符下输入
- systemctl enable svnserve.service
- systemctl start svnserve.service
- systemctl list-units --type=service
systemctl list-unit-files
重启服务器,输入
- ps -aux | grep 'svn'
看 svn 服务启动了没有