1.Gitlab简介
GitLab 是一个用于仓库管理系统 的开源项目,使用Git作为代码管理工具,并在此基础上搭建起来的web服务。
可通过Web界面进行访问公开的或者私人项目。它拥有与Github类似的功能,能够浏览源代码,管理缺陷和注释。可以管理团队对仓库的访问,它非常易于浏览提交过的版本并提供一个文件历史库。团队成员可以利用内置的简单聊天程序(Wall)进行交流。它还提供一个代码片段收集功能可以轻松实现代码复用。
管理的命令
gitlab-ctl stop
gitlab-ctl start
gitlab-ctl restart
gitlab代码私有仓库,可以使用git进行代码的管理,通常用gitlab。
github公共仓库
2. Gitlab的安装
第一步:上传gitlab包
sz
第二步:安装gitlab
[root@localhost ~]# yum localinstall gitlab-ce-8.9.5-ce.0.el7.x86_64.rpm -y
第三步:更改IP
[root@localhost ~]# vim /etc/gitlab/gitlab.rb
改为虚拟机的ip地址
第四步:重新配置,使配置生效(需要一定时间)
[root@localhost ~]# gitlab-ctl reconfigure
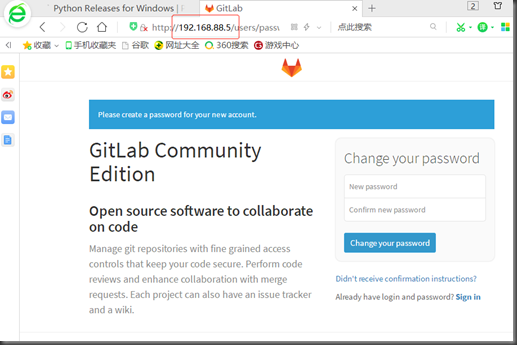
第五步:浏览器查看
在这里输入新的密码,密码长度8位,点击change your password
注意:需要把占用80端口的应用关闭
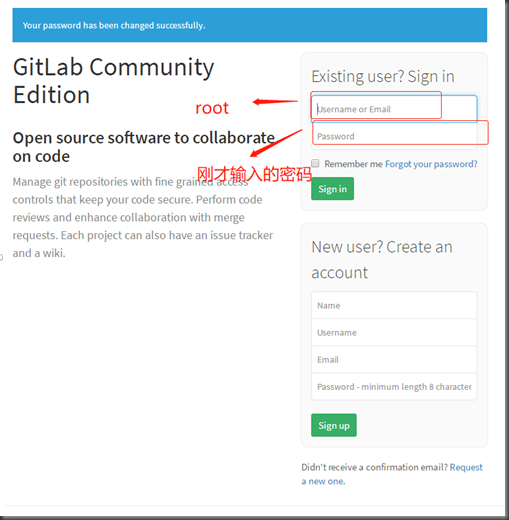
之后进入如下界面
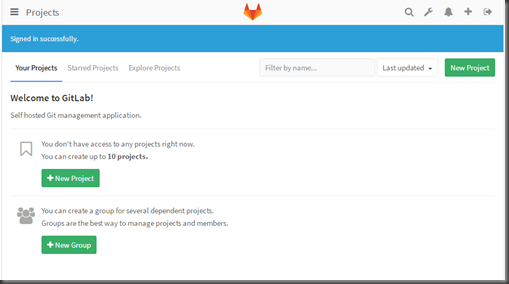
跳转到如下的界面即成功
3. gitlab项目使用详解
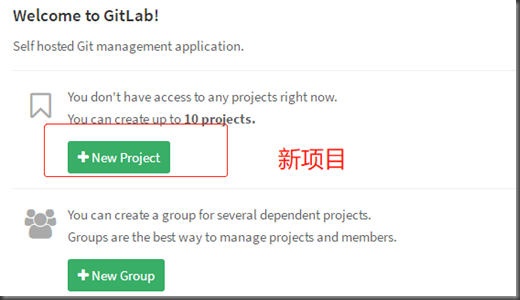
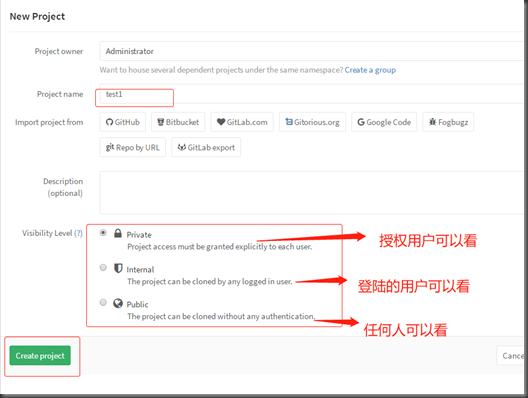
第一步:创建新项目
第二步:填写项目信息
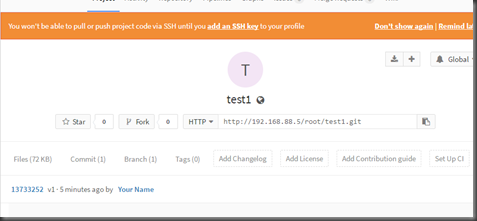
出现如下界面说明创建成功
4.linux中使用gitlab
第一步:创建文件夹
[root@localhost ~]# mkdir /test1
[root@localhost ~]# cd /test1/
第二步:克隆远程仓库至本地
[root@localhost test1]# git clone http://192.168.88.5/root/test1.git #网页上的地址
正克隆到 'test1'...
warning: 您似乎克隆了一个空版本库。
[root@localhost test1]# ls
test1
第三步:编辑一些文本信息
[root@localhost test1]# cd test1/
[root@localhost test1]# ls -a
. .. .git
[root@localhost test1]# echo 'testing'>liang
[root@localhost test1]# ls
liang
第四步:提交本地文件
[root@localhost test1]# git add .
[root@localhost test1]# git commit -m "v1"
[master(根提交) 1373325] v1
1 file changed, 1 insertion(+)
create mode 100644 liang
第五步:进行远程推送
[root@localhost test1]# git push -u origin master
Username for 'http://192.168.88.5': root
Password for 'http://root@192.168.88.5':
Counting objects: 3, done.
Writing objects: 100% (3/3), 210 bytes | 0 bytes/s, done.
Total 3 (delta 0), reused 0 (delta 0)
To http://192.168.88.5/root/test1.git
* [new branch] master -> master
分支 master 设置为跟踪来自 origin 的远程分支 master。
第六步:在网页查看gitlab仓库
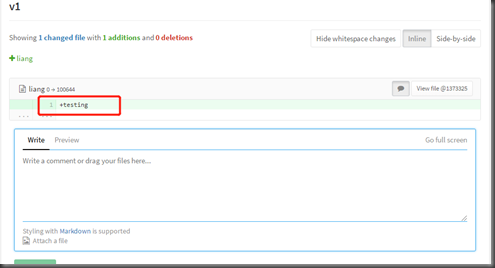
可以看到v1,点击进入到如下界面。
5.gitlab在linux中免密使用
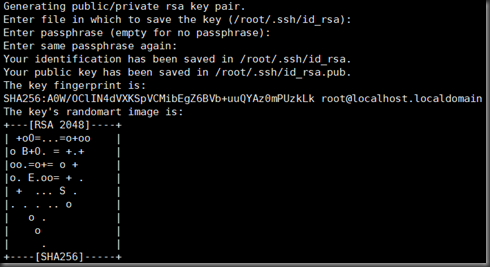
第一步:生成秘钥
[root@localhost test1]# ssh-keygen
第二步:复制公钥信息
[root@localhost test1]# cat /root/.ssh/id_rsa.pub
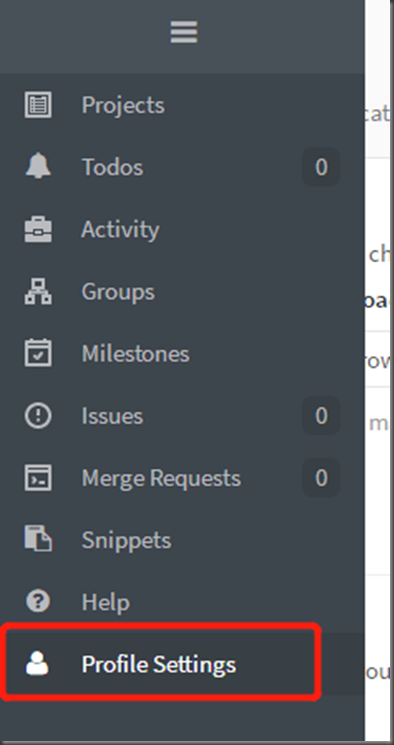
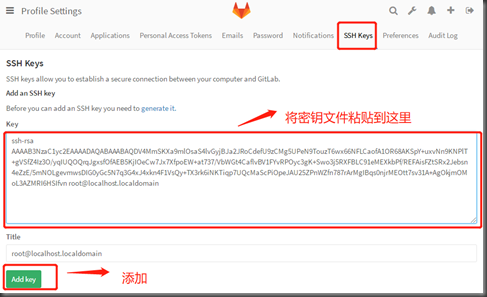
第三步:把公钥复制到gitlab中
点击进入如下界面。
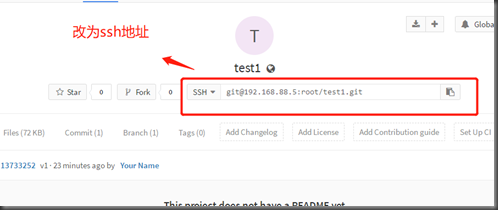
回到project界面,
第四步:测试
[root@localhost /]# mkdir /test2
[root@localhost /]# cd test2
[root@localhost test2]# git clone git@192.168.88.5:root/test1.git #此处的地址为ssh的地址
正克隆到 'test1'...
The authenticity of host '192.168.88.5 (192.168.88.5)' can't be established.
ECDSA key fingerprint is SHA256:JLHo8lNsb2FdYKLvwZa09kWIR7y8QCMpj+JlFCULAqE.
ECDSA key fingerprint is MD5:5c:8f:9e:92:99:09:98:dd:44:82:ef:9a:03:04:c4:70.
Are you sure you want to continue connecting (yes/no)? yes
Warning: Permanently added '192.168.88.5' (ECDSA) to the list of known hosts.
remote: Counting objects: 3, done.
remote: Total 3 (delta 0), reused 0 (delta 0)
接收对象中: 100% (3/3), done.
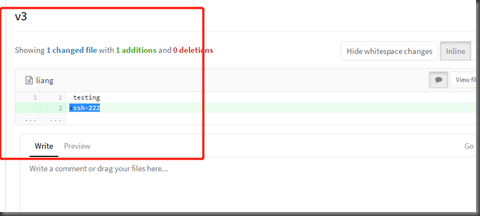
在web端刷新
看到变为v3,说明成功。
6.window中免密使用gitlab
第一步:准备文件
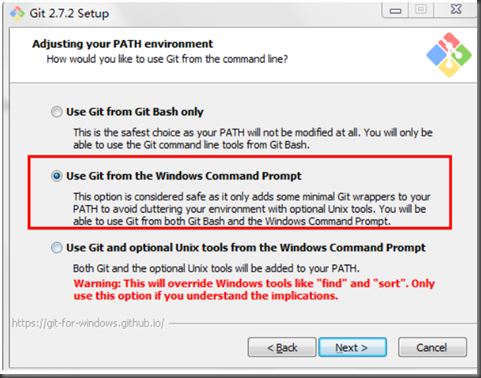
你需要首先在网上下载下面的这个客户端工具
第二步:安装在window端
第三步:创建一个文件夹作为工作目录并进入目录之后
在桌面新建一个文件夹gittest,进入到该文件夹中。
点击右键,进入到Git Bash Here如下界面
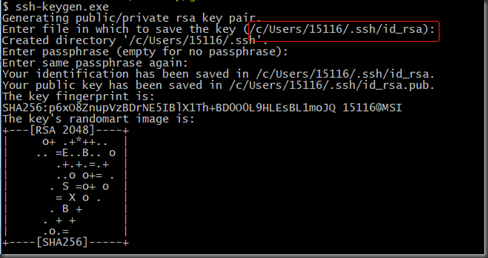
第四步:生成密钥
进入到目录找到ssh加密文件,并打开。
克隆
会发现gittest中有了test1文件
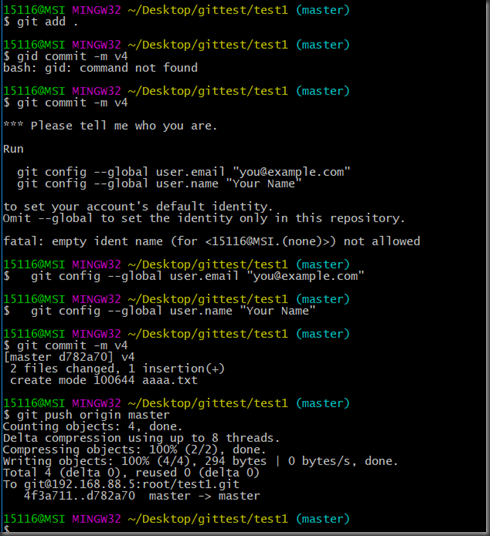
在test1下的文件中做修改,然后测试
在web端查看,v4出现,发送成功。


