项目主页
根据这个网址的提示进行
https://github.com/cudpp/cudpp/wiki/BuildingCUDPPwithCMake
我的环境:win7 x64+vs2013
编译
首先是下载cmake
下载地址
http://www.cmake.org/download/
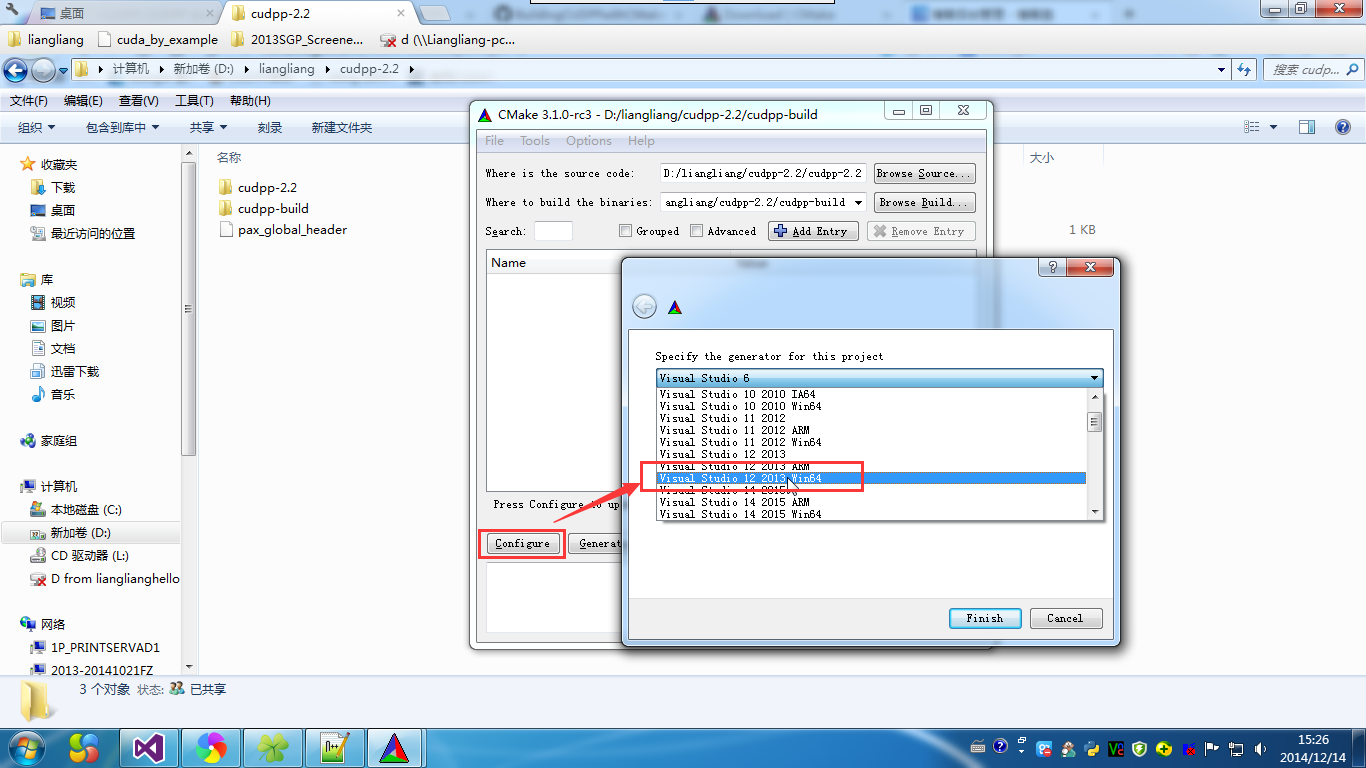
我是通过cmake-gui方式来编译的
The cmake gui can be used to interactively configure and generate CUDPP build files. Just run cmake-gui, then set the path to the CUDPP source tree in the field "Where is the source code", and set the path to where you want the build files generated in "Where to build the binaries".

Then press "Configure". You will see a list of options you can set. Click "Advanced" to see advanced options. Click "grouped" to logically group them.
Once you have set the necessary options (see below), click "Generate" to generate makefiles.
Go to the directory you set in "Where to build the binaries", and run make (`*`nix), or open the cudpp.sln (Windows).
遇到的问题
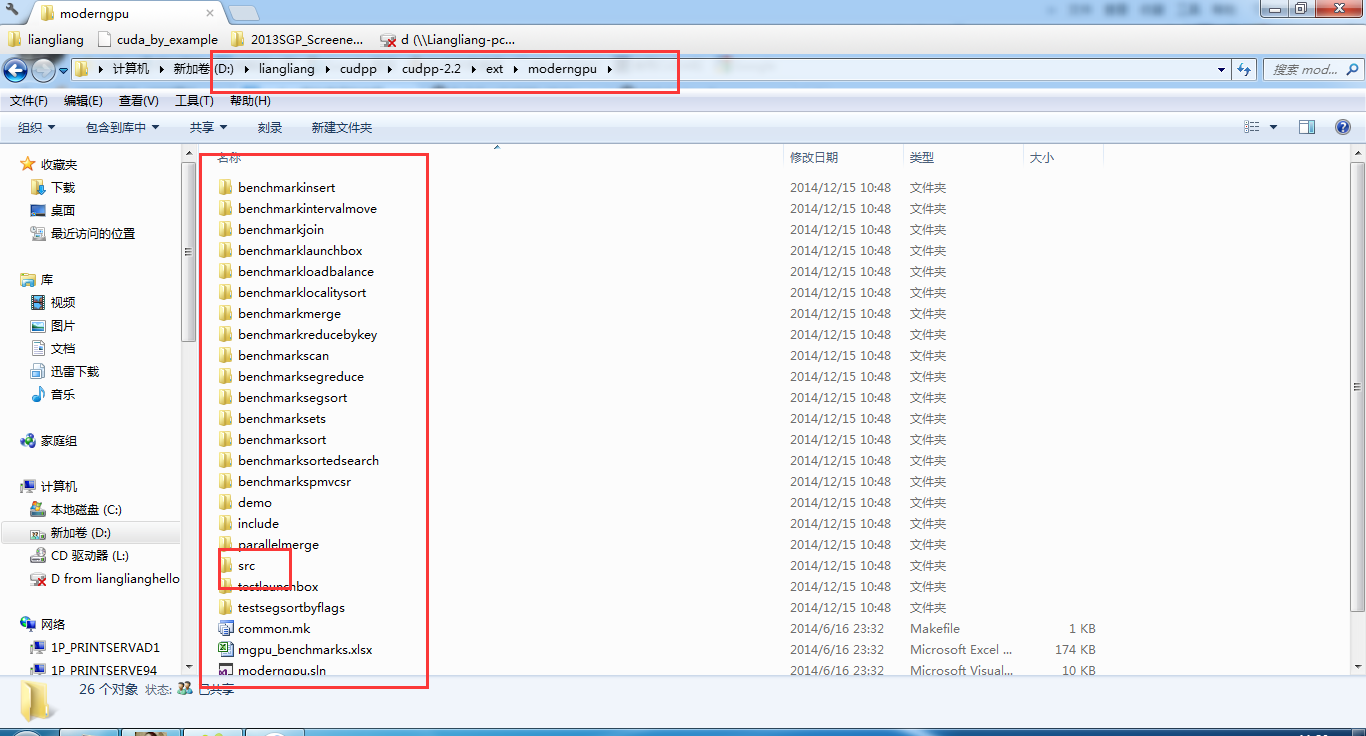
2.2的版本会遇到问题,如下:
提示少文件mgpuutil.cpp

解决方案如下:
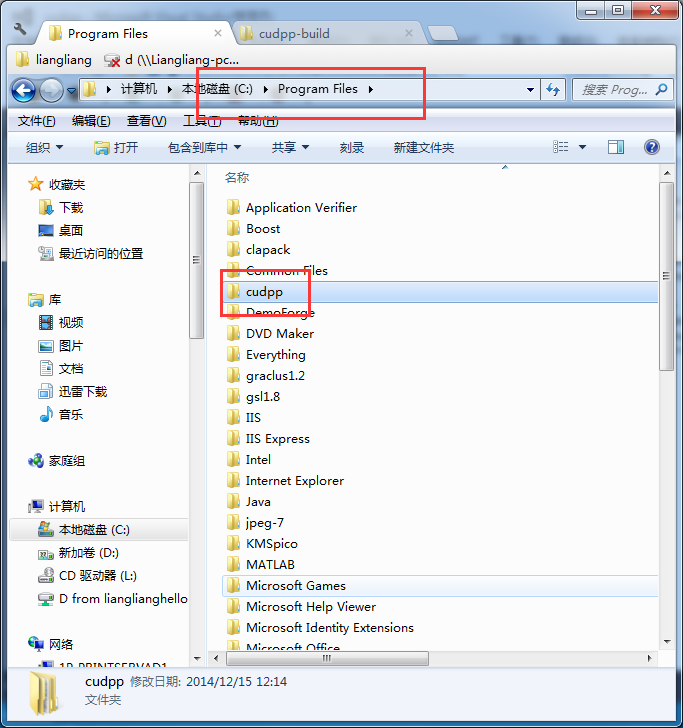
从主页找到红框的地方
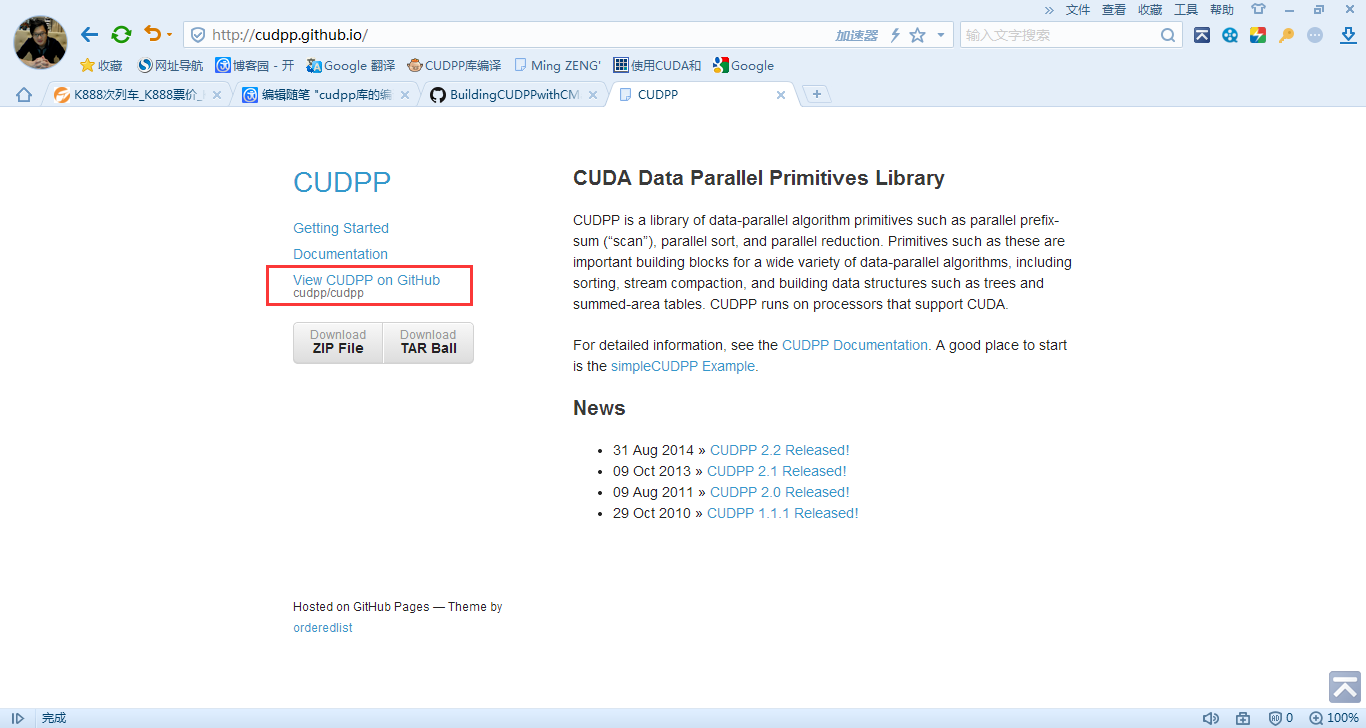

终于看到曙光了,在官网下载的压缩包里,解压后会发现,对应额这两个文件夹时空的,没有东西,在这里也是两个链接,你需要进去把它下载下来,然后挡在对应的位置上


打包下载下来

也打包下载下来
到此,所需文件全了!!!
记得按照我说的方式,放在对应的文件夹下。
放好的效果如下:

用Cmake再编译,很容易通过,没任何问题。

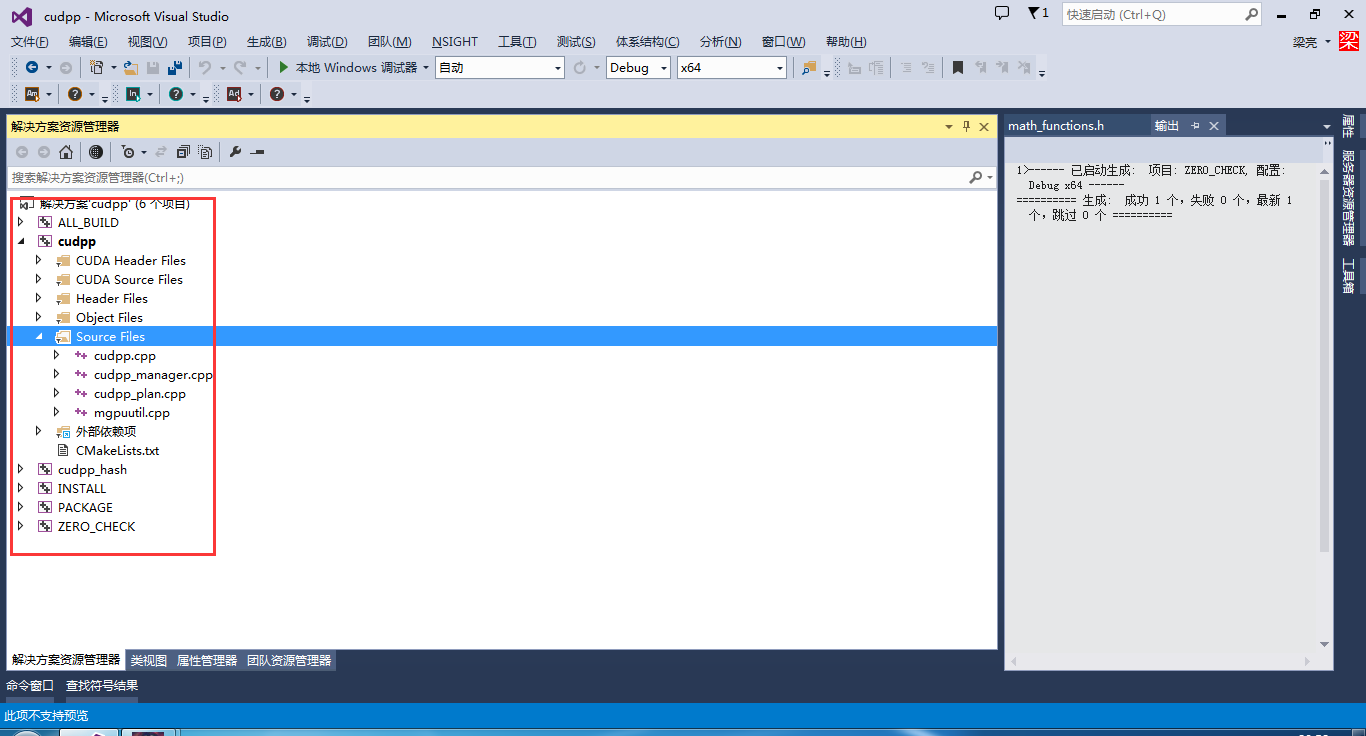
在你甚至的生成目录中找到cudpp.sln

最后打开就是这个效果

在Cmake的时候记住够下图的选项,生成的结果就是上图这样

或者这个效果
具体什么效果,要看你在Cmake的时候具体选项!
选项入下:
Useful options to set:
- CMAKE_BUILD_TYPE: set to Debug for debug builds, Release (or blank) for release builds. Not needed on Windows.
- BUILD_APPLICATIONS: set to on to build the CUDPP example applications and testrig in addition to CUDPP libraries.(这个选项是同时编译cudpp这个库里面的例子,选上比较好)
- BUILD_SHARED_LIBS: set to on to build dynamic/shared CUDPP libraries, off to build static libraries
- CUDA_VERBOSE_BUILD: Print out commands run while compiling CUDA source files
- CUDA_VERBOSE_PTXAS: Print out the output of --ptxas-options=-verbose, which displays details of shared memory, registers, and constants used by CUDA device kernels.
最后
On Windows, rather than running make, you just open the generated cudpp.sln in your source directory.
这个时候,需要用VS的编译器来编译下了
在解决方案里,右键ALL_BUILD,选择生成,估计要等一阵子,看部电影吧……
然后INSTALL右键,选择生成,继续看电影吧……
完了就可以用了。
根据你设置的install目录,生成如下的文件:


到此该生成的文件已经生成完毕了!
具体如何使用呢?
把simpleCUDPP设置为启动项


到这里,我的例子跑出来了,具体什么含义,回头再搞,吃饭去了……