---恢复内容开始---
ActiveMQ
1.jms的概念
它是一种与厂商无关的API,用来访问消息收发系统消息。它类似于JDBC,JDBC是可以用来访问不同关系数据库的API,而JMS则提供同样与厂商无关的访问消息收发服务的方法,这样就可以通过消息收发服务实现从一个JMS客户机向另一个JMS客户机发送消息,所需要的是厂商支持JMS。换句话说,JMS是Java平台上有关面向消息中间件的技术规范。
2.jms中关键的对象
-
ConnectionFactory 连接工厂
-
Connection
-
session,是发送和接收消息的上下文,用于创建消息生产者,消息消费者,相比rocketMQ会话session是提供事务性的;
-
destination,指定生产消息的目的地和消费消息的来源对象;生产者、消费者,由会话创建的对象,顾名思义。


3.消息机制
1.p2p(点对点)
-
一个消息只用一个消费者(消息消费即删除)
-
发送者和消费者时间上没有依赖性
-
接收消息之后需向队列发送回执信息
-
目的地必须是队列
契合应用场景:订单和商品,应用解耦
2.pub and sub(发布订阅)
-
一个消息有多个消费者
-
时间上有依赖性
契合应用场景:app的消息推送
4.消息中间件的应用场景
https://blog.csdn.net/wqc19920906/article/details/82193593
-
应用解耦
-
异步处理
-
流量削峰
-
消息推送
5.ActiveMQ的引言
ActiveMQ是由Apache出品的,一款最流行的,能力强劲的消息中间件(MOM:Message Orient middleware)。并且是对消息通信规范JMS的一种具体实现
6.安装ActiveMQ
1.搭建java环境
1.解压jdk的tar
2.修改配置文件   /etc/profile  /root/.bashrc
3.export JAVA_HOME=/usr/local/src/jdk1.8.0_171
  export PATH=$JAVA_HOME/bin:$PATH
  export CLASSPATH=.:$JAVA_HOME/lib/dt.jar:$JAVA_HOME/lib/tools.jar
4.重新加载文件
soruce  /etc/profile
2.安装ActiveMq
1.解压activemq的tar -zxvf
2.修改映射文件  将主机名映射本机的ip   /etc/hosts
3.测试访问web的控制界面
7.java操作ActiveMQ
1.生产者
1.相关依赖
<!-- https://mvnrepository.com/artifact/org.apache.activemq/activemq-core -->
<dependency>
<groupId>org.apache.activemq</groupId>
<artifactId>activemq-core</artifactId>
<version>5.7.0</version>
</dependency>
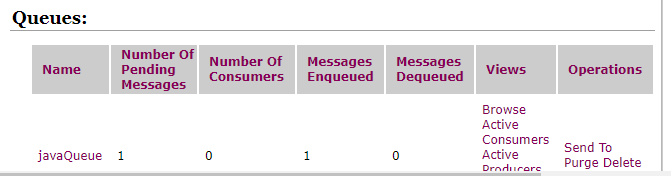
2.生产者
执行完成查看客户端,生成队列

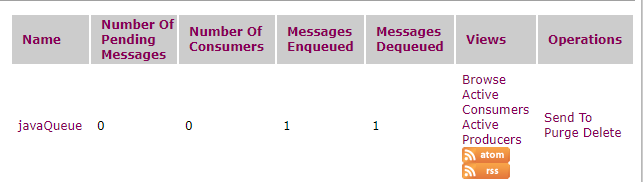
3.消费者
执行j结果
"C:Program FilesJavajdk1.8.0_121injava.exe" -ea -
SLF4J: Failed to load class "org.slf4j.impl.StaticLoggerBinder".
SLF4J: Defaulting to no-operation (NOP) logger implementation
SLF4J: See http://www.slf4j.org/codes.html#StaticLoggerBinder for further details.
hello amq
Process finished with exit code 0
以上是p2p的模式,接下来测试发布订阅的模式
4.发布订阅
发布
查看topic


订阅
注意:必须先订阅在发布,才订阅得到消息


---恢复内容结束---