首先 下载一个 Spring Boot环境。
下载地址:https://spring.io/tools3/sts/all
打开STS.exe
一,新建项目
然后在空白处新建:
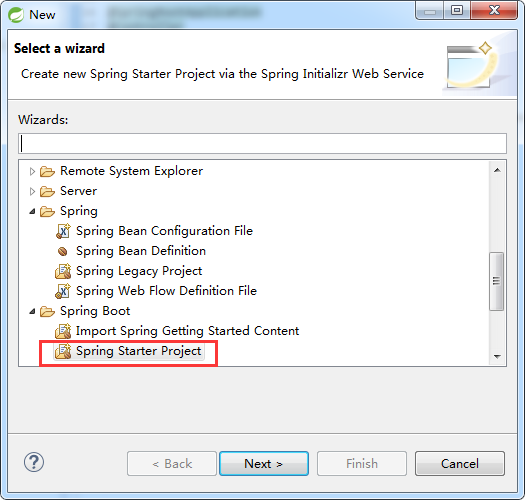
1、New→Other→(键入 spring ,选择 Spring Boot 选项卡下面的 Spring Starter Project)→Next
2、命名 Next

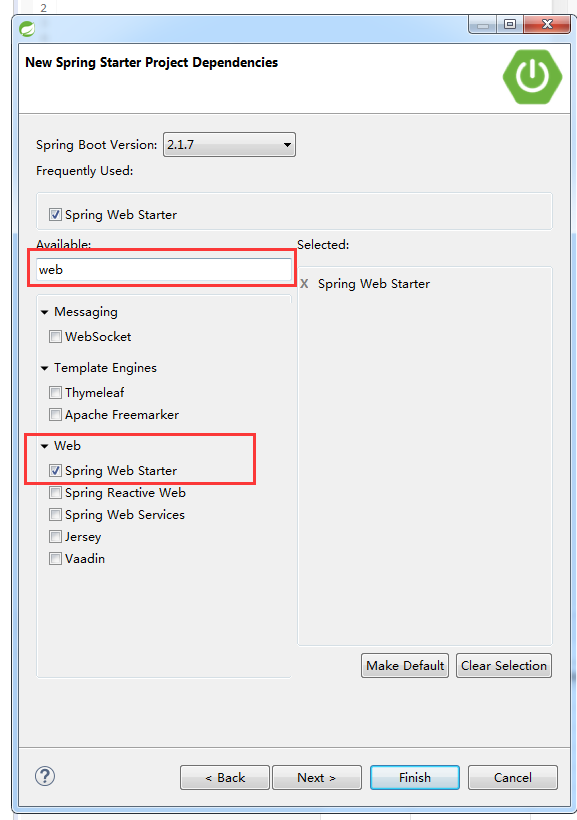
3、创建Web工程
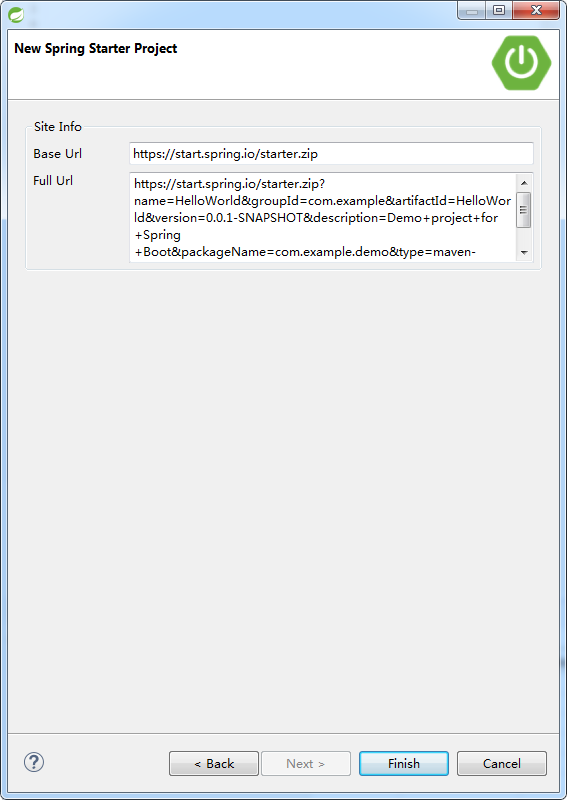
4、Finish
5、创建一个 Controller
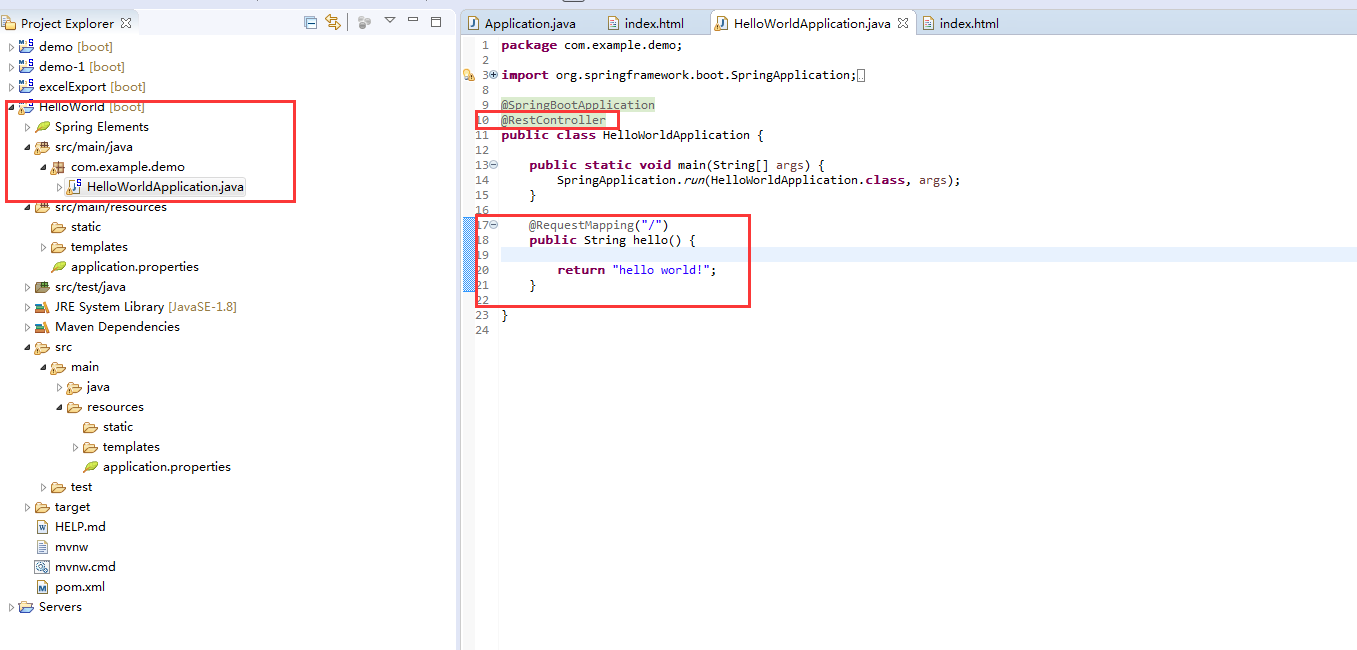
写入两部分内容:
①注入:@RestController
②反馈:
1     @RequestMapping("/")
2     public String hello() {
3
4         return "hello world!";
5     }
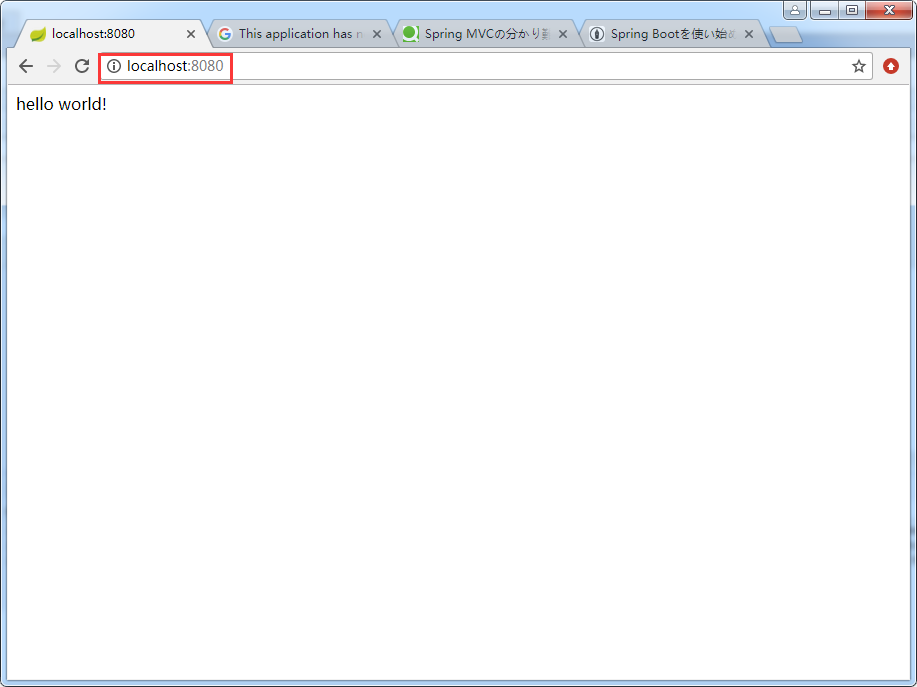
6、选中项目开启服务器
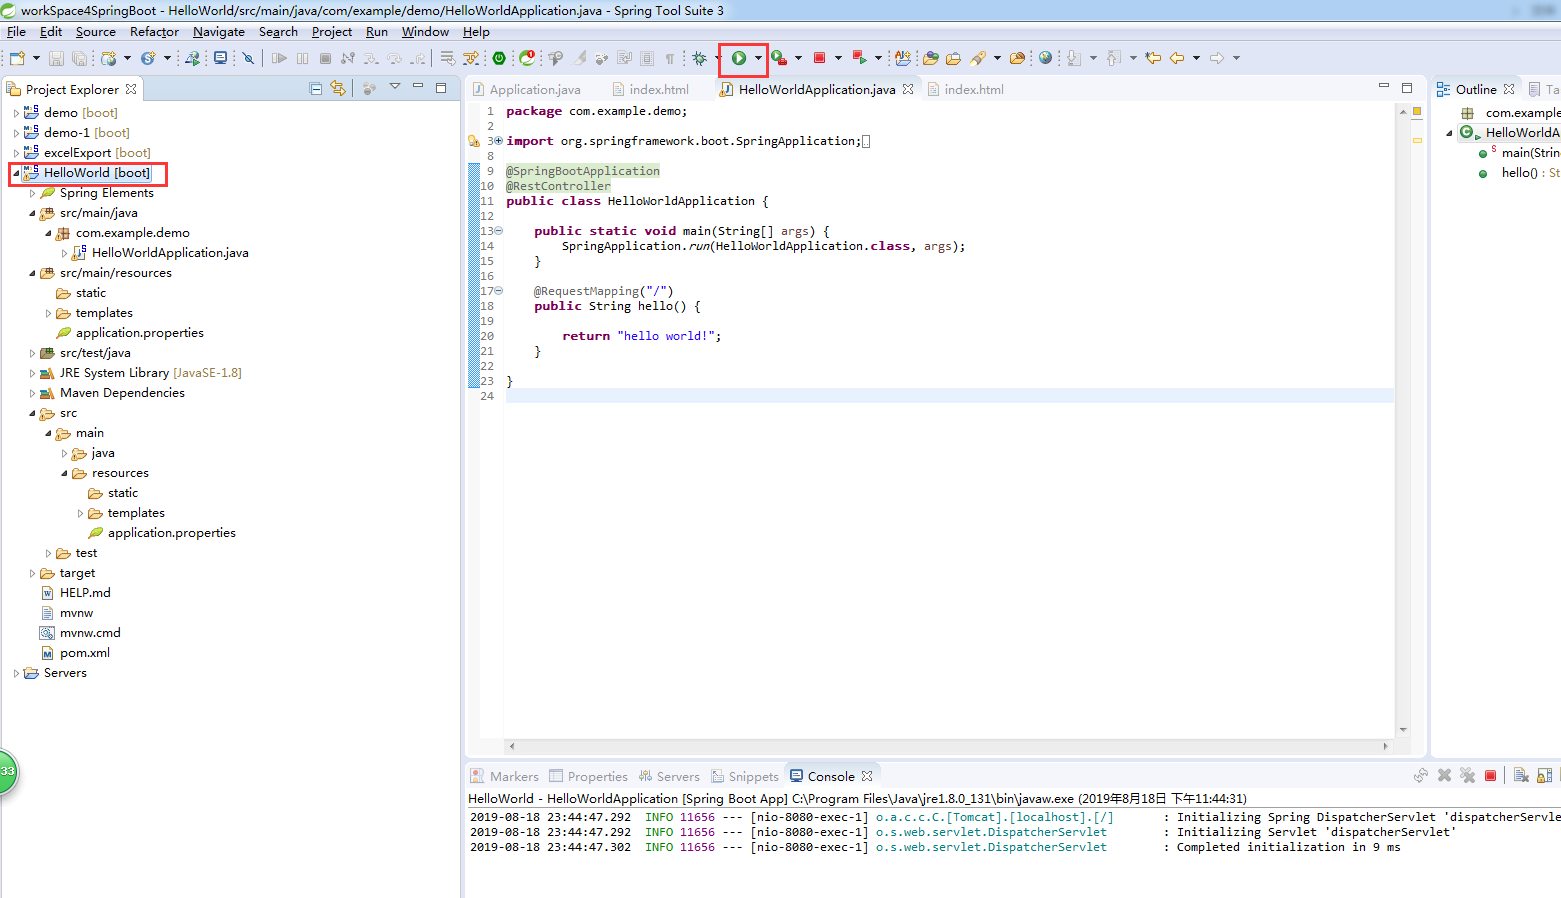
7、输入路径并访问
方式二:
直接通过静态页面访问。
这个 没啥性价比,但是 介绍一下吧。毕竟 这种方式 还是存在的。
去这个项目里面,找到 resources文件,然后 新建一个html。
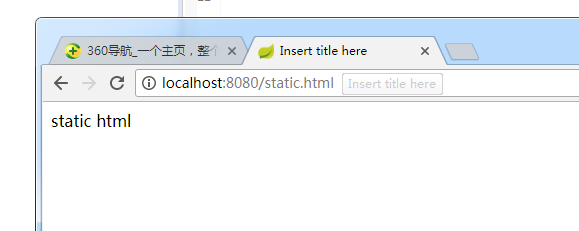
在body里面稍微写一些内容。就可以了~~~
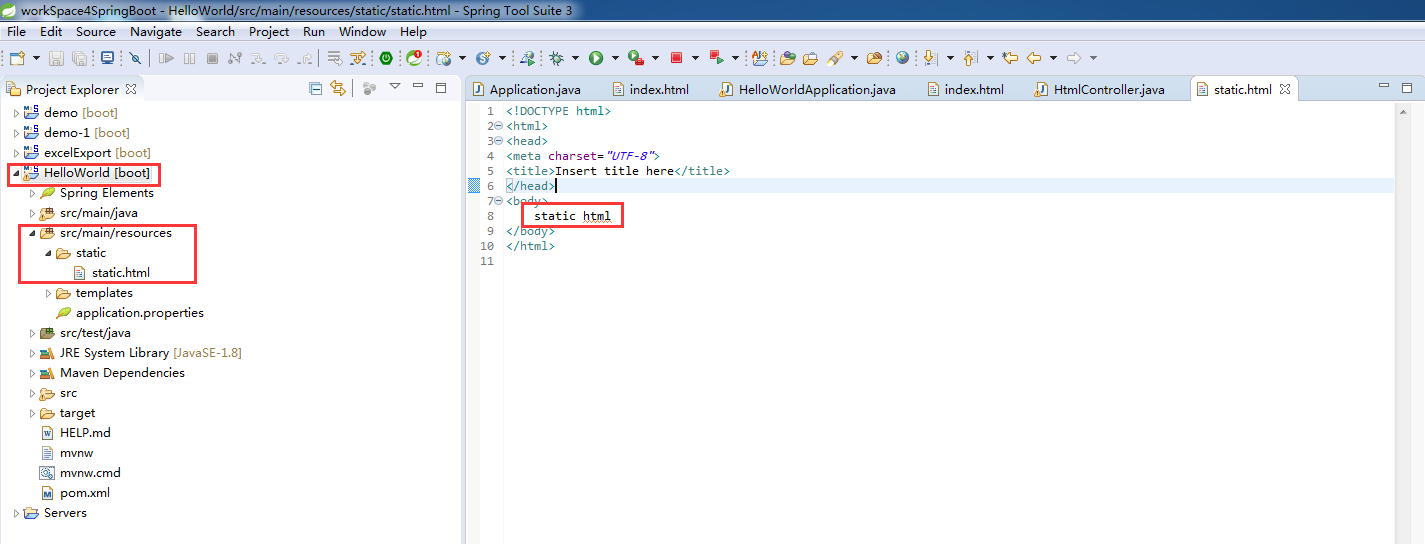
启动服务器并访问。
方式三:
(上正菜)动态部署。
spring boot 提供了 很多种模板 可供使用。
引用:
====================================================================================================
Spring Boot提供了默认配置的模板引擎主要有以下几种:
• Thymeleaf
• FreeMarker
• Velocity
• Groovy
• Mustache
Spring Boot建议使用这些模板引擎,避免使用JSP,若一定要使用JSP将无法实现Spring Boot的多种特性
————————————————
版权声明:本文为CSDN博主「c.」的原创文章,遵循CC 4.0 by-sa版权协议,转载请附上原文出处链接及本声明。
原文链接:https://blog.csdn.net/cckevincyh/article/details/78983404
====================================================================================================
现在做的项目 用的 是 thymeleaf 那我就用thymeleaf 吧。(然后 其实 我想说的 根本不是这个。。。只是自己还没有环境。。。得过好久,才能到达我想描述的范畴。。。用java实现Excel 一块区域的复制粘贴。。。)
一、创建页面
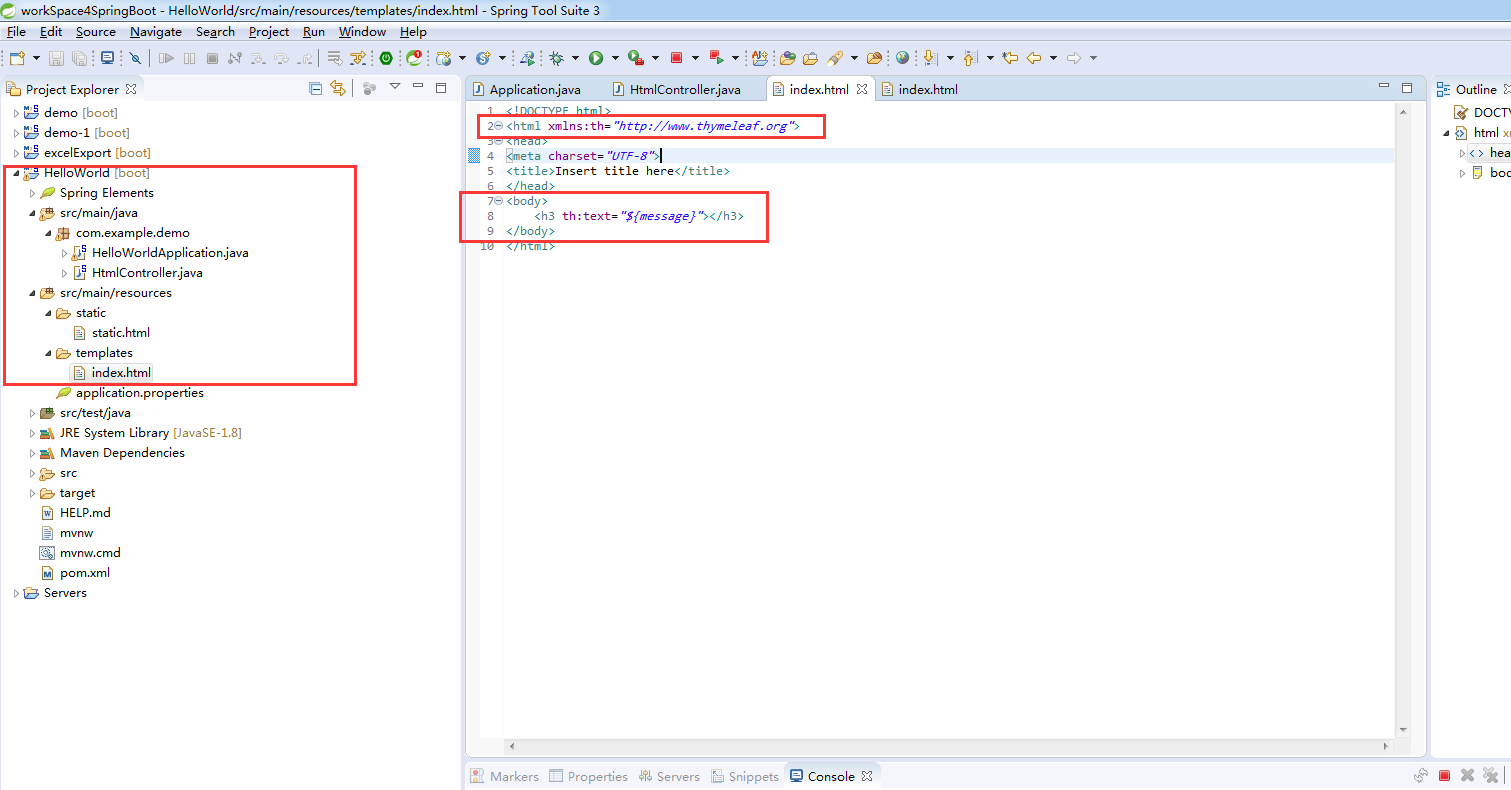
①注意目录结构。
project→src→resources→templates
②载入thymeleaf前端框架。
因为要使用thymeleaf,所以 html里面,要记得带上这个东西:
<html xmlns:th="http:thymeleaf.org">
③显示信息。
<h3 th:text="${message}"></h3>
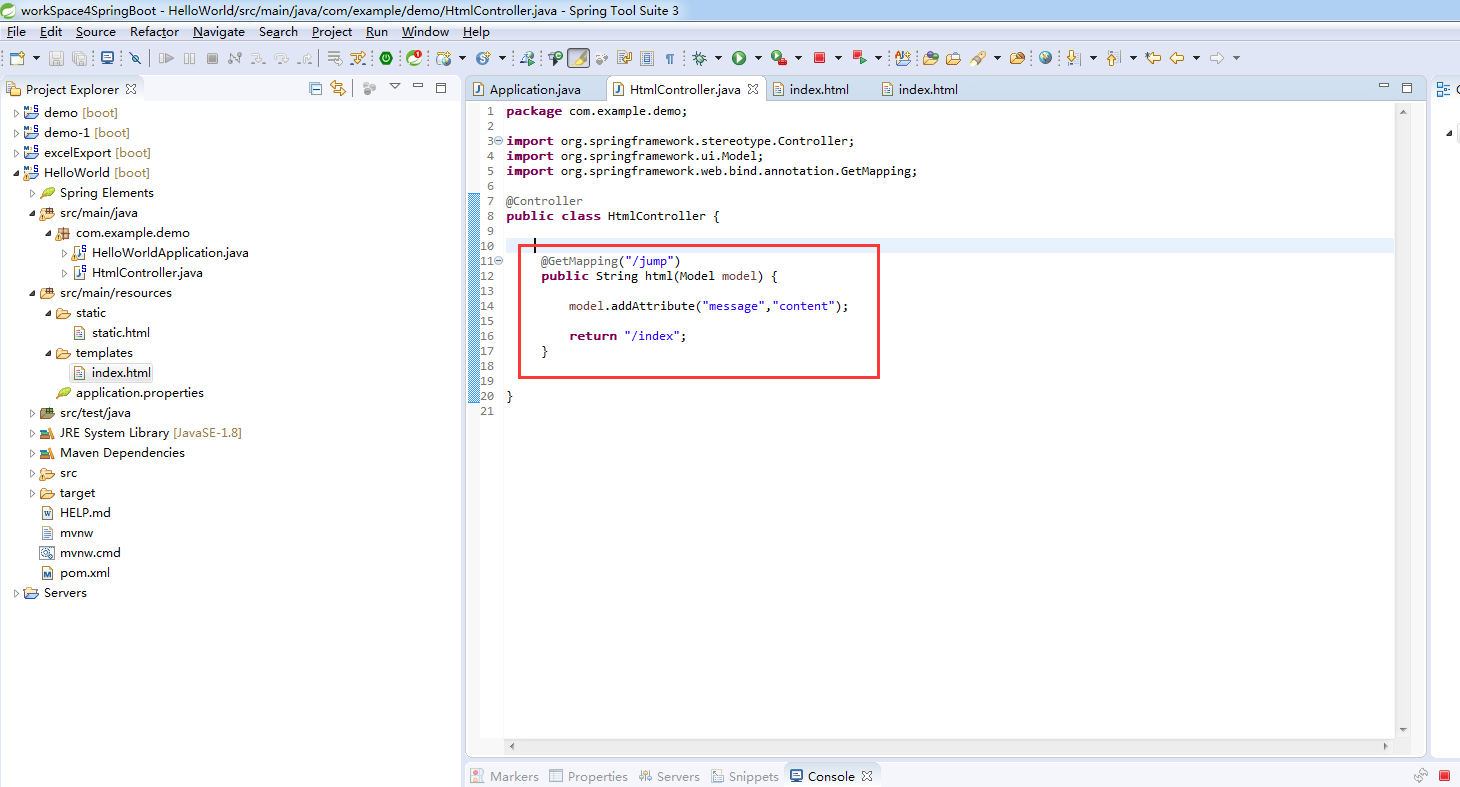
二、创建对应的控制器。
为模型添加信息。
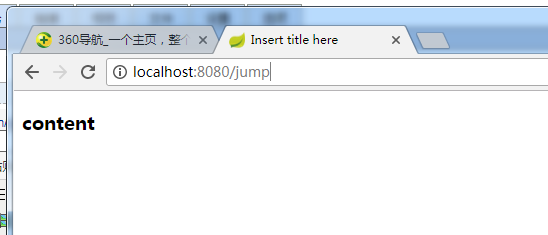
三、启动服务器并测试
在页面,输入路径。得到如下结果。

参考文献:http://tengj.top/2017/03/13/springboot5/#%E5%90%AF%E5%8A%A8%E7%B1%BB