A: 前期准备工作
1. 安装vscode,详细请参见vscode官网https://code.visualstudio.com/docs/setup/linux,摘要如下:
sudo rpm --import https://packages.microsoft.com/keys/microsoft.asc
sudo sh -c 'echo -e "[code]
name=Visual Studio Code
baseurl=https://packages.microsoft.com/yumrepos/vscode
enabled=1
gpgcheck=1
gpgkey=https://packages.microsoft.com/keys/microsoft.asc" > /etc/yum.repos.d/vscode.repo'
yum check-update
sudo yum install code
2. 下载palo源代码,本次是基于0.8.1版本编译的
下载地址为:https://github.com/baidu/palo/archive/v0.8.1-beta.tar.gz
3. 安装GCC 4.8.2+,Oracle JDK 1.8+,Python 2.7+,确认 gcc, java, python 命令指向正确版本, 设置 JAVA_HOME 环境变量
4. 安装其他依赖包
sudo yum install -y gcc-c++ libstdc++-static ant cmake byacc flex automake libtool binutils-devel bison
如果是0.8.2或master版本,还需要执行下面的命令:
ubuntu安装命令为:
sudo apt-get install libssl-dev
Centos安装命令为:
yum install -y openssl-devel
5. step 4安装完成后,执行下述命令
sudo updatedb
yum install redhat-lsb
yum install mlocate
B 编译
以下操作步骤在/home/workspace/palo0.8.1目录下进行
1. 解压A-2下载的0.8.1的源码
tar palo-0.8.1-beta.tar.gz -d /home/workspace/palo0.8.1
2. 解压第三方包到/home/workspace/palo0.8.1/thirdparty/src/ 目录下
tar -zxvf palo-thirdparty-20180418.tar.gz -d /home/workspace/palo0.8.1/thirdparty/src/
3. 编译第三方依赖包
sh /home/workspace/palo0.8.1/thirdparty/build-thirdparty.sh
如果是0.8.2版本之后的版本,请修改build-thirdparty.sh的build_brpc函数,加上DPROTOBUF_PROTOC_EXECUTABLE的路径传参,否则在编译BRPC时会找不到protobuf的执行文件,报错
# brpc
build_brpc() {
    check_if_source_exist $BRPC_SOURCE
    if [ ! -f $CMAKE_CMD ]; then
        echo "cmake executable does not exit"
        exit 1
    fi

    cd $TP_SOURCE_DIR/$BRPC_SOURCE
    mkdir build -p && cd build
    rm -rf CMakeCache.txt CMakeFiles/
    $CMAKE_CMD -v -DBUILD_SHARED_LIBS=0 -DCMAKE_INSTALL_PREFIX=$TP_INSTALL_DIR
    -DBRPC_WITH_GLOG=ON -DCMAKE_INCLUDE_PATH="$TP_INSTALL_DIR/include"
    -DCMAKE_LIBRARY_PATH="$TP_INSTALL_DIR/lib;$TP_INSTALL_DIR/lib64"
    -DPROTOBUF_PROTOC_EXECUTABLE=$TP_INSTALL_DIR/bin/protoc ..
    make -j$PARALLEL && make install
}
在本人的编译过程中,遇到boost-1.6.4编译无法通过的情况,解决办法为:
cd /home/workspace/palo0.8.1/thirdparty/src/boost_1_64_0
patch -p0 < ../../patches/boost-1.64.0-gcc4.8.patch
执行完成后,重新执行
sh /home/workspace/palo0.8.1/thirdparty/build-thirdparty.sh
4. 编译palo产品代码
sh /home/workspace/palo0.8.1/build.sh
注意:这个编译有以下几条指令:
sh build.sh  #同时编译be 和fe
sh build.sh  --be #只编译be
sh build.sh  --fe #只编译fe
sh build.sh  --fe --be#同时编译be fe
sh build.sh  --fe --be --clean#删除并同时编译be fe
sh build.sh  --fe  --clean#删除并编译fe
sh build.sh  --be  --clean#删除并编译be
sh build.sh  --be --fe  --clean#删除并同时编译be fe
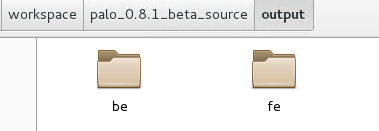
如果不出意外,应该会编译成功,最终的部署文件将产出到 /home/workspace/palo0.8.1/output/ 目录下。如果还遇到其他问题,可以参照palo的安装文档https://github.com/baidu/palo/wiki/Palo-Install,常见错误一节。
C 部署调试
1. 给be编译结果文件授权
chmod 755 /home/workspace/palo0.8.1/output/be/lib/palo_be
注意: /home/workspace/palo0.8.1/output/be/lib/palo_be为be的执行文件,默认编译是带-g的,也就是包含调试符号的。
2. 创建数据存放目录
通过查看/home/workspace/palo0.8.1/output/be/conf/be.conf
# INFO, WARNING, ERROR, FATAL
sys_log_level = INFO

# ports for admin, web, heartbeat service
be_port = 9060
be_rpc_port = 9070
webserver_port = 8040
heartbeat_service_port = 9050

# Choose one if there are more than one ip except loopback address.
# Note that there should at most one ip match this list.
# If no ip match this rule, will choose one randomly.
# use CIDR format, e.g. 10.10.10.0/24
# Default value is empty.
priority_networks = 192.168.1.0/24

# data root path, seperate by ';'
storage_root_path = /home/disk1/palo;/home/disk2/palo

# Advanced configurations
# sys_log_dir = ${PALO_HOME}/log
# sys_log_roll_mode = SIZE-MB-1024
# sys_log_roll_num = 10
# sys_log_verbose_modules =
# log_buffer_level = -1
# palo_cgroups
需要创建这两个文件夹,这是be数据存放的地方
mkdir -p /home/disk1/palo
mkdir -p /home/disk2/palo
3. 打开vscode,并打开be源码所在目录,在本案例中打开目录为/home/workspace/palo0.8.1/
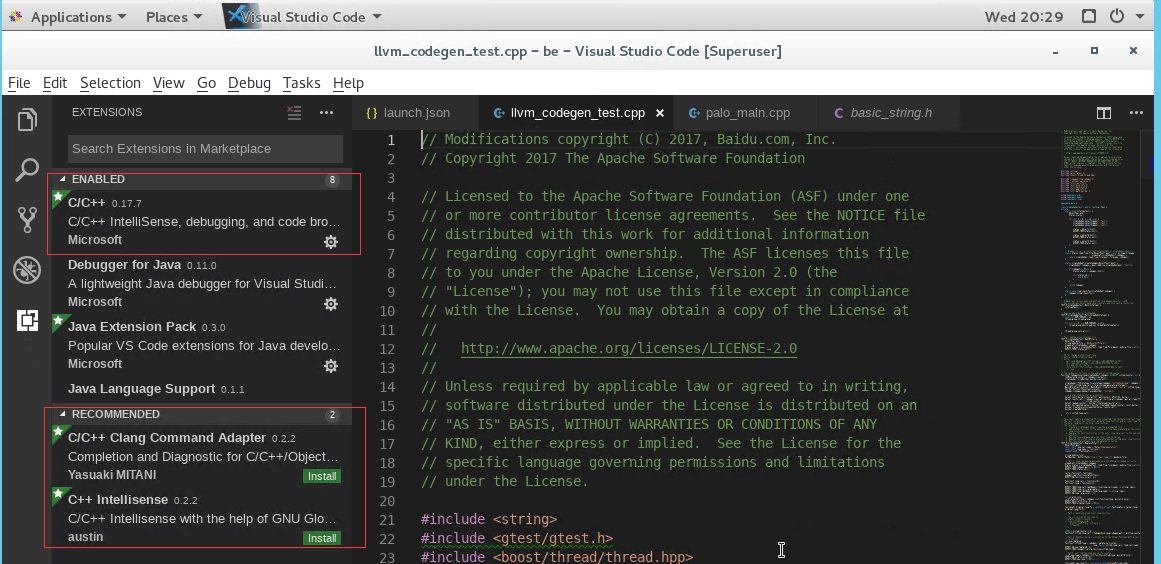
4. 安装vscode ms c++调试插件
5. 创建launch.json文件,文件内容如下:
{
    // Use IntelliSense to learn about possible attributes.
    // Hover to view descriptions of existing attributes.
    // For more information, visit: https://go.microsoft.com/fwlink/?linkid=830387
    "version": "0.2.0",
    "configurations": [
        {
            "name": "(gdb) Launch",
            "type": "cppdbg",
            "request": "launch",
            "program": "/home/workspace/palo0.8.1/output/be/lib/palo_be",
            "args": [],
            "stopAtEntry": false,
            "cwd": "/home/workspace/palo0.8.1/",
            "environment": [{"name":"PALO_HOME","value":"/home/workspace/palo0.8.1/output/be/"},
                            {"name":"UDF_RUNTIME_DIR","value":"/home/workspace/palo0.8.1/output/be/lib/udf-runtime"},
                            {"name":"LOG_DIR","value":"/home/workspace/palo0.8.1/output/be/log"},
                            {"name":"PID_DIR","value":"/home/workspace/palo0.8.1/output/be/bin"}
                           ],
            "externalConsole": true,
            "MIMode": "gdb",
            "setupCommands": [
                {
                    "description": "Enable pretty-printing for gdb",
                    "text": "-enable-pretty-printing",
                    "ignoreFailures": true
                }
            ]
        }
    ]
}
其中,environment定义了几个环境变量PALO_HOME UDF_RUNTIME_DIR LOG_DIR PID_DIR,这是palo_be运行时需要的环境变量,如果没有设置,启动会失败。
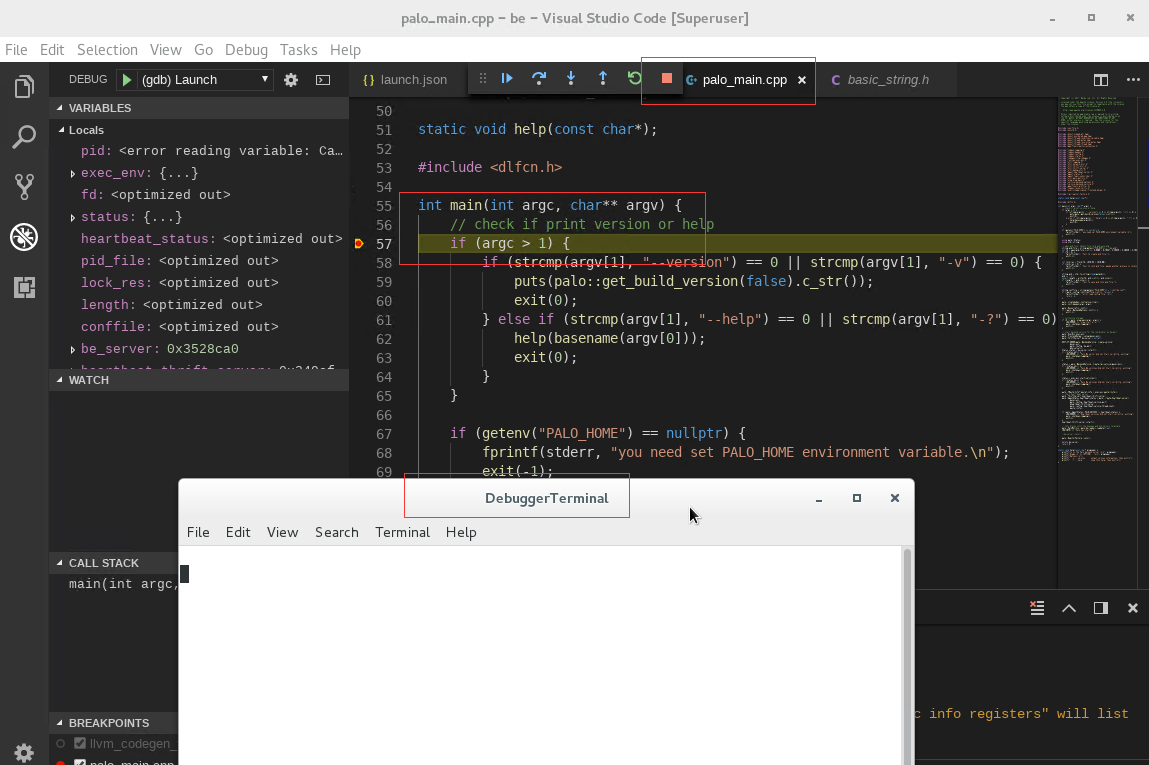
注意:如果希望是attach(附加进程)调试,配置代码如下:
{
    // Use IntelliSense to learn about possible attributes.
    // Hover to view descriptions of existing attributes.
    // For more information, visit: https://go.microsoft.com/fwlink/?linkid=830387
    "version": "0.2.0",
    "configurations": [
        {
            "name": "(gdb) Launch",
            "type": "cppdbg",
   "request": "attach",
           "program": "/home/workspace/palo0.8.1/output/lib/palo_be",
   "processId":26789,
        "MIMode": "gdb",
            "internalConsoleOptions":"openOnSessionStart",
            "setupCommands": [
                {
                    "description": "Enable pretty-printing for gdb",
                    "text": "-enable-pretty-printing",
                    "ignoreFailures": true
                }
            ]
        }
    ]
}
配置中 "request": "attach", "processId":26789,这两个配置节是重点: 分别设置gdb的调试模式为attach,附加进程的processId,否则会失败。如何查找进程id,可以在命令行中输入以下命令:
ps -A | grep palo_be
如图:

其中的26789即为当前运行的be的进程id.
如果当前用户不是root用户,会出现vscode启动gdb失败的情况,实际上vscode attach调试的原理是,启动一个脚本,在这个脚本中启动gdb并attach 到processId,具体脚本形如:
echo $$ > /tmp/Microsoft-MIEngine-Pid-inqdl1a1.ccl ;
cd /opt/doris/output/be/lib ;
DbgTerm=`tty` ;
set -o monitor ;
trap 'rm /tmp/Microsoft-MIEngine-In-ak1nvfsv.e7p
/tmp/Microsoft-MIEngine-Out-zt0opgme.h06
/tmp/Microsoft-MIEngine-Pid-inqdl1a1.ccl
/tmp/Microsoft-MIEngine-Cmd-vfkimaay.df7'
EXIT ;
read -n 1 -p "Superuser access is required to attach to a process.
Attaching as superuser can potentially harm your computer. Do you want to continue? [y/N]" yn;
if [[ ! $yn =~ ^[Yy]$ ]] ; then exit 0; fi;
/usr/bin/pkexec /usr/bin/gdb --interpreter=mi --tty=$DbgTerm < /tmp/Microsoft-MIEngine-In-ak1nvfsv.e7p > /tmp/Microsoft-MIEngine-Out-zt0opgme.h06 & clear;
pid=$! ;
echo $pid > /tmp/Microsoft-MIEngine-Pid-inqdl1a1.ccl ;
wait $pid;
但是如果当前用户的权限不是root,就会出现无法启动gdb,vscode无法连接上vscode,启动后毫无反映。解决办法为:
#第一种解决方法
sudo /usr/share/code/code --unity-launch    #默认/root目录作为工作目录
#第2种解决方法
sudo /usr/share/code/code  --user-data-dir  {YOUR SOURCE DIR}
一个完整的lainch.json的例子如下:
 1 {
 2     // Use IntelliSense to learn about possible attributes.
 3     // Hover to view descriptions of existing attributes.
 4     // For more information, visit: https://go.microsoft.com/fwlink/?linkid=830387
 5     "version": "0.2.0",
 6     "configurations": [
 7         {
 8             "name": "(gdb) Attach",
 9             "type": "cppdbg",
10             "request": "attach",
11             "program": "/opt/doris/output/be/lib/palo_be",
12             "processId": "${command:pickProcess}",
13             "MIMode": "gdb",
14             "setupCommands": [
15                 {
16                     "description": "Enable pretty-printing for gdb",
17                     "text": "-enable-pretty-printing",
18                     "ignoreFailures": true
19                 }
20             ]
21         },
22         {
23             "name": "(gdb) Launch",
24             "type": "cppdbg",
25             "request": "launch",
26             "program": "/opt/doris/output/be/lib/palo_be",
27             "args": [],
28             "stopAtEntry": false,
29             "cwd": "/opt/doris/output/be",
30             "environment": [
31                 {
32                     "name": "DORIS_HOME",
33                     "value": "/opt/doris/output/be"
34                 },
35                 {
36                     "name": "UDF_RUNTIME_DIR",
37                     "value": "/opt/doris/output/be/lib/udf-runtime"
38                 },
39                 {
40                     "name": "LOG_DIR",
41                     "value": "/opt/doris/output/be/log"
42                 },
43                 {
44                     "name": "PID_DIR",
45                     "value": "/opt/doris/output/be/bin"
46                 }
47             ],
48             "externalConsole": false,
49             "MIMode": "gdb",
50             "setupCommands": [
51                 {
52                     "description": "Enable pretty-printing for gdb",
53                     "text": "-enable-pretty-printing",
54                     "ignoreFailures": true
55                 }
56             ]
57         }
58     ]
59 }
6. 点击调试即可。