今天完成内容:
1.学习android
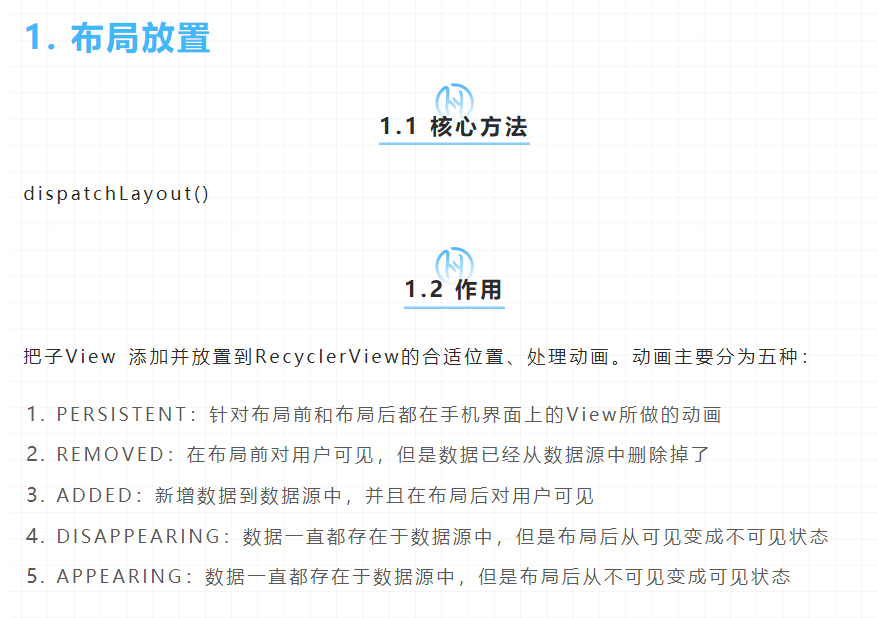
方法1:dispatchLayoutStep1()
- 判断是否需要开启动画功能
- 如果开启动画,将当前屏幕上的Item相关信息保存起来供后续动画使用
- 如果开启动画,调用mLayout.onLayoutChildren方法预布局
- 预布局后,与第二步保存的信息对比,将新出现的Item信息保存到Appeared中
private void dispatchLayoutStep1() {
  ...
  //第一步 判断是否需要开启动画功能
  processAdapterUpdatesAndSetAnimationFlags();
  ...
  if (mState.mRunSimpleAnimations) {
    ...
    //第二步  将当前屏幕上的Item相关信息保存起来供后续动画使用
    int count = mChildHelper.getChildCount();
    for (int i = 0; i < count; ++i) {
        final ViewHolder holder = getChildViewHolderInt(mChildHelper.getChildAt(i));
        final ItemHolderInfo animationInfo = mItemAnimator
                        .recordPreLayoutInformation(mState, holder,
                                ItemAnimator.buildAdapterChangeFlagsForAnimations(holder),
                                holder.getUnmodifiedPayloads());
        mViewInfoStore.addToPreLayout(holder, animationInfo);
    }
    ...
    if (mState.mRunPredictiveAnimations) {
          saveOldPositions();
          //第三步 调用onLayoutChildren方法预布局
          mLayout.onLayoutChildren(mRecycler, mState);
          mState.mStructureChanged = didStructureChange;

          for (int i = 0; i < mChildHelper.getChildCount(); ++i) {
              final View child = mChildHelper.getChildAt(i);
              final ViewHolder viewHolder = getChildViewHolderInt(child);
              if (viewHolder.shouldIgnore()) {
                  continue;
              }
                        //第四步 预布局后,对比预布局前后,哪些item需要放入到Appeared中

              if (!mViewInfoStore.isInPreLayout(viewHolder)) {

                  if (wasHidden) {
                      recordAnimationInfoIfBouncedHiddenView(viewHolder, animationInfo);
                  } else {
                      mViewInfoStore.addToAppearedInPreLayoutHolders(viewHolder, animationInfo);
                  }
              }
          }
          clearOldPositions();
      } else {
          clearOldPositions();
      }
  }

}
方法2:dispatchLayoutStep2
作用:根据数据源中的数据进行布局,真正展示给用户看的最终界面。
private void dispatchLayoutStep2() {
    ...
    // Step 2: Run layout
    mState.mInPreLayout = false;//此处关闭预布局模式
    mLayout.onLayoutChildren(mRecycler, mState);
    ...
}
方法3:dispatchLayoutStep3
作用:触发动画。
private void dispatchLayoutStep3() {
    ...
    if (mState.mRunSimpleAnimations) {
        // Step 3: Find out where things are now, and process change animations.
        // traverse list in reverse because we may call animateChange in the loop which may
        // remove the target view holder.
        for (int i = mChildHelper.getChildCount() - 1; i >= 0; i--) {
            ViewHolder holder = getChildViewHolderInt(mChildHelper.getChildAt(i));
            if (holder.shouldIgnore()) {
                continue;
            }
            long key = getChangedHolderKey(holder);
            final ItemHolderInfo animationInfo = mItemAnimator
                    .recordPostLayoutInformation(mState, holder);
            ViewHolder oldChangeViewHolder = mViewInfoStore.getFromOldChangeHolders(key);
            if (oldChangeViewHolder != null && !oldChangeViewHolder.shouldIgnore()) {
                // run a change animation
                ...
            } else {
                mViewInfoStore.addToPostLayout(holder, animationInfo);
            }
        }

        // Step 4: Process view info lists and trigger animations
        //触发动画
        mViewInfoStore.process(mViewInfoProcessCallback);
    }

  ...
    }
从代码我们可以看出dispatchLayoutStep1和dispatchLayoutStep2方法中调用了onLayoutChildren方法,而dispatchLayoutStep3没有调用。
2.看书
3.看视频
遇到问题:
无
明日目标:
学习Android studio的开发