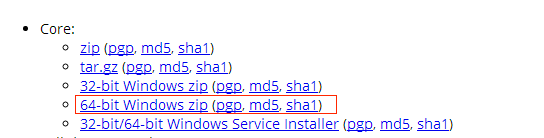
首先, 安装eclipse和tomcat, 这里我下载的是tomcat9.0版本64位免安装的:地址https://tomcat.apache.org/download-90.cgi
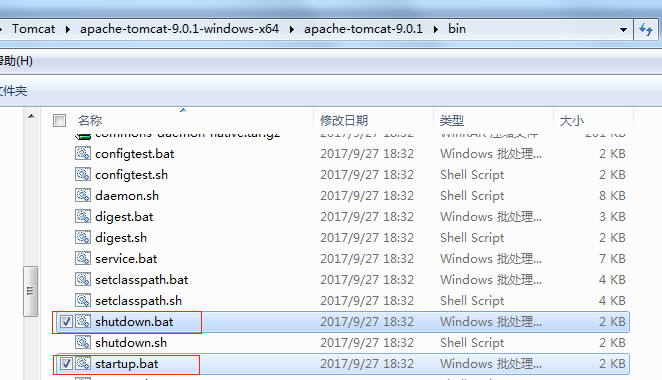
免安装的如何启动和关闭Tomcat呢?鼠标双击就可以了
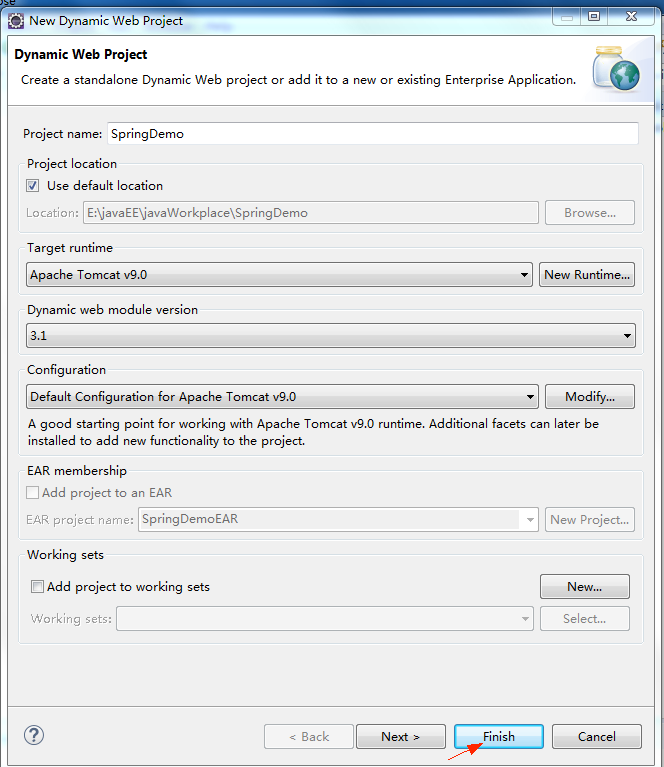
下面,打开eclipse: 导航栏File->New->Dynamic Web Project, 填写好project name,有人说过,给项目起名字一定要认真,就像给自己孩子起名字一样,这样才能又唯一标识!这里由于是第一个Spring项目,起名为SpringDemo, 如下图所示:
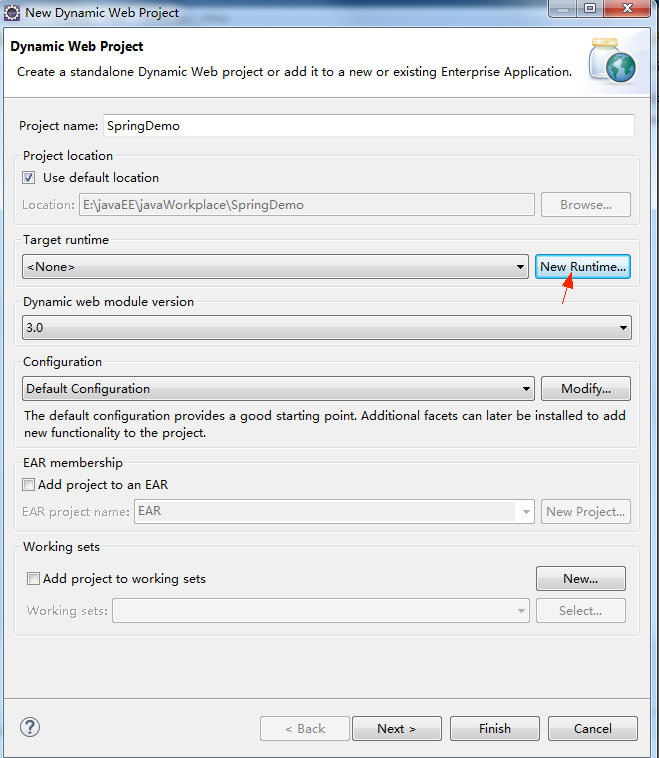
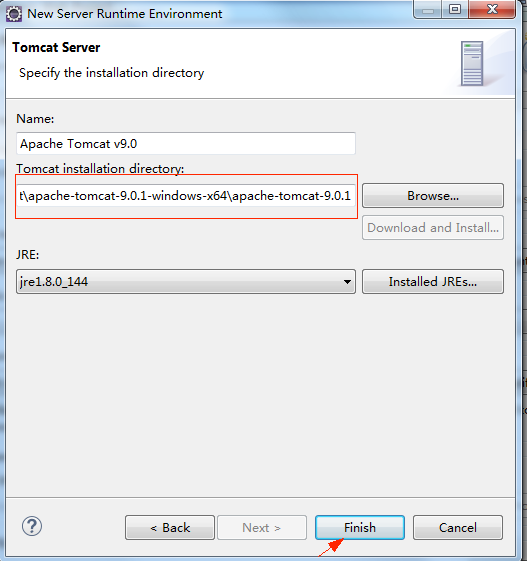
点击New Runtime选择你的Tomcat, 这里我选择最新版的9.0:
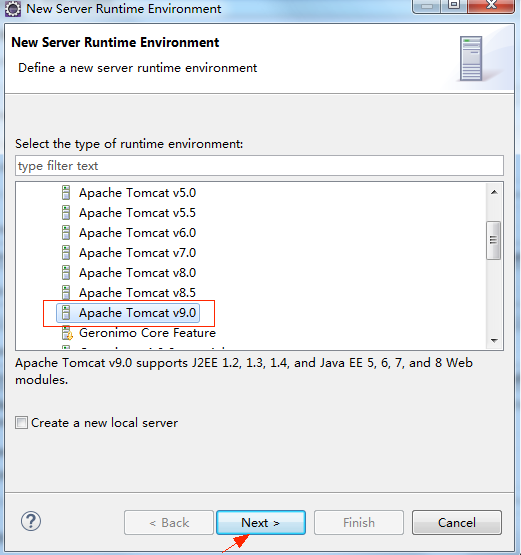
点击Next, 选择Tomcat的位置:D:Tomcatapache-tomcat-9.0.1-windows-x64apache-tomcat-9.0.1, JRE选择你安装的jre即可, 点击finish即可
配置如下, 点击finish完成
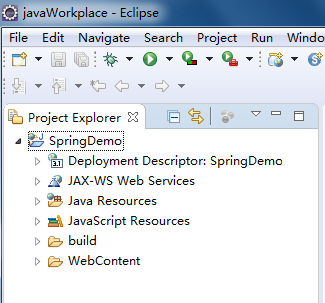
完成后如下:
下面就是要下载Spring jar包了,这里给一个链接,根据该链接的一步一步下载即可: http://www.cnblogs.com/leavescy/p/7657476.html
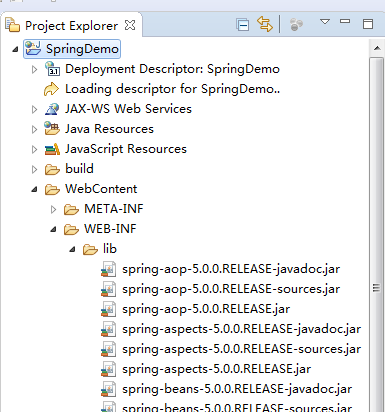
将刚才的jar包放到E:javaEEjavaWorkplaceSpringDemoWebContentWEB-INFlib(即你工程的目录下),然后重启eclipse,就会看到
创建相关配置文件和控制文件:
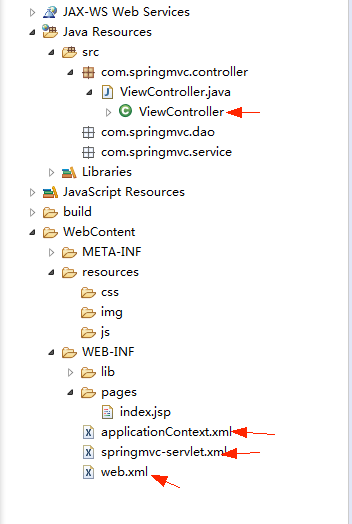
web.xml:
<?xml version="1.0" encoding="UTF-8"?>
<web-app version="3.0"
    xmlns:xsi="http://www.w3.org/2001/XMLSchema-instance"
    xmlns="http://java.sun.com/xml/ns/javaee"
    xsi:schemaLocation="http://java.sun.com/xml/ns/javaee http://java.sun.com/xml/ns/javaee/web-app_3_0.xsd"
    id="WebApp_ID" >

    <display-name>SpringDemo</display-name>

    <!-- 配置Spring MVC分发器,拦截所有请求 -->
    <servlet>
         <servlet-name>springmvc</servlet-name>
         <servlet-class>org.springframework.web.servlet.DispatcherServlet</servlet-class>
         <load-on-startup>1</load-on-startup>
    </servlet>

    <servlet-mapping>
         <servlet-name>springmvc</servlet-name>
         <url-pattern>/</url-pattern>
     </servlet-mapping>

     <context-param>
       <param-name>contextConfigLocation</param-name>
       <param-value>/WEB-INF/applicationContext.xml</param-value>
   </context-param>
    <listener>
      <listener-class>
         org.springframework.web.context.ContextLoaderListener
      </listener-class>
   </listener>


</web-app>
springmvc-servlet.xml
<?xml version="1.0" encoding="UTF-8"?>
<beans xmlns="http://www.springframework.org/schema/beans"
    xmlns:xsi="http://www.w3.org/2001/XMLSchema-instance"
    xmlns:p="http://www.springframework.org/schema/p"
    xmlns:context="http://www.springframework.org/schema/context"
    xmlns:mvc="http://www.springframework.org/schema/mvc"
    xsi:schemaLocation="http://www.springframework.org/schema/beans
      http://www.springframework.org/schema/beans/spring-beans-4.1.xsd
      http://www.springframework.org/schema/context
      http://www.springframework.org/schema/context/spring-context-4.1.xsd
      http://www.springframework.org/schema/mvc
      http://www.springframework.org/schema/mvc/spring-mvc-4.1.xsd">
      <!-- 开启注解模式驱动 -->


      <!-- 扫包 -->

      <context:component-scan base-package="com.springmvc.controller">
      </context:component-scan>
      <context:annotation-config/>

     <bean class="org.springframework.web.servlet.view.InternalResourceViewResolver">
         <!-- 指定页面存放的路径 -->
         <property name="prefix" value="/WEB-INF/pages/"></property>
         <!-- 文件的后缀 -->
         <property name="suffix" value=".jsp"></property>

     </bean>


</beans>
applicationContext.xml:
<?xml version="1.0" encoding="UTF-8"?>
<beans xmlns="http://www.springframework.org/schema/beans"
   xmlns:xsi="http://www.w3.org/2001/XMLSchema-instance"
   xsi:schemaLocation="http://www.springframework.org/schema/beans
   http://www.springframework.org/schema/beans/spring-beans.xsd">

  <!-- Empty -->

</beans>
ViewController.java
package com.springmvc.controller;

import org.springframework.stereotype.Controller;
import org.springframework.ui.Model;
import org.springframework.web.bind.annotation.RequestMapping;

@Controller
public class ViewController {
    @RequestMapping(value="/hello")
     public String hello(Model model) {

        model.addAttribute("greeting", "Hello Spring MVC");

        return"index";

    }
}
index.jsp:
<%@ page language="java" contentType="text/html; charset=UTF-8"
    pageEncoding="UTF-8"%>
<!DOCTYPE html PUBLIC "-//W3C//DTD HTML 4.01 Transitional//EN" "http://www.w3.org/TR/html4/loose.dtd">
<html>
<head>
<meta http-equiv="Content-Type" content="text/html; charset=UTF-8">
<title>${greeting}</title>
</head>
<body>
    恭喜,web项目已经成功搭建!
</body>
</html>
右键项目->Run As->Run on Server:
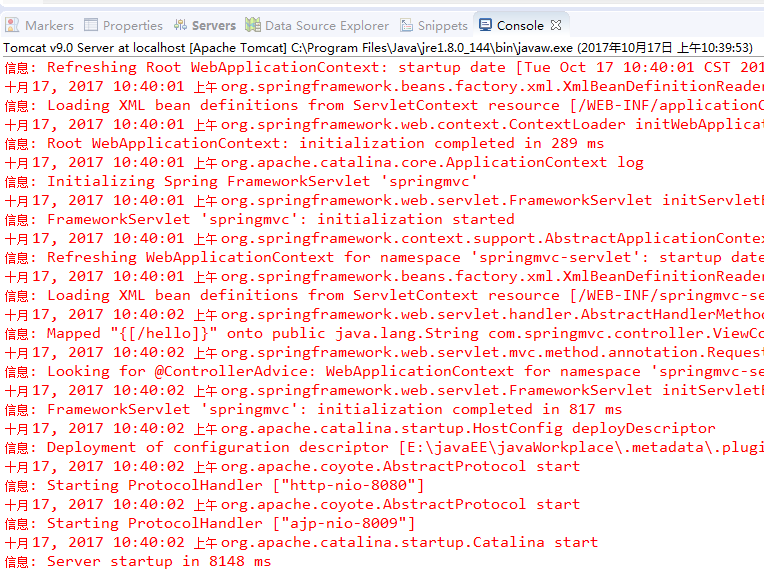
表示没有错误, 此时在浏览器中输入:http://localhost:8080/SpringDemo/hello

此时,表示项目成功!
注意: 关于免安装的Tomcat的配置,请参考:http://www.cnblogs.com/leavescy/p/7676262.html
maven版和非maven版的最大区别在于Tomcat的启用方式!