python能快速解决日常工作中的小任务,比如数据展示。
python做数据展示,主要用到matplotlib库,使用简单的代码,就可以很方便的绘制折线图、柱状图等。使用Java等,可能还需要配合html来进行展示,十分繁琐。
绘制的图形举例如下:


各种平面图的绘制代码:
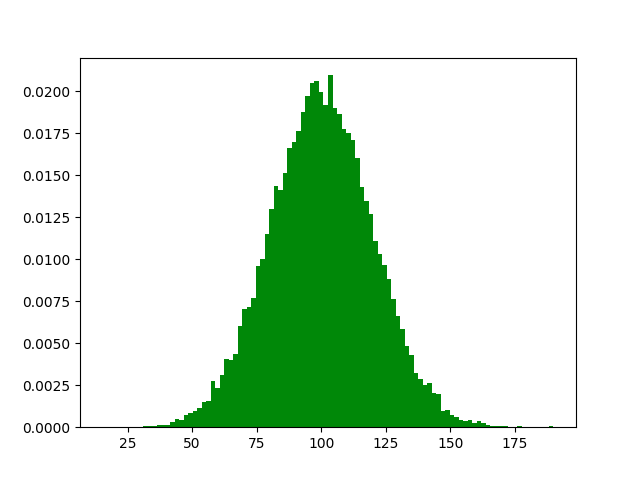
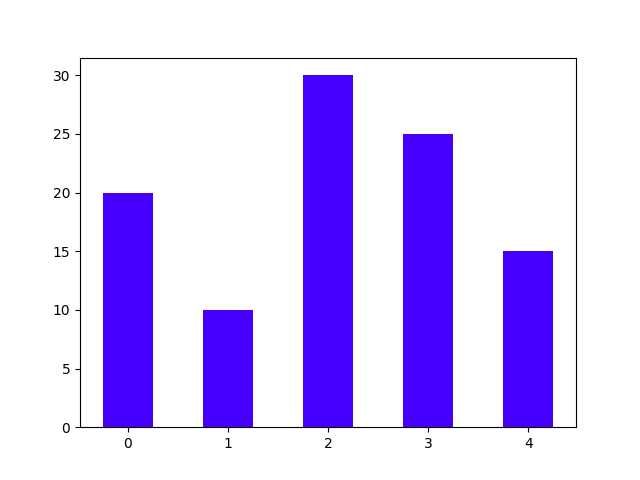
 1 '''
 2 File Name:   draw
 3 Author:      tim
 4 Date:        2018/8/15 16:47
 5 Description: 图形绘制。十分有用,对于工作中实验性的项目,可以快速展示效果。如果使用java,还需要配合前端展示。
 6 '''
 7
 8 import matplotlib.pyplot as plt
 9 import numpy as np  # 模块取别名
10
11
12 # 直方图
13 def draw_hist():
14     mu = 100
15     sigma = 20
16
17     x = mu + sigma * np.random.randn(20000)  # 样本数量
18     plt.hist(x, bins=100, color='green', normed=True)  # bins:显示有几个直方,normed是否对数据进行标准化
19
20     plt._show()
21
22
23 # 条形图
24 def draw_bar():
25     y = [20, 10, 30, 25, 15]  # Y轴数据
26     index = np.arange(5)  # X轴数据,也可以是index = [0,5]
27
28     plt.bar(left=index, height=y, color='blue', width=0.5)
29     plt.show()
30
31
32 # 折线图
33 def draw_plot():
34     x = np.linspace(-10, 10, 100)  # -10到10,100个点
35     y = x ** 3  # x的3次幂
36
37     plt.plot(x, y, linestyle='--', color='orange', marker='<')
38     plt.xlabel('X')
39     plt.ylabel('Y')
40
41     plt.show()
42
43
44 # 散点图
45 def draw_scatter():
46     x = np.random.randn(1000)
47     y = x + np.random.randn(1000) * 0.5
48
49     plt.scatter(x, y, s=5, marker='<')  # s表示面积,marker表示图形
50     plt.show()
51
52
53 # 饼状图
54 def draw_pie():
55     labels = 'A', 'B', 'C', 'D'  # 4个模块
56     fracs = [15, 30, 45, 10]  # 每个模块占比例
57
58     plt.axes(aspect=1)  # 使x、y轴比例相同
59     explode = [0, 0.5, 0, 0]  # 突出某一部分区域
60
61     plt.pie(x=fracs, labels=labels, autopct='%.0f%%', explode=explode)  # autopct显示百分比
62     plt.show()
63
64
65 # 带图例
66 def draw_with_legend():
67     x = np.arange(1, 11, 1)  # x轴坐标,1开始,11结束,步长为1
68
69     plt.plot(x, x * 2)  # 第一条线,x,y坐标
70     plt.plot(x, x * 3)
71     plt.plot(x, x * 4)
72
73     plt.legend(['Normal', 'Fast', 'Faster'])  # 设置图例,与上面的线对应
74     plt.grid(True, color='green', linestyle='--', linewidth=1)  # 绘制网格
75
76     plt.show()
77
78
79 # start
80 if __name__ == '__main__':
81     # draw_hist()
82     # draw_bar()
83     draw_plot()
84     # draw_scatter()
85     # draw_pie()
86     # draw_with_legend()
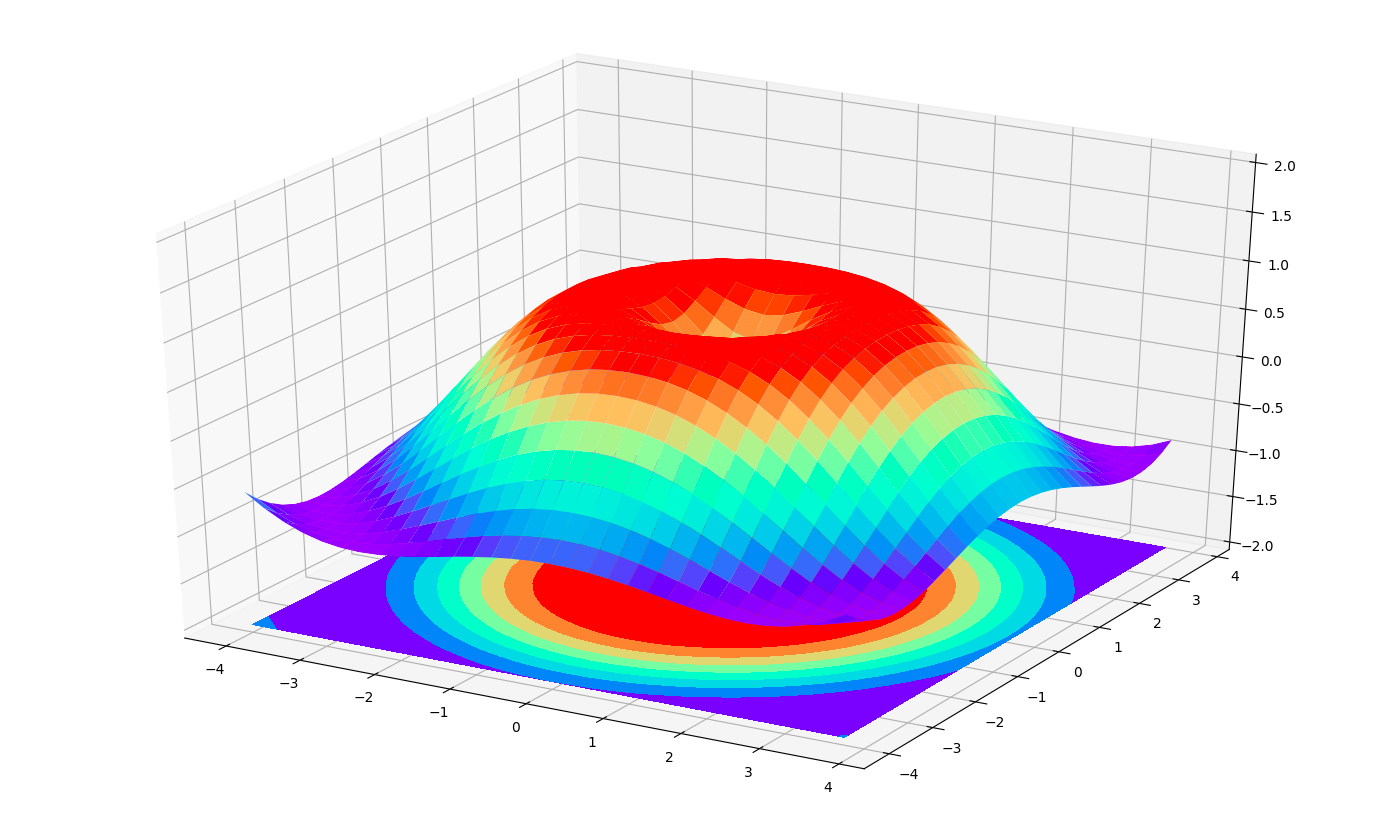
3D图的绘制代码:
 1 '''
 2 File Name:   draw_3d
 3 Author:      tim
 4 Date:        2018/8/15 18:42
 5 Description: 3D绘图
 6 '''
 7
 8 import numpy as np
 9 import matplotlib.pyplot as plt
10 from mpl_toolkits.mplot3d import Axes3D
11
12
13 # 3D 绘制
14 def draw_3D():
15     fig = plt.figure()  # 定义一个窗口
16     ax = Axes3D(fig)  # 绘制3D坐标
17
18     # 设置x、y、z的值
19     x = np.arange(-4, 4, 0.25)
20     y = np.arange(-4, 4, 0.25)
21     x, y = np.meshgrid(x, y)  # x-y 平面的网格
22
23     r = np.sqrt(x ** 2 + y ** 2)
24     z = np.sin(r)  # z值
25
26     # 做出一个三维曲面,并将一个 colormap rainbow 填充颜色,之后将三维图像投影到 XY 平面上做一个等高线图
27     # rstride 和 cstride 分别代表 row 和 column 的跨度。
28     ax.plot_surface(x, y, z, rstride=1, cstride=1, cmap=plt.get_cmap('rainbow'))
29
30     # 添加 XY 平面的等高线
31     ax.contourf(x, y, z, zdir='z', offset=-2, cmap=plt.get_cmap('rainbow'))
32
33     ax.set_zlim(-2, 2)
34     plt.show()  # 展示
35
36
37 # start
38 if __name__ == '__main__':
39     draw_3D()