学习东西需要记录,不然很容易忘记。很久之前就学习了springboot,在学习Vue前端框架的时候需要写一个增删改查的demo。迅速想到了springboot,学习很久了,springBoot的东西都忘得差不多了。于是重新开始学习一次。(谁叫咱记忆力不佳)。下面正式开始把。
一、建立springboot项目
1、打开IDEA点击spring initalizr
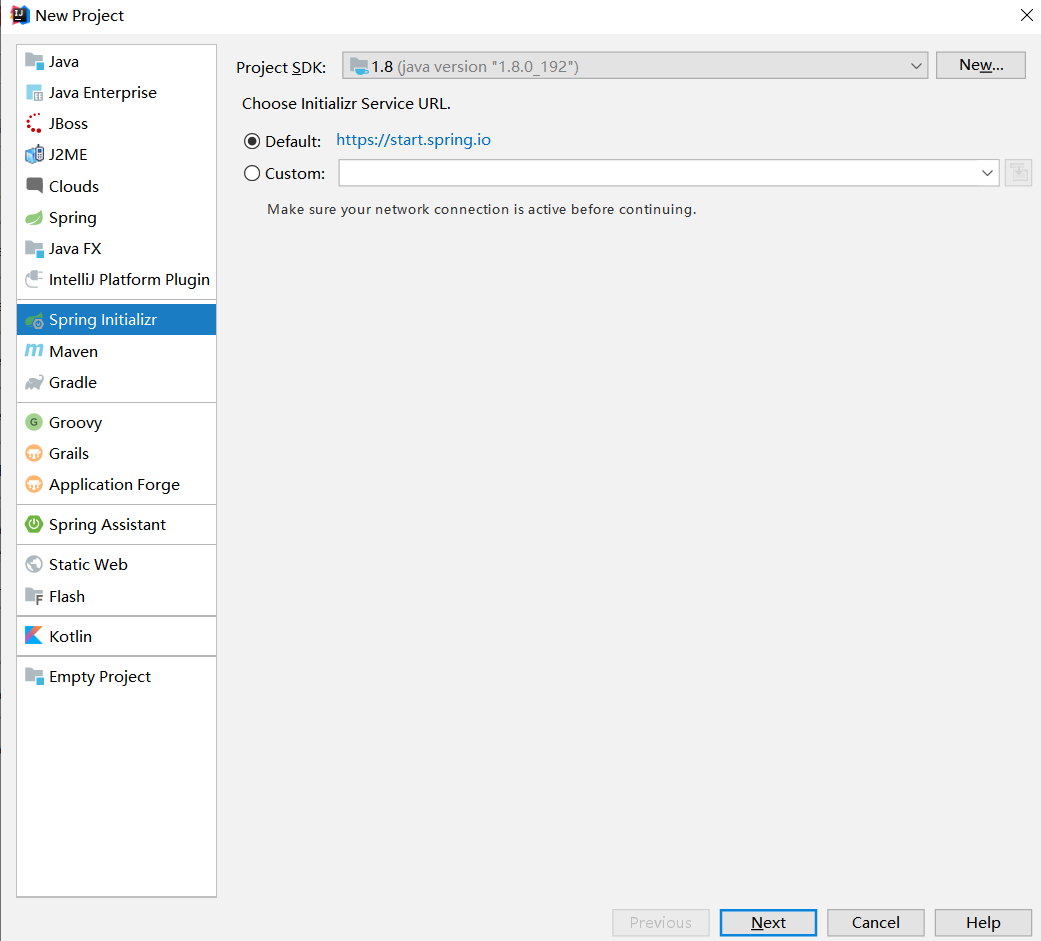
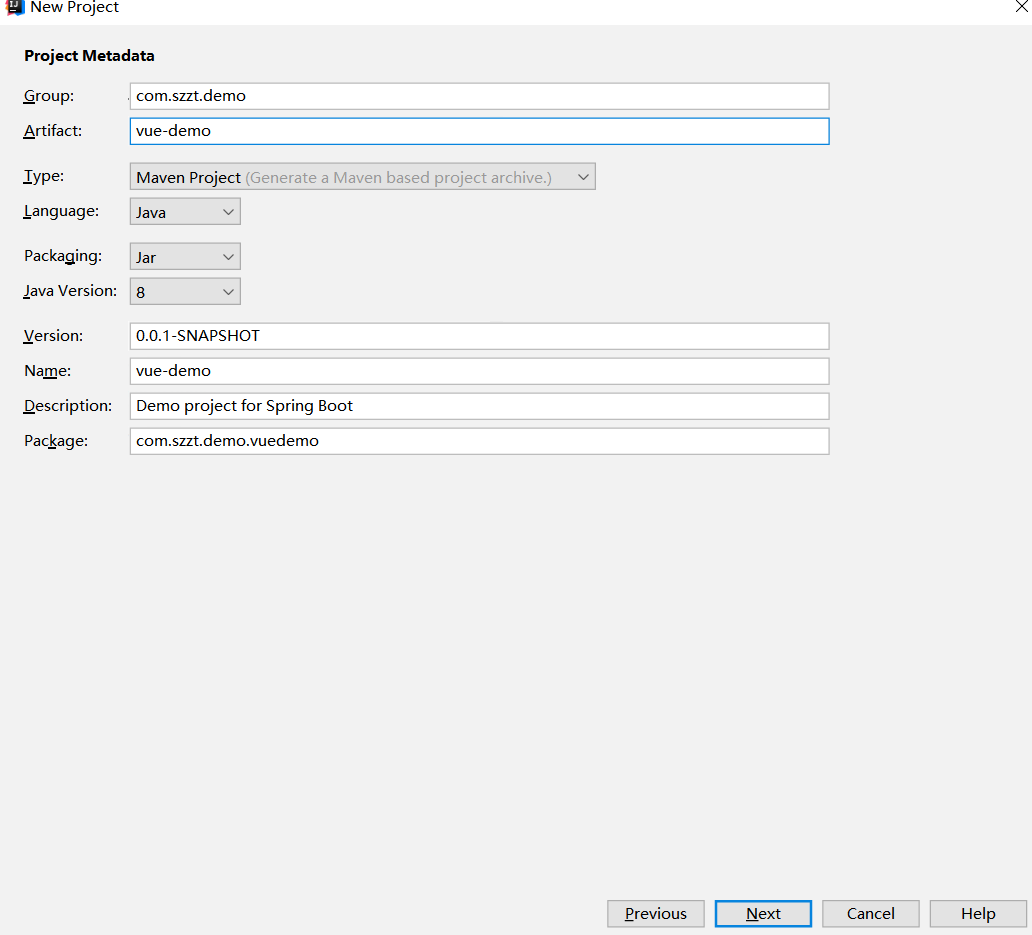
2、点击下一步
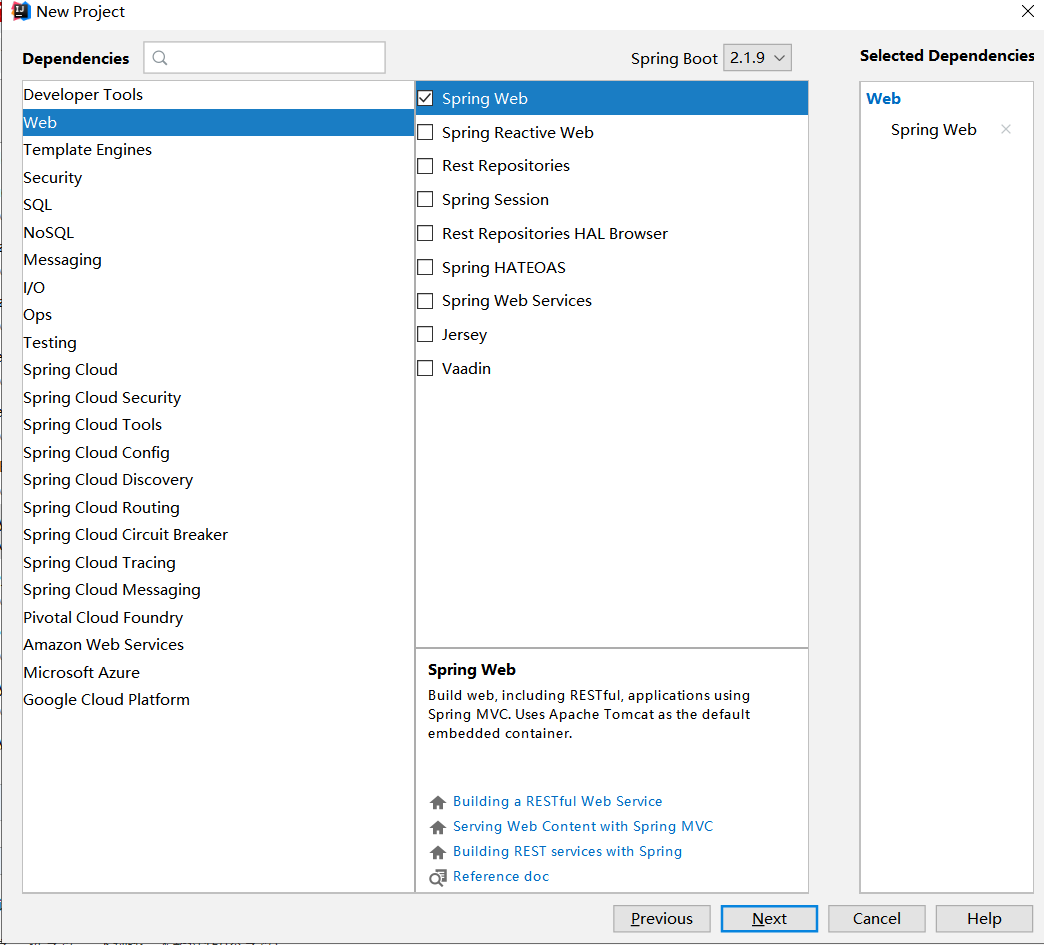
3、勾选springboot版本 选择web
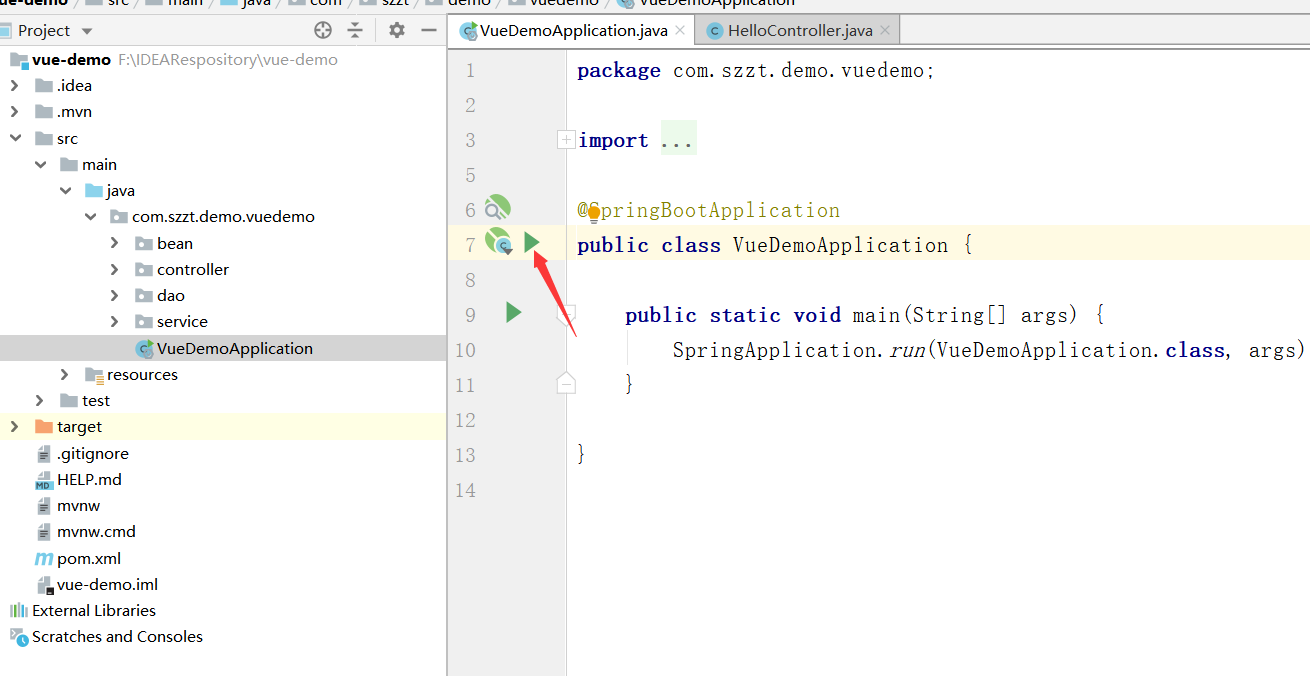
4、完成springboot搭建 项目结构

5、maven中的jar包
        <dependency>
            <groupId>org.springframework.boot</groupId>
            <artifactId>spring-boot-starter-web</artifactId>
        </dependency>

        <dependency>
            <groupId>org.springframework.boot</groupId>
            <artifactId>spring-boot-starter-test</artifactId>
            <scope>test</scope>
        </dependency>
6、检验是否成功 创建一个简单的HelloController
@RestController
public class HelloController {

    @RequestMapping("/hello")
    public String hello() {
        return "hello world";
    }

}
点击箭头启动项目
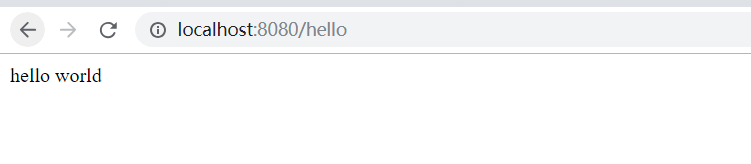
浏览器访问
在浏览器输入http://localhost:8080/hello 打印出hello 即创建springboot项目成功。
二、基础配置
1、springboot 配置application 推荐使用yml减少配置代码量
在resource下面建立一个application.yml配置
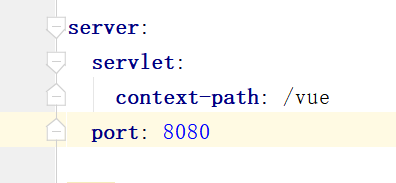
可以配置tomcat端口和项目根路径
在页面上输入 localhost:8080/vue/hello 即可访问
2、读取配置文件
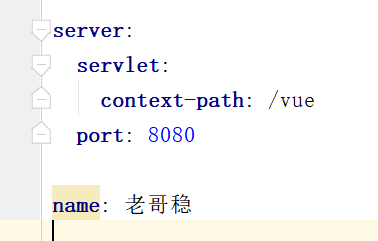
创建一个 name值随意
@RestController
public class HelloController {
    /**
     * 读取配置文件
     */
    @Value("${name}")
    private  String name;


    @RequestMapping("/hello")
    public String hello() {
        return "hello world";
    }

    @RequestMapping("/say")
    public String say() {
        return "hello world"+name;
    }

}
在页面输入localhost:8080/vue/say 即可看到 打印信息 hello world老哥稳
3、读取对象信息 (如果值一多,我们可以使用对象获取配置文件信息)
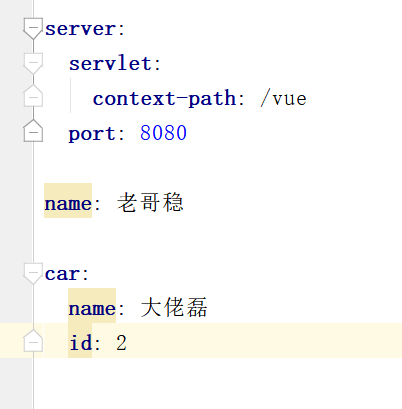
建立一个Person对象 
建立一个本地 Person获取配置文件person信息
Component :注入到容器
ConfigurationProperties :用于读取配置文件信息 person指名读取配置文件名称
@Component
@ConfigurationProperties(prefix = "person")
public class Person {

    private String name;

    private String id;


    public String getName() {
        return name;
    }

    public void setName(String name) {
        this.name = name;
    }

    public String getId() {
        return id;
    }

    public void setId(String id) {
        this.id = id;
    }

}
@RestController
public class HelloController {
    /**
     * 读取配置文件
     */
    @Value("${name}")
    private  String name;

    @Autowired
    private Person person;

    @RequestMapping("/hello")
    public String hello() {
        return "hello world";
    }

    @RequestMapping("/say")
    public String say() {
        return "hello world"+name;
    }

    @RequestMapping("/sayCar")
    public String sayCar() {
        return person.getId()+"hello world"+person.getName();

    }
}
4、获取get 请求附带的值
RequestMapping 即可获取从页面获取过来的值
输入请求 localhost:8080/vue/value?id=10 在方法中即可获取到id的值
如果没有我们可以给定一个默认值defaultValue = "0"
 @RequestMapping(value = "value" ,method = RequestMethod.GET)
    public String getValue(@RequestParam(value = "id",required = false ,defaultValue = "0") Integer id) {
        return "getValue:"+id.toString();

    }
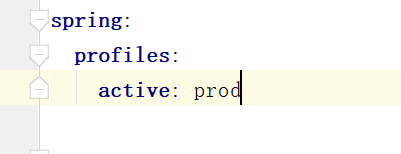
5、多配置文件 我们可以设置 spring.profiles.active指定让 springboot项目读取读取那一个配置文件,方便我们部署项目。active:可选择 prod dev等

三、数据库连接 jpa
maven依赖包
        <dependency>
            <groupId>org.springframework.boot</groupId>
            <artifactId>spring-boot-starter-data-jpa</artifactId>
        </dependency>


        <dependency>
            <groupId>mysql</groupId>
            <artifactId>mysql-connector-java</artifactId>
        </dependency>
一些数据库配置
server:
  port: 8088
  servlet:
    context-path: /vuedemo

spring:
  datasource:
    driver-class-name: com.mysql.cj.jdbc.Driver
    username: root
    password: 123456
    url: jdbc:mysql://127.0.0.1:3306/vuedemo?serverTimezone=UTC&useSSL=false&allowPublicKeyRetrieval=true
  jpa:
    show-sql: true
数据库
DROP TABLE IF EXISTS `car`;
CREATE TABLE `car`  (
  `id` int(11) NOT NULL AUTO_INCREMENT,
  `name` varchar(255) CHARACTER SET utf8 COLLATE utf8_general_ci NULL DEFAULT NULL,
  PRIMARY KEY (`id`) USING BTREE
) ENGINE = InnoDB AUTO_INCREMENT = 11127 CHARACTER SET = utf8 COLLATE = utf8_general_ci ROW_FORMAT = Dynamic;
创建bean
@Entity
public class Car {
    private String name;
    @Id
    @GeneratedValue(strategy= GenerationType.IDENTITY)
    private Integer id;

    public String getName() {
        return name;
    }

    public void setName(String name) {
        this.name = name;
    }

    public Integer getId() {
        return id;
    }

    public void setId(Integer id) {
        this.id = id;
    }
}
创建dao
public interface CarDao extends JpaRepository<Car,Integer> {
}
创建service impl
public interface CarService  {

    public List<Car> selectCarList();

    public Car addCar(Car car);

    public int deleteCar(Integer id);
}
@Service
public class CarServiceImpl implements CarService {
    @Autowired
    private CarDao carDao;

    @Override
    public List<Car> selectCarList() {
        return carDao.findAll();
    }


    @Override
    public Car addCar(Car car) {
        return carDao.save(car);
    }

    @Override
    public int deleteCar(Integer id) {
        carDao.deleteById(id);
        return 1;
    }
}
创建 controll
/**
 * ctrl +alt +b 快速查找子类实现
 */
@RestController
public class CarController {

    @Autowired
    private CarService carService;

    @RequestMapping("/getCarList")
    public List<Car> getCarList() {
        return carService.selectCarList();
    }

    @RequestMapping(value = "/addCarList")
    public Car addCarList(@RequestParam("name") String name){
        Car car=new Car();
        car.setName(name);
        return carService.addCar(car);
    }

    @RequestMapping("/deleteCarList")
    public int deleteCarList(@RequestParam("id") Integer id){
        return carService.deleteCar(id);
    }
}
一个简单的增删改查完成
查询

添加

删除
