添加依赖
<?xml version="1.0" encoding="UTF-8"?>
<project xmlns="http://maven.apache.org/POM/4.0.0"
         xmlns:xsi="http://www.w3.org/2001/XMLSchema-instance"
         xsi:schemaLocation="http://maven.apache.org/POM/4.0.0 http://maven.apache.org/xsd/maven-4.0.0.xsd">
    <modelVersion>4.0.0</modelVersion>

    <groupId>wonder</groupId>
    <artifactId>skyRainbow</artifactId>
    <version>1.0-SNAPSHOT</version>

    <parent>
        <groupId>org.springframework.boot</groupId>
        <artifactId>spring-boot-starter-parent</artifactId>
        <version>1.3.1.RELEASE</version>
        <relativePath/> <!-- lookup parent from repository -->
    </parent>

    <properties>
        <project.build.sourceEncoding>UTF-8</project.build.sourceEncoding>
        <project.reporting.outputEncoding>UTF-8</project.reporting.outputEncoding>
        <java.version>1.8</java.version>
    </properties>

    <dependencies>
        <dependency>
            <groupId>org.springframework.boot</groupId>
            <artifactId>spring-boot-starter-web</artifactId>
        </dependency>

        <dependency>
            <groupId>org.springframework.boot</groupId>
            <artifactId>spring-boot-starter-test</artifactId>
            <scope>test</scope>
        </dependency>


        <dependency>
            <groupId>org.apache.tomcat.embed</groupId>
            <artifactId>tomcat-embed-jasper</artifactId>
            <scope>provided</scope>
        </dependency>

        <dependency>
            <groupId>javax.servlet</groupId>
            <artifactId>jstl</artifactId>
        </dependency>

        <!--jsp 的依赖-->
        <dependency>
            <groupId>org.apache.tomcat.embed</groupId>
            <artifactId>tomcat-embed-jasper</artifactId>
        </dependency>
        <dependency>
            <groupId>javax.servlet</groupId>
            <artifactId>jstl</artifactId>
        </dependency>

    </dependencies>

    <build>
        <plugins>
            <plugin>
                <groupId>org.springframework.boot</groupId>
                <artifactId>spring-boot-maven-plugin</artifactId>
            </plugin>
        </plugins>
    </build>

</project>
创建启动文件
package lf;

import org.springframework.boot.SpringApplication;
import org.springframework.boot.autoconfigure.SpringBootApplication;

@SpringBootApplication // SpingBoot 相关注解,等于@Configuration、@EnableAutoConfiguration、@ComponentScan三个注解一起的作用
public class SkyRainbowApplication {

    public static void main(String[] args) {
        /**
         * Spring boot 程序入口
         */
        SpringApplication.run(SkyRainbowApplication.class,args);
    }
}
创建相关Java文件
package lf.controller;

import org.springframework.stereotype.Controller;
import org.springframework.ui.Model;
import org.springframework.web.bind.annotation.RequestMapping;
import org.springframework.web.bind.annotation.RequestMethod;

import java.util.Date;

@Controller
@RequestMapping("/lf/page")
public class PageController {

    /**
     * 进入公司主页
     */
    @RequestMapping(value = "/company",method = RequestMethod.GET)
    public String gotoCompanyPage(Model model){
        model.addAttribute("time",new Date());
        return "main";
    }


}
添加前缀和后缀(添加src/main/resources/application.properties内容如下)
# 页面默认前缀目录
spring.mvc.view.prefix=/WEB-INF/jsp/
# 响应页面默认后缀
spring.mvc.view.suffix=.jsp
添加jsp文件
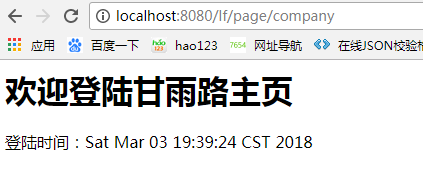
<%@ page contentType="text/html;charset=UTF-8" language="java" %>
<html>
<head>
    <title>主页</title>
</head>
<body>

    <h1>欢迎登陆甘雨路主页</h1>
    <div>登陆时间:${time}</div>


</body>
</html>
注意:如果工具是idea,jsp路径如下(/src/main/resources/META-INF/resources/WEB-INF/jsp)

如果是eclipse、myEclipse工具,放在在 src/main 下面创建 webapp/WEB-INF/jsp 目录用来存放我们的jsp页面。
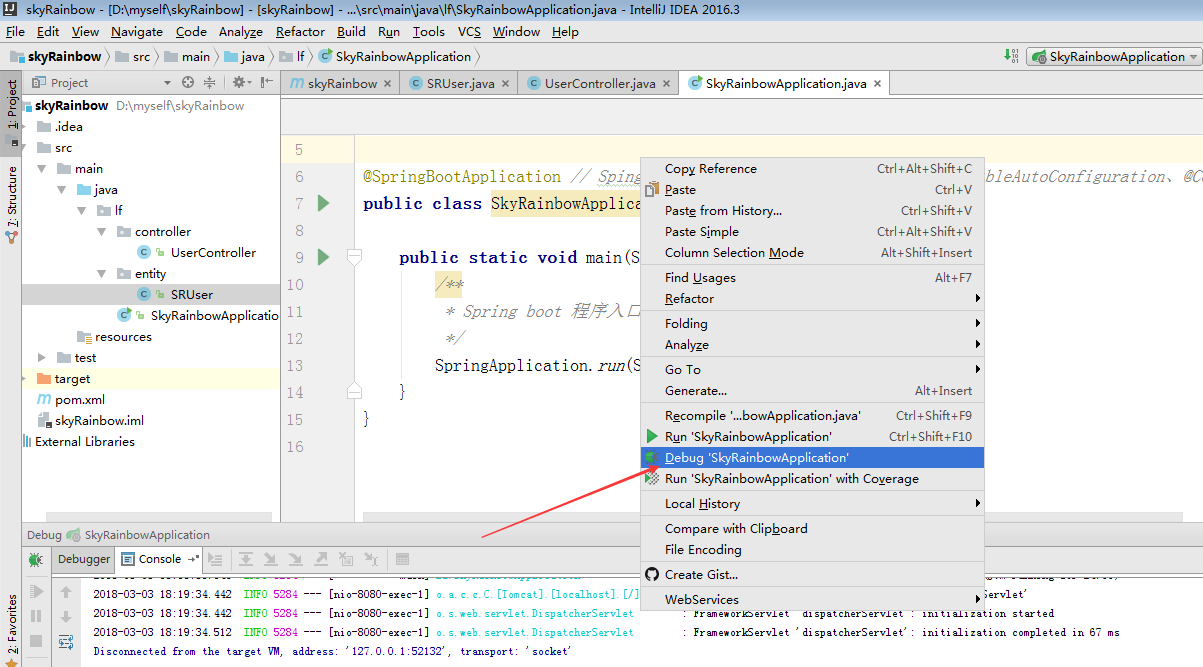
打开启动文件,并运行
在浏览器上输入http://localhost:8080/lf/page/company 即可