条件:在CentOS系统上安装所需的依赖:ssh,防火墙,postfix(用于邮件通知) ,wget,以下这些命令也会打开系统防火墙中的HTTP和SSH端口访问。
内存不小于2G
添加GitLab镜像源并安装gitlab服务器
wget https://mirrors.tuna.tsinghua.edu.cn/gitlab-ce/yum/el7/gitlab-ce-10.0.0-ce.0.el7.x86_64.rpm
2.安装gitlab 安装命令:安装过程需要些时间
rpm -i gitlab-ce-10.0.0-ce.0.el7.x86_64.rpm

3.修改gitlab配置文件指定服务器ip和自定义端口:
vim /etc/gitlab/gitlab.rb
external_url 'http://localhost:8099'

user['username'] = "git"
user['group'] = "git"

unicorn['listen'] = '127.0.0.1'
unicorn['port'] = 8098

nginx['enable'] = true
nginx['client_max_body_size'] = '250m'
nginx['redirect_http_to_https'] = false
nginx['redirect_http_to_https_port'] = 8099

nginx['listen_addresses'] = ['*', '[::]']
nginx['listen_port'] = 8099  ##nil
保存ps:注意这里设置的端口不能被占用,默认是8080端口,如果8080已经使用,请自定义其它端口,并在防火墙设置开放相对应得端口
4.重置并启动GitLab
gitlab-ctl   reconfigure
gitlab-ctl   restart
提示 "ok: run:"表示启动成功
若修改配置文件后需再次执行第4步
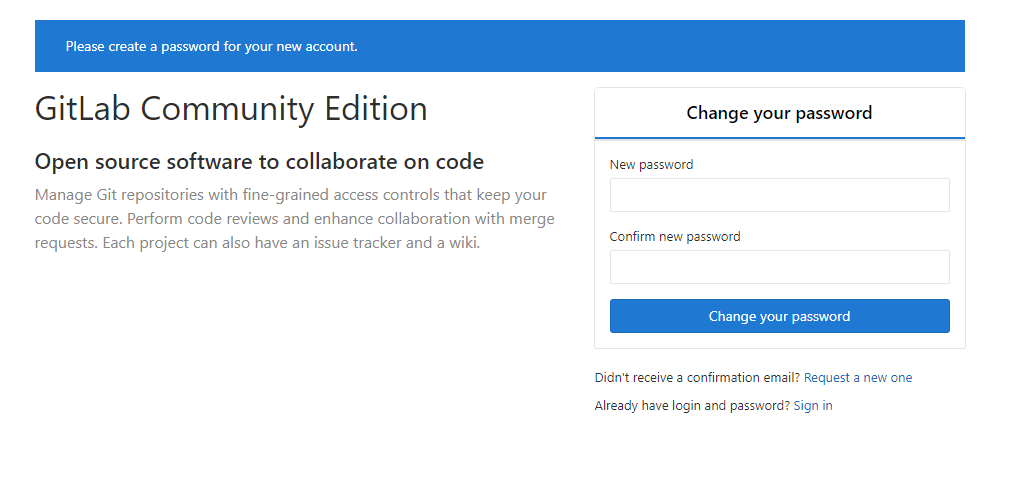
5.访问 GitLab页面
http://192.168.233.135:8099/
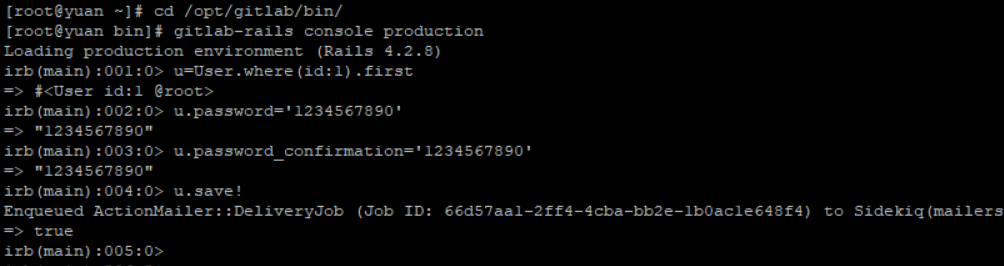
6. 获取/修改超级管理员root的密码
cd /opt/gitlab/bin
gitlab-rails console production
在irb(main):001:0> 后面通过 u=User.where(id:1).first 来查找与切换账号(User.all 可以查看所有用户)
通过u.password='12345678'设置密码为12345678(这里的密码看自己喜欢):
通过u.password_confirmation='12345678' 再次确认密码
通过 u.save!进行保存(切记切记 后面的 !)
如果看到上面截图中的true ,恭喜你已经成功了,执行 exit 退出当前设置流程即可。
回到gitlab ,可以通过 root/12345678 这一超级管理员账号登录了
u=User.where(id:1).first
u.password='12345678'
u.password_confirmation='12345678'
u.save!
7. 汉化gitlab
安装git
yum install -y git
克隆获取汉化版本库
项目地址为:https://gitlab.com/xhang/gitlab
我的gitlab版本为10.5.1
git clone https://gitlab.com/xhang/gitlab.git -b v10.0.0-zh
想要其他版本的gitlab:
git clone https://gitlab.com/xhang/gitlab.git -b vX.X.X-zh即可
停止gitlab服务
gitlab-ctl stop
进入git下载的gitlab项目
cd gitlab
比较汉化标签和原标签,导出 patch 用的 diff 文件到/root下
git diff v10.0.0 v10.0.0-zh > ../10.0.0-zh.diff
回到/root目录
cd
将10.0.0-zh.diff作为补丁更新到gitlab中
patch -d /opt/gitlab/embedded/service/gitlab-rails -p1 < 10.0.0-zh.diff
启动gitlab
gitlab-ctl reconfigure
gitlab-ctl start
重启后立马刷新可能会提示502,所以需稍等10几秒