1.安装启动nginx
(1).安装编译工具及库文件
yum -y install make zlib zlib-devel gcc-c++ libtool openssl openssl-devel

(2).安装 PCRE,下载地址: https://ftp.pcre.org/pub/pcre/pcre-8.35.tar.gz
[root@localhost ~]# cd /usr/local/src/
[root@localhost src]# wget https://ftp.pcre.org/pub/pcre/pcre-8.35.tar.gz
[root@localhost src]# tar -zxvf pcre-8.35.tar.gz
[root@localhost src]# cd pcre-8.35/
[root@localhost pcre-8.35]# ./configure && make && make install
(3).安装nginx,下载地址: http://nginx.org/download/nginx-1.6.2.tar.gz
[root@localhost src]# cd /usr/local/src/
[root@localhost src]# wget http://nginx.org/download/nginx-1.6.2.tar.gz
[root@localhost src]# tar -zxvf nginx-1.6.2.tar.gz
[root@localhost src]# cd nginx-1.6.2/
[root@localhost nginx-1.6.2]# ./configure && make && make install
(4).启动nginx
[root@localhost /]# cd /usr/local/nginx/sbin/
[root@localhost sbin]# ./nginx

2.springboot项目实现负载均衡示例
(1).创建springboot项目

(2).编写可访问的demo代码
package com.project.demo.spring.boot.controller;

import org.springframework.stereotype.Controller;
import org.springframework.web.bind.annotation.GetMapping;
import org.springframework.web.bind.annotation.RequestMapping;
import org.springframework.web.bind.annotation.ResponseBody;

/**
 * @author:wk
 * @date:2020/9/11
 */
@ResponseBody
@Controller
@RequestMapping("/demo")
public class TestController {
    @GetMapping("/getServerName")
    public String getServerName() {
        return "server1";
    }
}
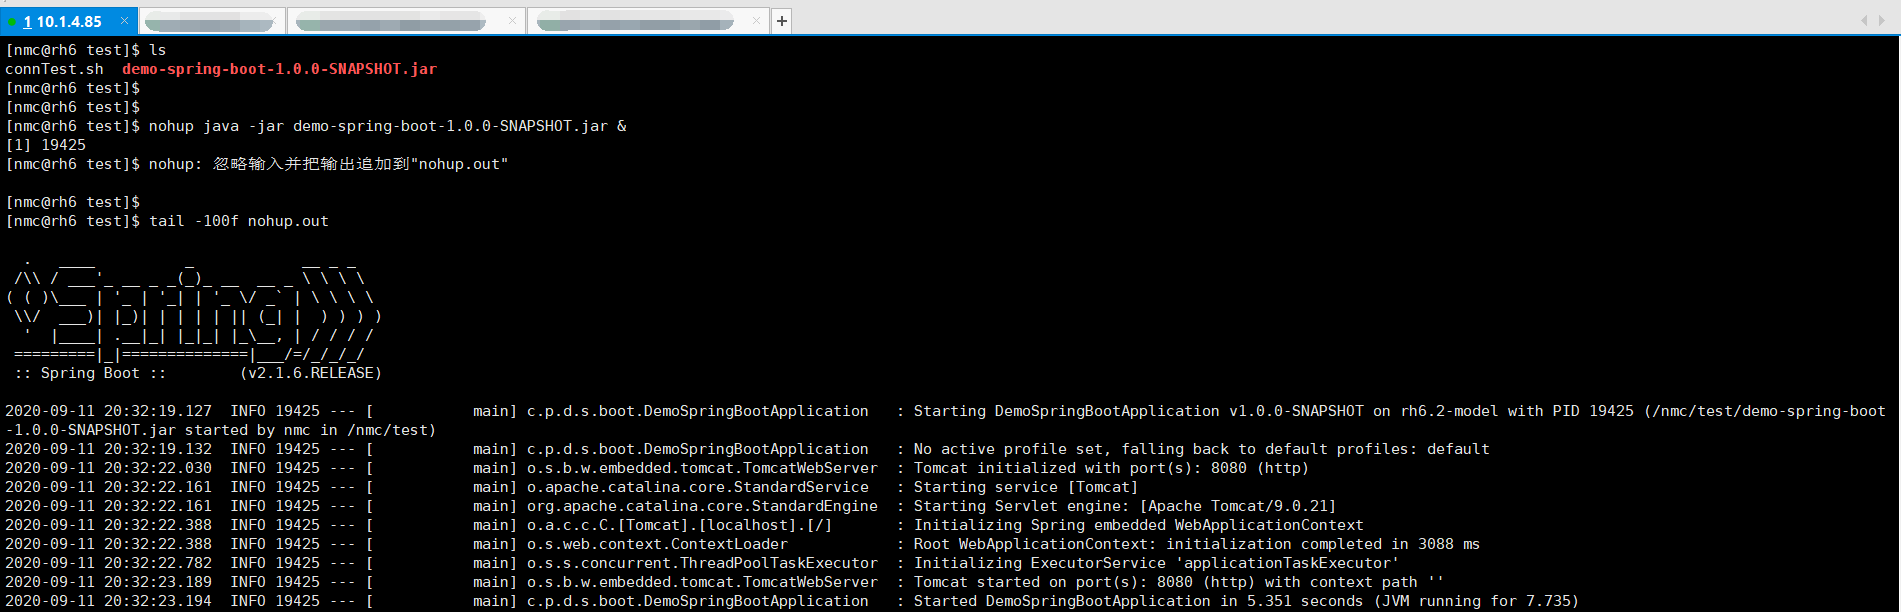
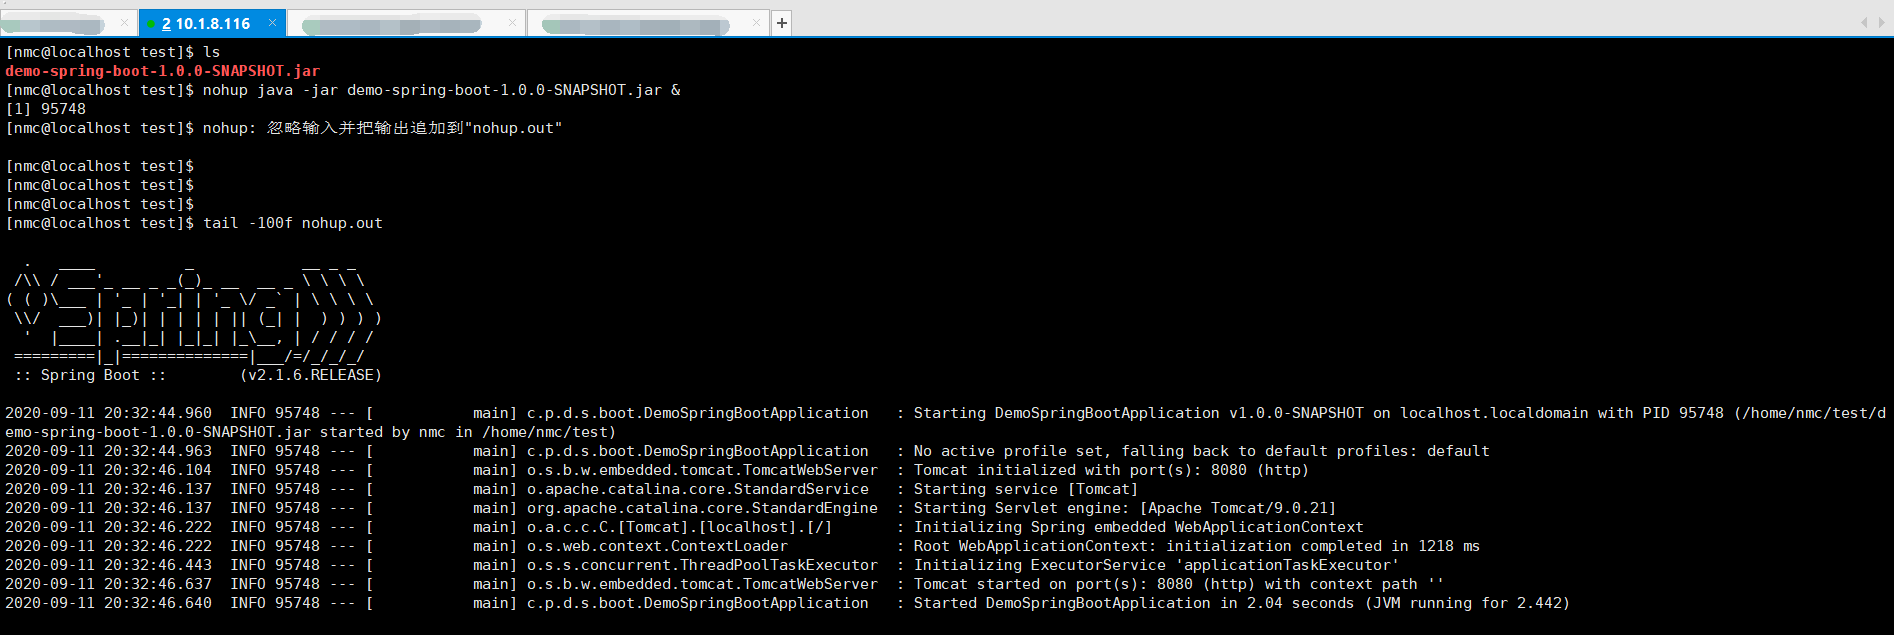
(3).将项目打包放到一台机器上,改动返回值为"server2"并将其打包放到另一台机器上,分别启动
(4).修改nginx负载均衡方面配置(默认为轮询方式),并保存
upstream myServer {
        server 10.1.4.85:8080;
        server 10.1.8.116:8080;
    }

    server {
        listen       7000;
        server_name  localhost;

        location / {
            proxy_pass http://myServer;
            root   html;
            index  index.html index.htm;
        }
(5).重载nginx配置
[root@localhost nginx]# cd /usr/local/nginx/sbin/
[root@localhost sbin]# ./nginx -s reload
(6).这时多次访问http://(nginx安装机器ip):7000/demo/getServerName,就会发现会轮询的调用10.1.4.85和10.1.8.116的接口
