步骤:在pom.xml中引入thymeleaf
<dependency>
            <groupId>org.springframework.boot</groupId>
            <artifactId>spring-boot-starter-thymeleaf</artifactId>
</dependency>
关于thymeleaf的相关配置
########################################################
###THYMELEAF (ThymeleafAutoConfiguration)
########################################################
#spring.thymeleaf.prefix=classpath:/templates/
#spring.thymeleaf.suffix=.html
#spring.thymeleaf.mode=HTML5
#spring.thymeleaf.encoding=UTF-8
# ;charset=<encoding> is added
#spring.thymeleaf.content-type=text/html
# set to false for hot refresh 开发时设置不用缓存,生产环境设置为true
spring.thymeleaf.cache=false
开始使用:
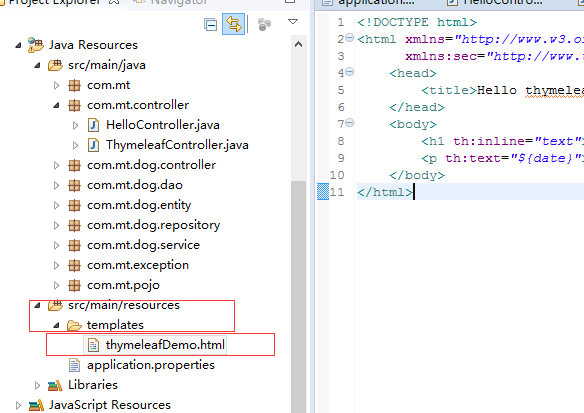
编写模板文件 :默认都放在 src/main/resouces/templates文件夹下
例如:src/main/resouces/templates/hello.html
示例代码:
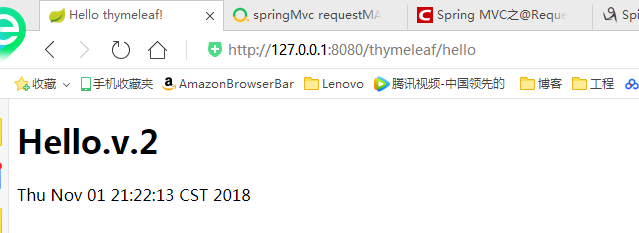
package com.mt.controller;

import java.util.Date;
import java.util.Map;

import org.springframework.stereotype.Controller;
import org.springframework.web.bind.annotation.RequestMapping;

@Controller
@RequestMapping("/thymeleaf")
public class ThymeleafController {
    @RequestMapping("/hello")
    public String hello(Map<String, Object> map) {
        map.put("date", new Date());
        return "thymeleafDemo";
    }
}
<!DOCTYPE html>
<html xmlns="http://www.w3.org/1999/xhtml" xmlns:th="http://www.thymeleaf.org"
      xmlns:sec="http://www.thymeleaf.org/thymeleaf-extras-springsecurity3">
    <head>
        <title>Hello thymeleaf!</title>
    </head>
    <body>
        <h1 th:inline="text">Hello.v.2</h1>
        <p th:text="${date}"></p>
    </body>
</html>