zabbix服务端必须部署在LNMP的基础上
LNMP
step1:源码编译安装nginx
依赖包:gcc openssl-devel pcre-devel zlib-devel
./configure
--prefix=/opt/nginx 定义安装位置
--with-http_ssl_module 开启ssl加密功能
--with-http_stub_status_module 开启status状态页面
--with-stream 开启tcpudp代理模块
step2:安装mariadb mariadb-server mariadb-devel
如果是mysql的话:mysql-devel
step3:安装php php-mysql php-devel php-fpm
step4:更改nginx.conf
location ~ .php$ {
root html;
fastcgi_pass 127.0.0.1:9000;
fastcgi_index index.php;
# fastcgi_param SCRIPT_FILENAME /scripts$fastcgi_script_name;
include fastcgi.conf;
}
step5:启动nginx,mariadb,php-fpm服务
systemctl start mariadb 3306
systemctl start php-fpm 9000
./nginx 80
测试:
<?php
$i=20;
echo $i;
?>
https://www.cnblogs.com/xll970105/p/10225543.html
源码编译安装zabbix
step1:安装依赖包
yum -y install libxml2-devel unixODBC-devel net-snmp-devel OpenIPMI-devel curl-devel libevent-devel
step2:下载zabbix,并且编译安装
https://cdn.zabbix.com/zabbix/sources/stable/4.4/zabbix-4.4.9.tar.gz
./configure --prefix=/usr/local/zabbix --enable-server --enable-proxy --enable-agent --with-mysql --enable-ipv6 --with-net-snmp --with-libcurl --with-libxml2
make &&make install
step3:创建数据库和数据库账号
mysql
>create database zabbix CHARSET=utf8 COLLATE=utf8_bin;
>grant all on zabbix.* to zabbix@'localhost' identified by 'zabbix';
step4:导入数据库
mysql -uzabbix -pzabbix zabbix< /opt/zabbix-4.4.9/database/mysql/schema.sql
mysql -uzabbix -pzabbix zabbix< /opt/zabbix-4.4.9/database/mysql/images.sql
mysql -uzabbix -pzabbix zabbix< /opt/zabbix-4.4.9/database/mysql/data.sql
step5:拷贝web页面到nginx/html
cp -r /opt/zabbix-4.4.9/frontends/php/* /opt/nginx/html/
chmod -R 777 /opt/nginx/html/*
step6:使用浏览器访问zabbix页面
ip/index.php
step7:根据页面提示安装依赖包和更改php.ini配置
yum -y install php-gd php-xml php-ldap php-bcmath php-mbstring
vim /etc/php.ini
384 max_execution_time = 300878 date.timezone = Asia/Shanghai85 DBHost=localhost
94 DBName=zabbix
110 DBUser=zabbix
118 DBPassword=zabbix
step9:修改zabbix_agentd.conf配置文件 【zabbix客户端需要配置】
Server=127.0.0.1,zabbix服务端ip //允许xx通过agent来监控本机
ServerActive=127.0.0.1,zabbix服务端ip //zabbix服务器的ip地址
Hostname=客户端的ip或是主机名
287 Include=/usr/local/zabbix/etc/zabbix_agentd.conf.d/ 自定义监控项的存放位置
step10:修改nginx.conf配置 fastcgi_buffer_size 128k;
fastcgi_buffers 32 32k;
./nginx -s stop
./nginx //重启nginx

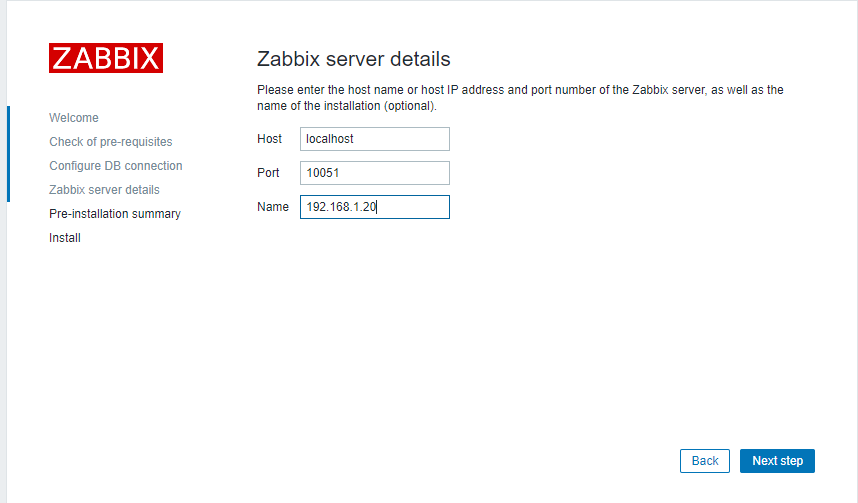
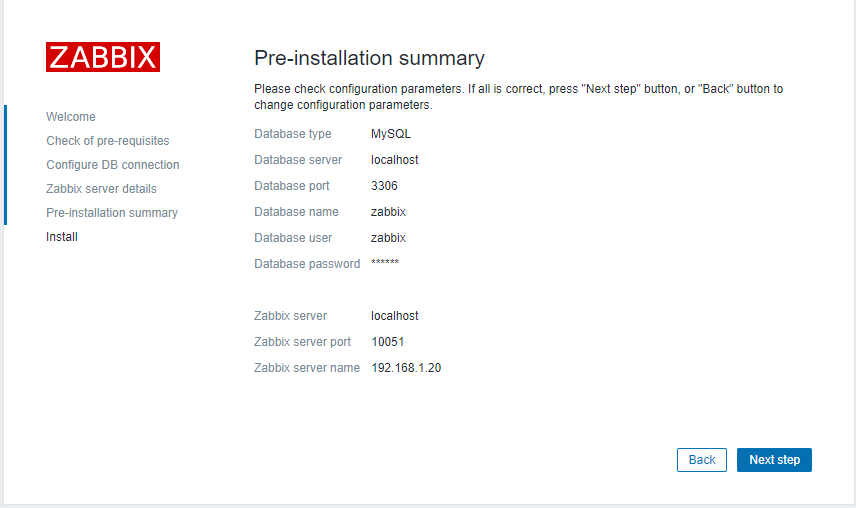

http ://192.168.1.20/index.php
zabbix初始用户名和密码:Adminzabbix
