共分三步:
1.制作.9.png图片
可以参考这个文章。
2.修改项目文件,使用.9.png图片
用笔记本打开项目文件,先找到在项目中设置的Splash文件名,并改成第一步制作的.9.png文件名。例如:
我们可以在项目设置页找到Splash Image文件名,如下图:
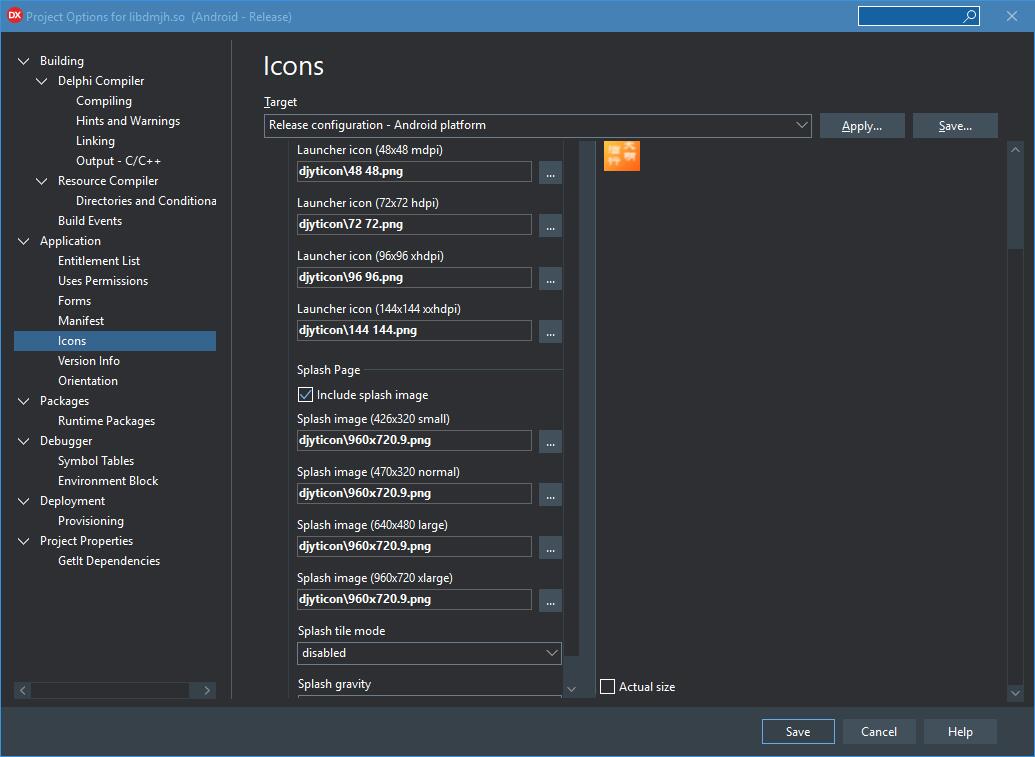
在上图中,是我已经改后的结果,Splash Image都用了同一个文件960x720.9.png。
项目文件的扩展名为.dproj,用笔记本打开他,查找上图中设置的文件名,改成你需求的,一共是4个文件名。
为什么直接修改项目文件呢?因为在上图上不能直接设置,该死的Delphi IDE在这里会检查图片的尺寸是否合法,不合法的尺寸,不让Save...
3.制作style.xml并发布该文件
styles.xml

<resources xmlns:android="http://schemas.android.com/apk/res/android">
<style name="AppTheme" parent="@android:style/Theme.NoTitleBar">
    <item name="android:windowBackground">@drawable/splash_image</item>
  <item name="android:windowNoTitle">true</item>
  <item name="android:windowFullscreen">true</item>
  <item name="android:windowContentOverlay">@null</item>
    <item name="android:windowTranslucentStatus">true</item>
    <item name="android:windowTranslucentNavigation">true</item>
</style>

</resources>

styles21.xml

<resources xmlns:android="http://schemas.android.com/apk/res/android">
<style name="AppTheme" parent="@android:style/Theme.NoTitleBar">
    <item name="android:windowBackground">@drawable/splash_image</item>
  <item name="android:windowNoTitle">true</item>
  <item name="android:windowFullscreen">true</item>
  <item name="android:windowContentOverlay">@null</item>
    <item name="android:windowTranslucentStatus">true</item>
    <item name="android:windowTranslucentNavigation">false</item>
    <item name="android:statusBarColor">@android:color/transparent</item>
</style>
保存上面两个xml文件,然后利用Deployment发布到对应的目录中,如下图:

发布后,设置原来两个文件不再发布。如上图。
styles.xml发布到resvalues
styles21.xml发布到resvalues-v21
参考以前转贴的文章:Delphi XE10 Android Splash设备自适应和沉浸式状态条