翻牌效果
1.mac录制视频
可以使用QuickTime Player方便地录制视频2.核心代码1 [CCOrbitCamera actionWithDuration:1.3 radius:1 deltaRadius:0 angleZ:0 deltaAngleZ:-90 angleX:0 deltaAngleX:0];
转自 cocos2d 如何实现 翻牌效果3.测试代码1 -(void) testFlipCard 2 { 3 // create a sprite 4 CCSprite *sprite1 = [CCSprite spriteWithFile: @"c1.png"]; 5 // set position of the sprite 6 [sprite1 setPosition: ccp(240.0f, 160.0f)]; 7 // create an action 8 id actionFunc1 = [CCSequence actions: [CCDelayTime actionWithDuration: 0.5f], [CCCallFuncN actionWithTarget: self selector: @selector(testFlipCardCallFunc1:)], [CCDelayTime actionWithDuration: 1.0f], [CCCallFuncN actionWithTarget: self selector: @selector(testFlipCardCallFunc2:)], [CCDelayTime actionWithDuration: 0.5f], nil]; 9 id actionFlip1 = [CCOrbitCamera actionWithDuration: 2.0f radius: 1.0f deltaRadius: 0.0f angleZ: 0.0f deltaAngleZ: -360.0f angleX: 0.0f deltaAngleX: 0.0f]; 10 id actionForever1 = [CCRepeatForever actionWithAction: [CCSpawn actions: actionFunc1, actionFlip1, nil]]; 11 // run action 12 [sprite1 runAction: actionForever1]; 13 // add the sprite to the layer 14 [self addChild: sprite1]; 15 16 // create a sprite 17 CCSprite *sprite2 = [CCSprite spriteWithFile: @"c0.png"]; 18 // set position of the sprite 19 [sprite2 setPosition: ccp(240.0f, 160.0f)]; 20 // hide sprite 2 21 [sprite2 setVisible: NO]; 22 // create an action 23 id actionFunc2 = [CCSequence actions: [CCDelayTime actionWithDuration: 0.5f], [CCCallFuncN actionWithTarget: self selector: @selector(testFlipCardCallFunc2:)], [CCDelayTime actionWithDuration: 1.0f], [CCCallFuncN actionWithTarget: self selector: @selector(testFlipCardCallFunc1:)], nil]; 24 id actionFlip2 = [CCOrbitCamera actionWithDuration: 2.0f radius: 1.0f deltaRadius: 0.0f angleZ: 0.0f deltaAngleZ: -360.0f angleX: 0.0f deltaAngleX: 0.0f]; 25 id actionForever2 = [CCRepeatForever actionWithAction: [CCSpawn actions: actionFunc2, actionFlip2, nil]]; 26 // run action 27 [sprite2 runAction: actionForever2]; 28 // add the sprite to the layer 29 [self addChild: sprite2]; 30 } 31 32 -(void) testFlipCardCallFunc1 : (id) node 33 { 34 [node setVisible: NO]; 35 } 36 37 -(void) testFlipCardCallFunc2 : (id) node 38 { 39 [node setVisible: YES]; 40 }
4.测试效果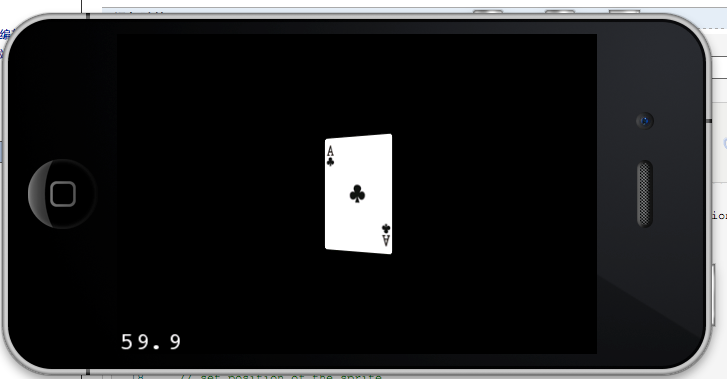

本打算上传视频的,已经录制好了,但是还没有找到比较好的上传方法,先上传图片吧