思考
现在有这样一个需求,业务场景想要使用的监控模版没有3.0版本的,只有2.0,我们都知道2.0的模版无法导入进3.0版本的zabbix中,这个时候应该怎么获得3.0的监控模版哪?本篇博客将详细演示如何将一个2.0版本的监控模版升级到3.0。
安装2.2版本的zabbix
第一步:下载zabbix
[root@agent ~]# rpm -i https://repo.zabbix.com/zabbix/2.2/rhel/7/x86_64/zabbix-release-2.2-1.el7.noarch.rpm
[root@agent yum.repos.d]# yum install zabbix-release-3.0-1.el7.noarch.rpm -y
[root@agent yum.repos.d]# yum install zabbix-server-mysql zabbix-web-mysql zabbix-agent
第二步:下载mysql并启动
[root@agent yum.repos.d]# yum install mariadb-server -y
[root@agent yum.repos.d]# systemctl restart mariadb
第三步:配置mysql
[root@agent yum.repos.d]# cp /usr/share/doc/zabbix-server-mysql-2.2.23/create/data.sql /root
[root@agent yum.repos.d]# cp /usr/share/doc/zabbix-server-mysql-2.2.23/create/schema.sql /root
[root@agent yum.repos.d]# cp /usr/share/doc/zabbix-server-mysql-2.2.23/create/images.sql /root
[root@agent ~]# gunzip create.sql.gz
[root@agent yum.repos.d]# mysql -uroot -p
Enter password:
Welcome to the MariaDB monitor.  Commands end with ; or g.
Your MySQL connection id is 5
Server version: 5.7.23-log MySQL Community Server (GPL)

Copyright (c) 2000, 2017, Oracle, MariaDB Corporation Ab and others.

Type 'help;' or 'h' for help. Type 'c' to clear the current input statement.

MySQL [(none)]> create database zabbix;
MySQL [(none)]> use zabbix;
MySQL [(none)]> source /root/schema.sql
MySQL [(none)]> source /root/data.sql
MySQL [(none)]> source /root/images.sql
MySQL [(none)]> grant all privileges on zabbix.* to zabbix@localhost identified by '123';
第四 步:启动http
[root@agent ~]# systemctl restart httpd
[root@agent ~]# ss -tnl | grep 80
LISTEN     0      128         :::80                      :::*
第五步:配置相关文件
[root@agent ~]# vim /etc/httpd/conf.d/zabbix.conf
<IfModule mod_php5.c>
        php_value max_execution_time 300
        php_value memory_limit 128M
        php_value post_max_size 16M
        php_value upload_max_filesize 2M
        php_value max_input_time 300
        php_value max_input_vars 10000
        php_value always_populate_raw_post_data -1
        php_value date.timezone Asia/Shanghai   #时区修改为Asia/Shanghai
[root@agent ~]# vim /etc/zabbix/zabbix_server.conf
...
### Option: DBPassword
#       Database password. Ignored for SQLite.
#       Comment this line if no password is used.
#
# Mandatory: no
# Default:
# DBPassword=
DBPassword=123   #填写数据库密码

### Option: DBSocket
#       Path to MySQL socket.
...
第六步:重启zabbix-server
[root@agent yum.repos.d]# systemctl restart zabbix-server
第五步:浏览器查看并配置
输入IP/zabbix

点击next
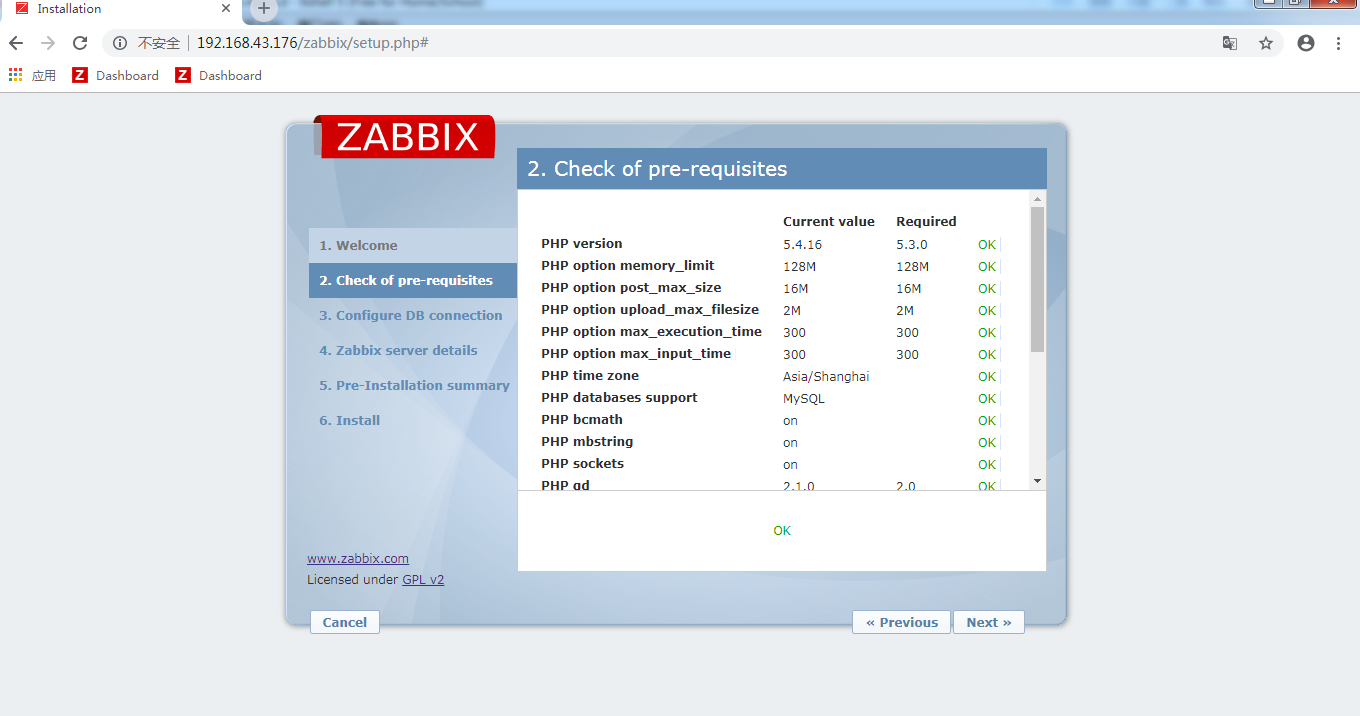
确认无误点击next

输入账号和密码,提示正确后点击next
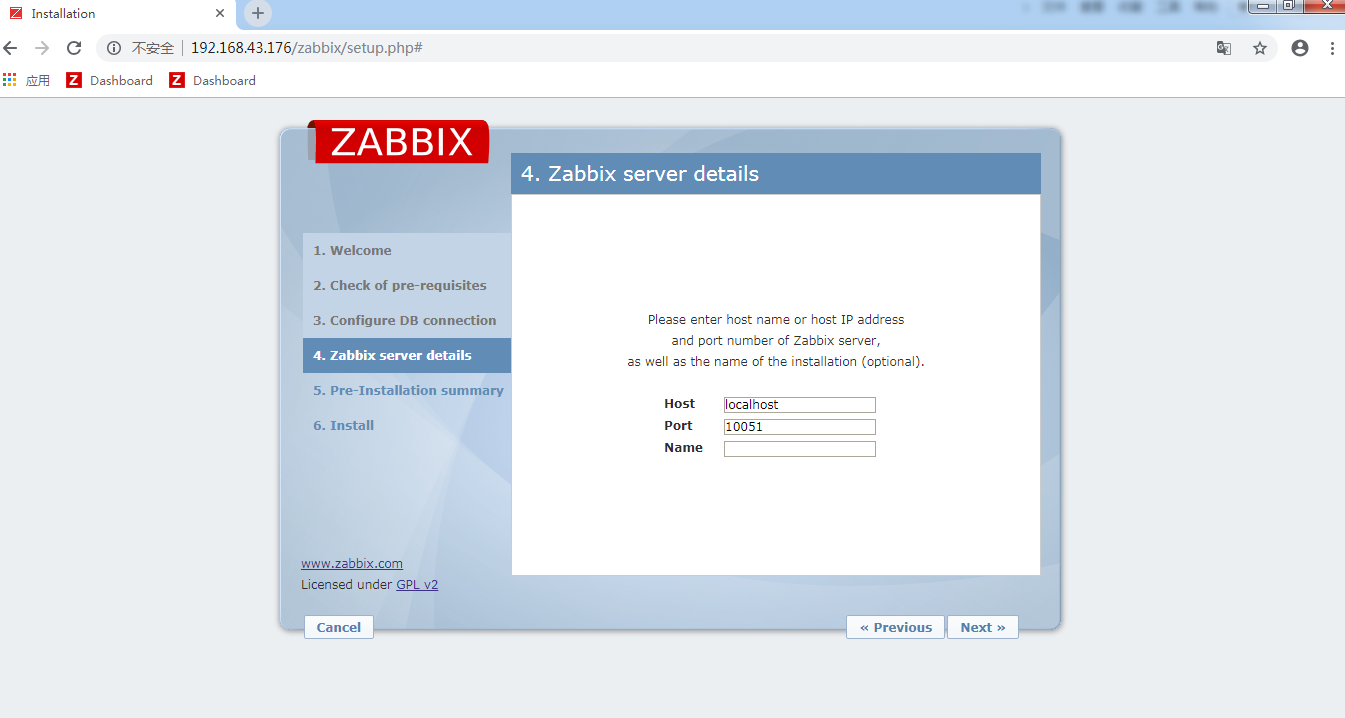
直接点击next
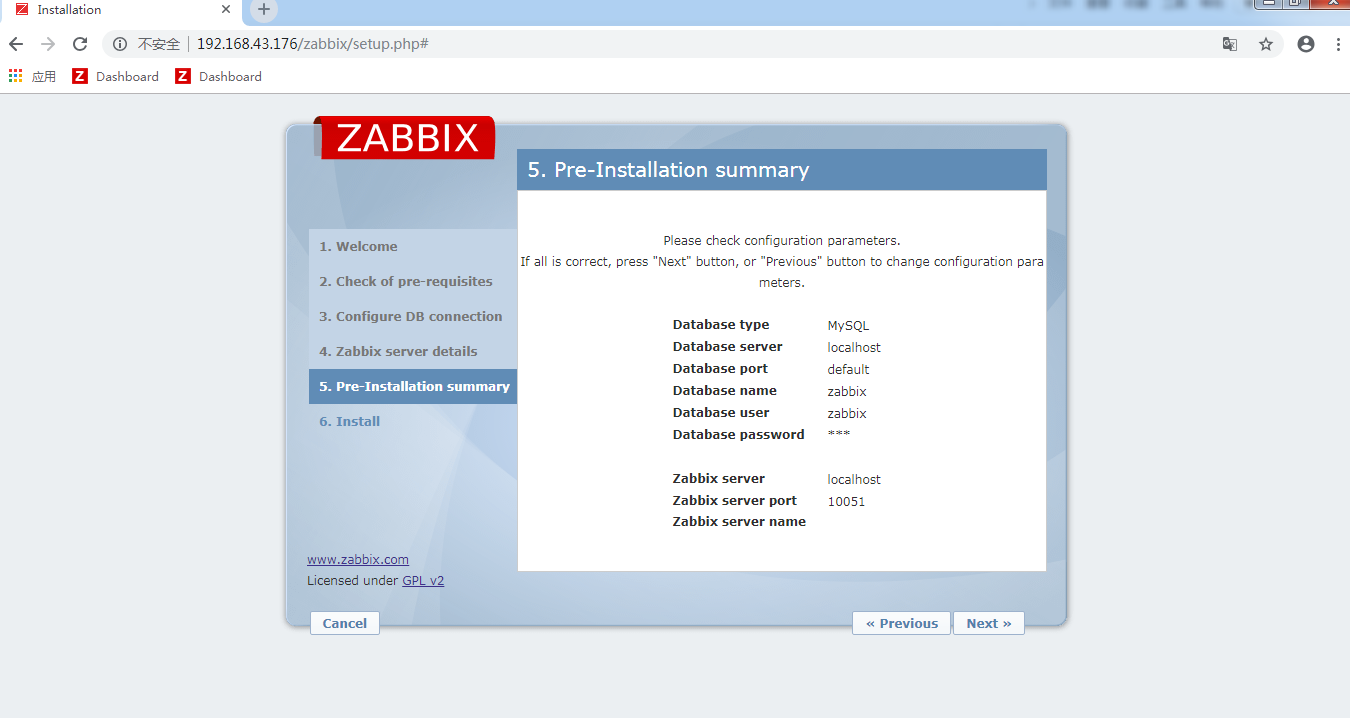
点击下一步
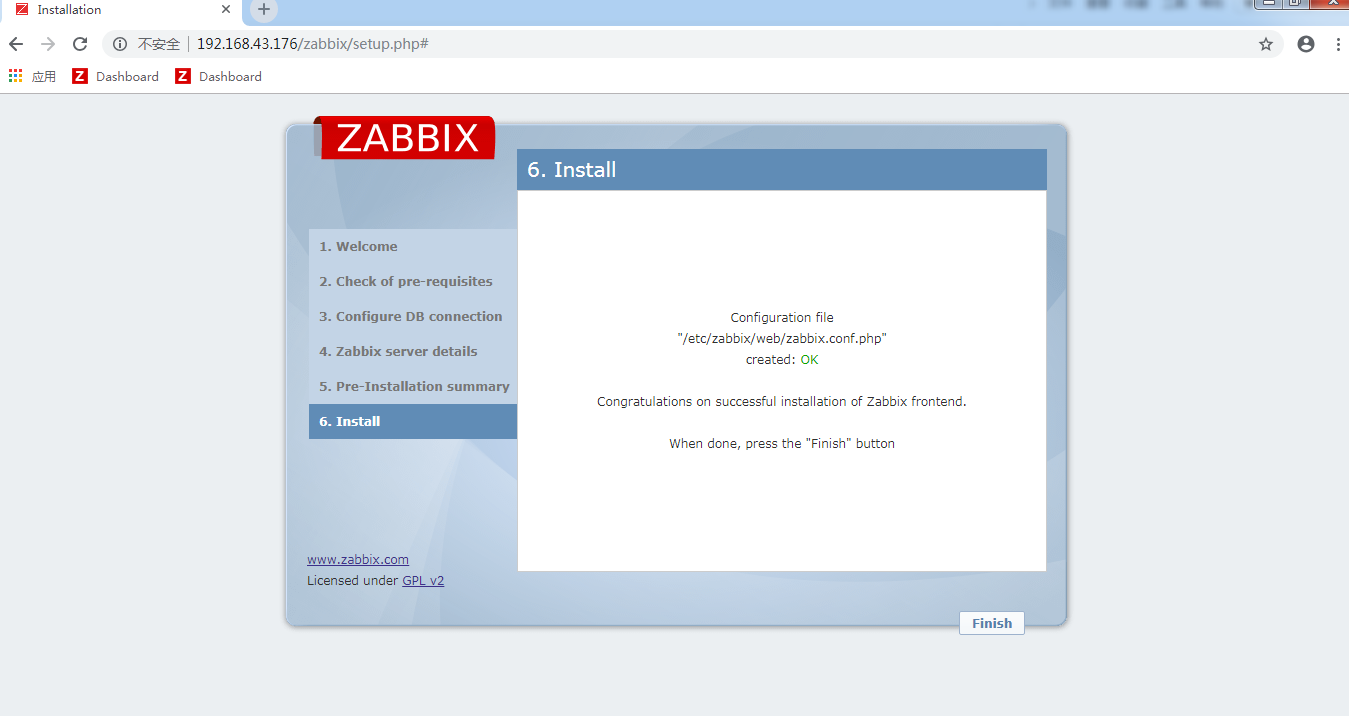
点击finish
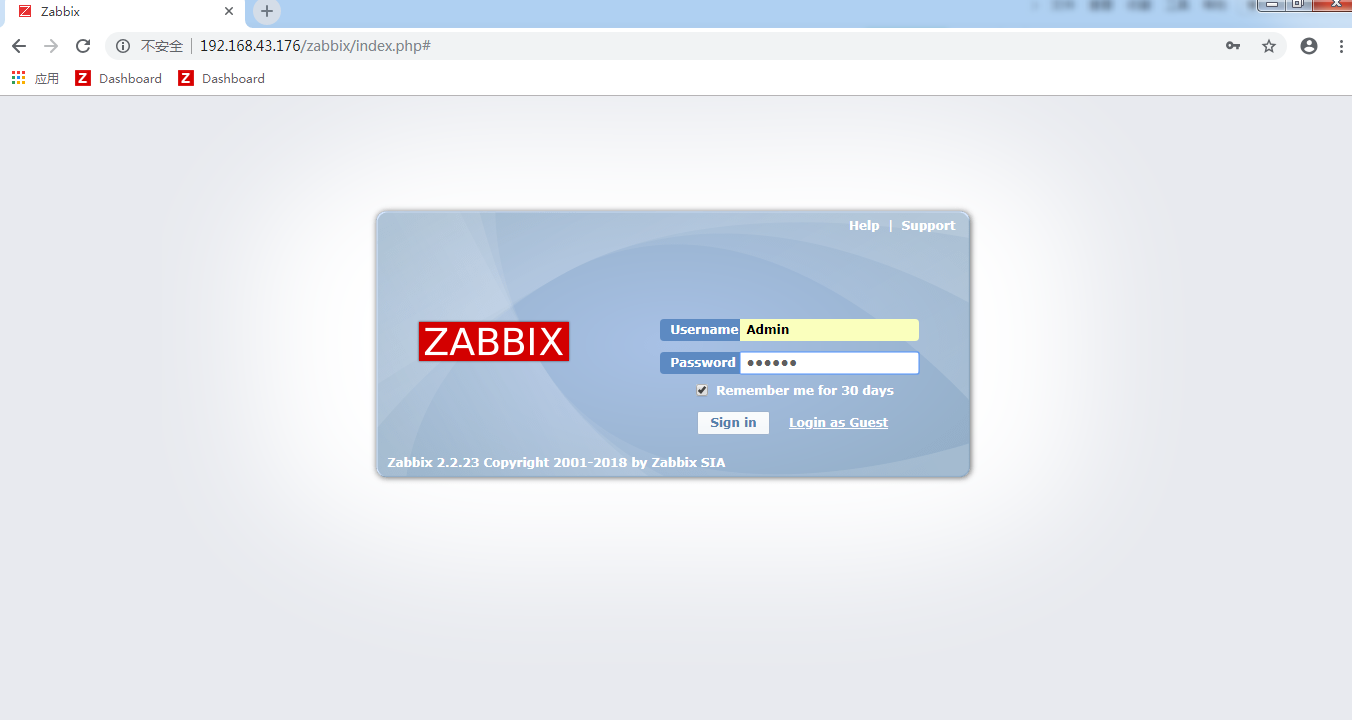
输入账号Admin 密码zabbix,点击sign in
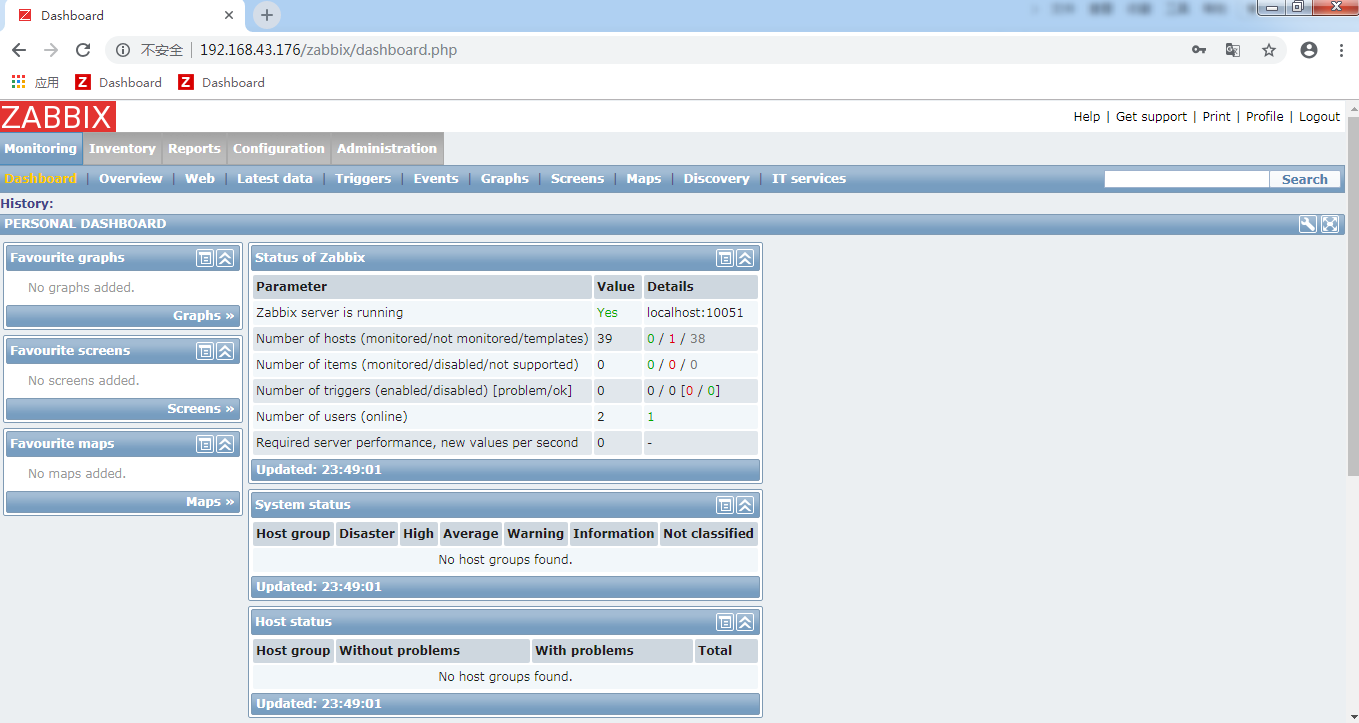
看到如上界面表示安装成功了。
导入模板
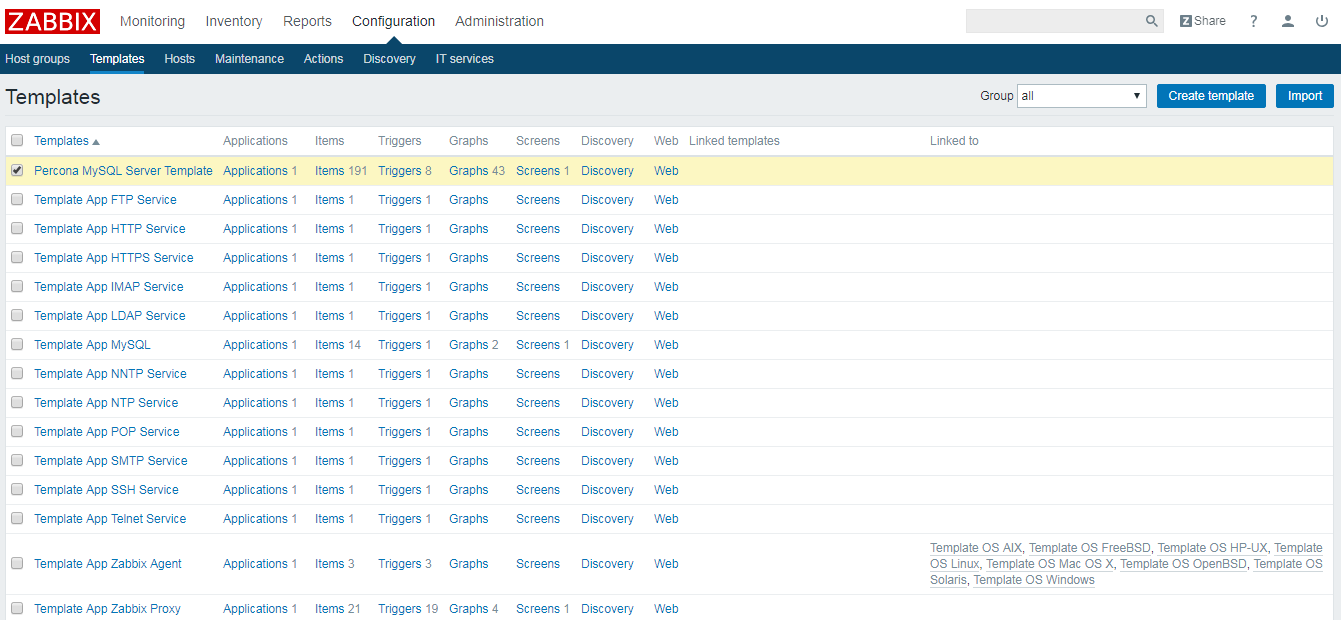
第一步:选择configuration > templates

第二步:导入模板
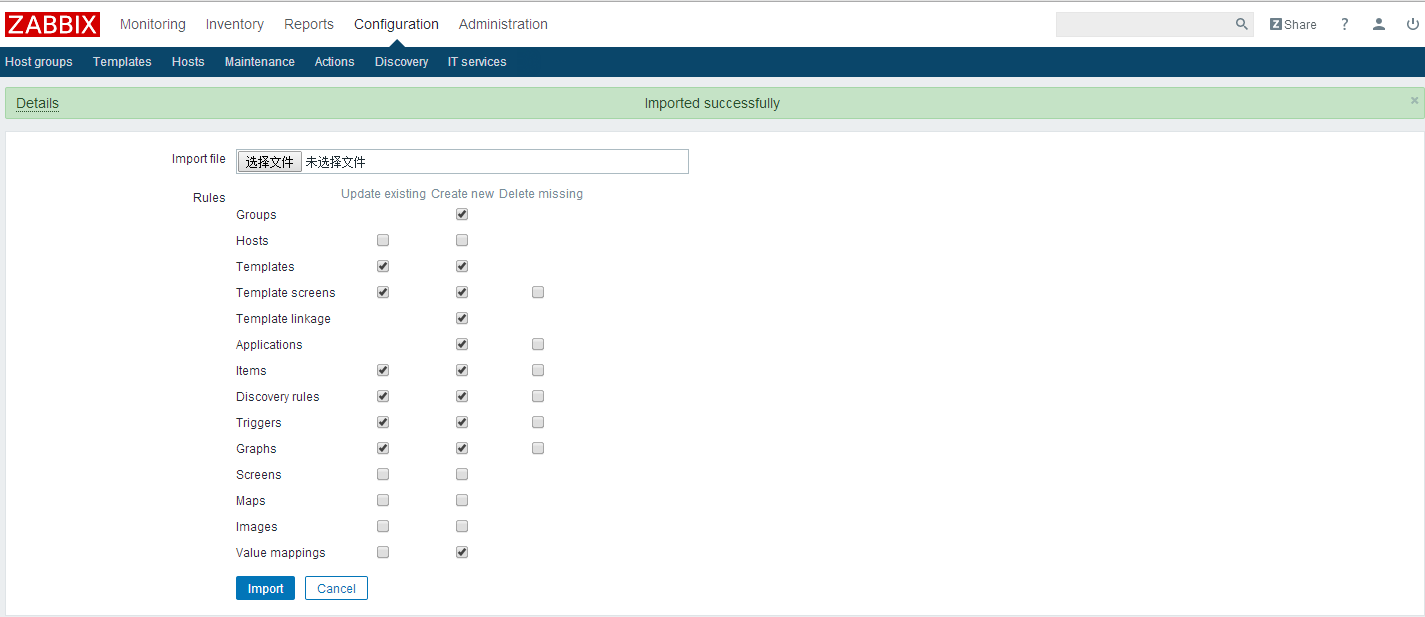
选择右上角import>选择文件
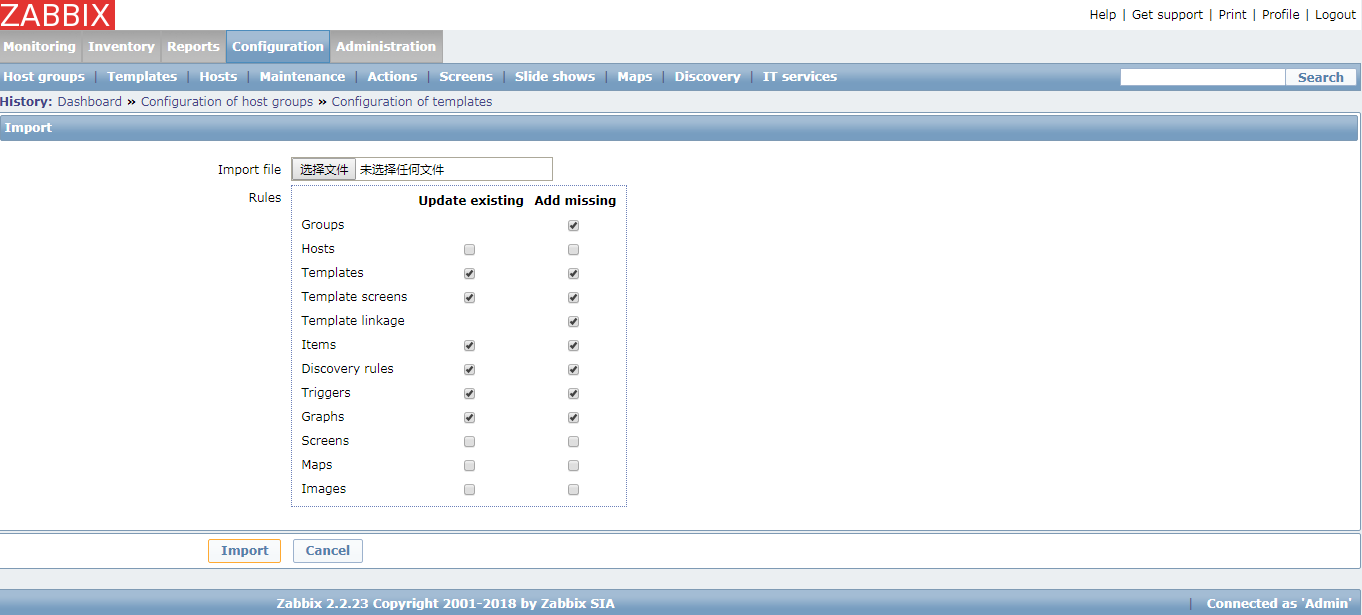
选择文件
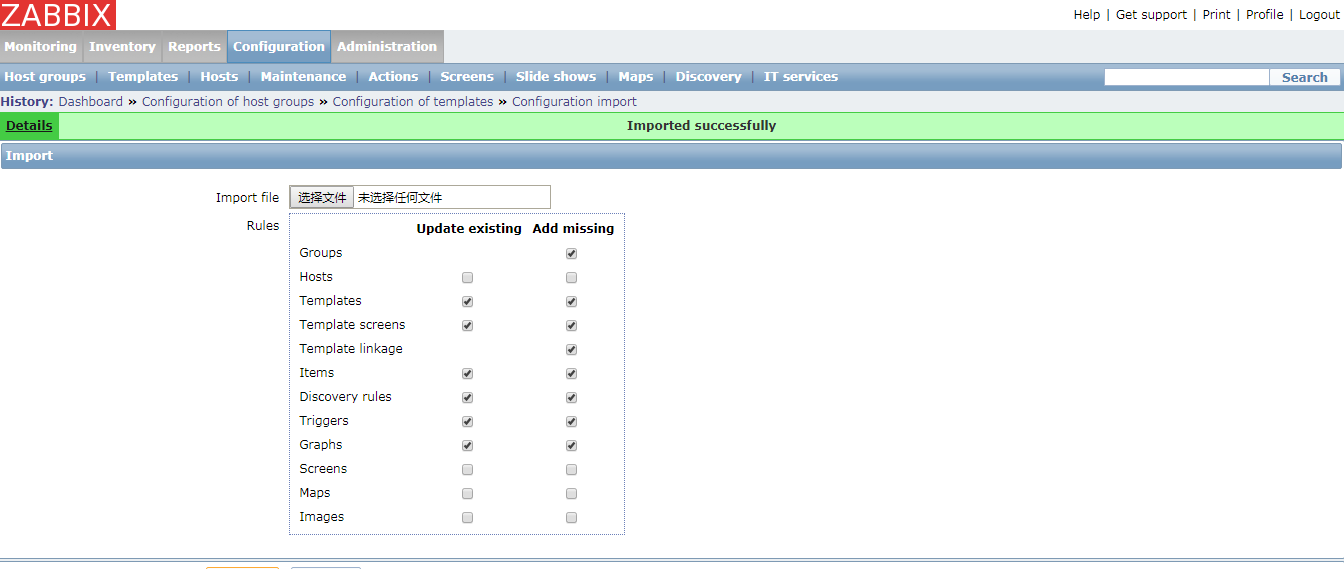
显示导入成功
注:这里我准备了一个2.0的模板

把这个包传到linux中安装
[root@agent ~]# rz
[root@agent ~]# yum install percona-zabbix-templates-1.1.8-1.noarch.rpm  -y
...
Scripts are installed to /var/lib/zabbix/percona/scripts
Templates are installed to /var/lib/zabbix/percona/templates  #这里提示我们这个模板被放在这个目录下了
  Verifying  : percona-zabbix-templates-1.1.8-1.noarch                                                               1/1

Installed:
  percona-zabbix-templates.noarch 0:1.1.8-1

Complete!
把这个模板传回window
[root@agent ~]# cd //var/lib/zabbix/percona/templates
[root@agent templates]# ls
userparameter_percona_mysql.conf  zabbix_agent_template_percona_mysql_server_ht_2.0.9-sver1.1.8.xml
[root@agent templates]# sz zabbix_agent_template_percona_mysql_server_ht_2.0.9-sver1.1.8.xml
升级zabbix
升级zabbix的话,模板也会随之升级,这样我们就获得了一个3.0的模板
第一步:关掉zabbix-server以及mysql
[root@agent ~]# systemctl stop zabbix-server
[root@agent ~]# pkill mysqld
[root@agent ~]# ss -tnl
State       Recv-Q Send-Q               Local Address:Port                              Peer Address:Port
LISTEN      0      128                              *:111                                          *:*
LISTEN      0      128                              *:22                                           *:*
LISTEN      0      100                      127.0.0.1:25                                           *:*
LISTEN      0      128                             :::111                                         :::*
LISTEN      0      128                             :::80                                          :::*
LISTEN      0      128                             :::22                                          :::*
LISTEN      0      100                            ::1:25                                          :::*
第二步:准备3.0的仓库
rpm -i https://repo.zabbix.com/zabbix/3.0/rhel/7/x86_64/zabbix-release-3.0-1.el7.noarch.rpm
第三步:下载zabbix3.0
[root@agent yum.repos.d]# yum install zabbix-server-mysql zabbix-web-mysql zabbix-agent
第四步:启动mysql即zabbix-server。配置文件等都不需要修改,只要重启即可。
[root@agent yum.repos.d]# mysqld &
[1] 6252
[root@agent yum.repos.d]# systemctl restart zabbix-server
第五步:刷新浏览器
点击刚才我们上传的模板,点击最下面的export
第六步:打开看版本是否升级为3.0
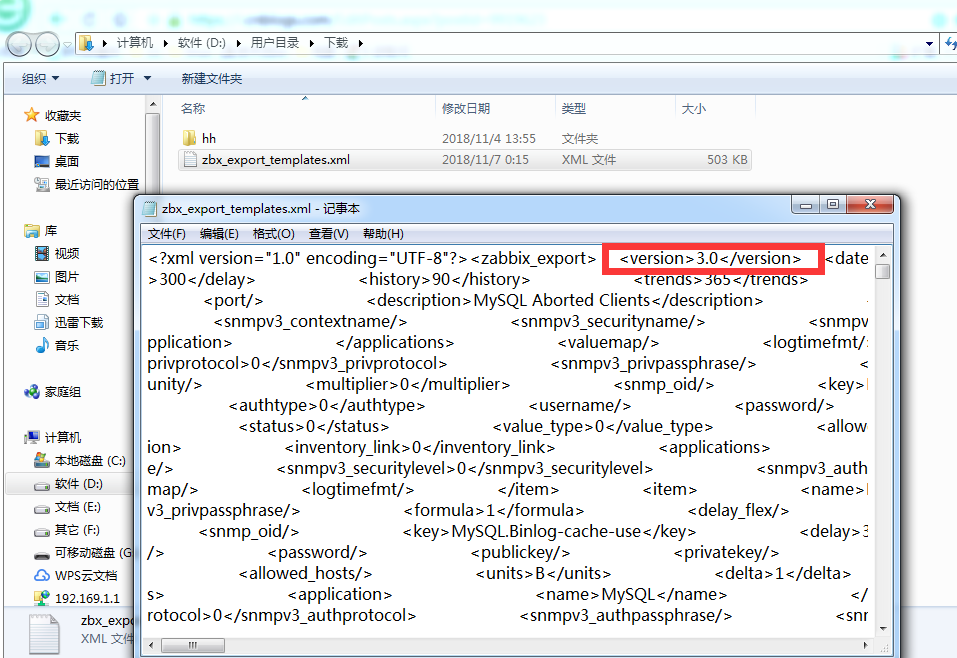
第七步:把这个3.0的版本导入到zabbix中。显示导入成功