A.控制器的创建
控制器常见的创建方式有以下几种
通过storyboard创建
通过storyboard创建
直接创建
1 ViewController *vc = [[ViewController alloc] init];
xib设置了class后,当xib的文件名跟controller类名一样的时候,用这个方法默认就会加载xib中的controller
指定xib文件来创建
1 ViewController *vc = [[ViewController alloc] initWithNibName:@"ViewController" bundle:nil];
1.从storyboard中创建
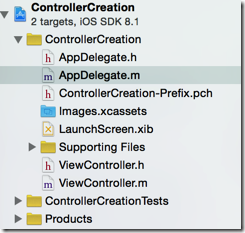
(1)创建一个Empty Application (不带storyboard)
(2)创建window并加到screen上
1 - (BOOL)application:(UIApplication *)application didFinishLaunchingWithOptions:(NSDictionary *)launchOptions {
2     // 手动添加window到screen
3     self.window = [[UIWindow alloc] init];
4     self.window.frame = [[UIScreen mainScreen] bounds];
5     self.window.backgroundColor = [UIColor grayColor];
6     [self.window makeKeyAndVisible];
7     return YES;
8 }
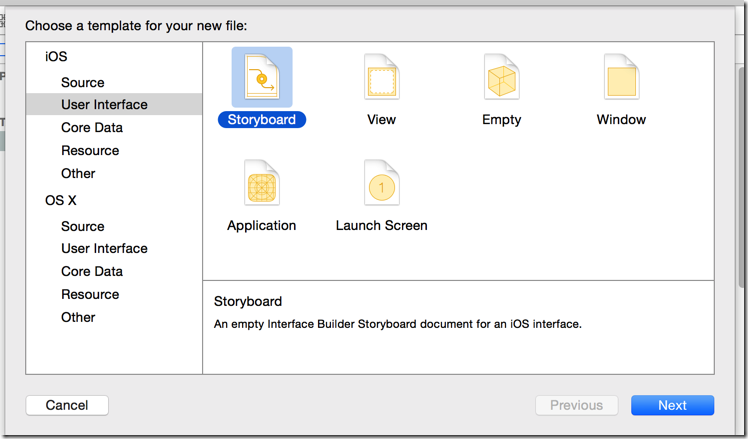
(3)创建一个storyboard,拖入一个controller
(4)取出storyboard(其实就是相当于xib)
1     // 2.取得stroyboard
2     UIStoryboard *sb = [UIStoryboard storyboardWithName:@"mysb" bundle:nil];
(5)设置storyboard上controller为rootViewController
有两种方式取得storyboard上的controller
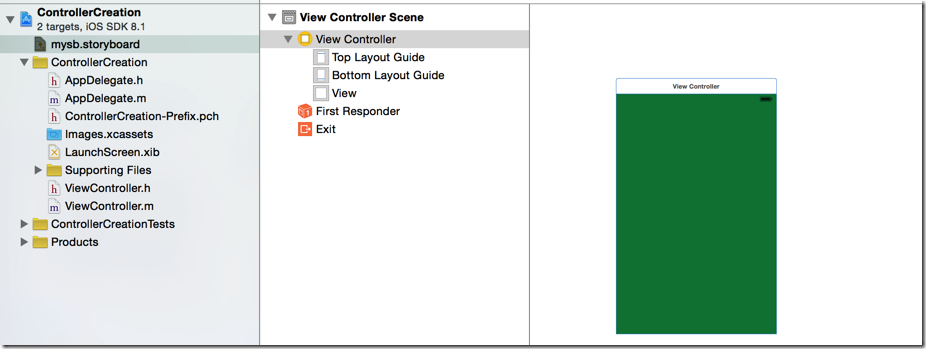
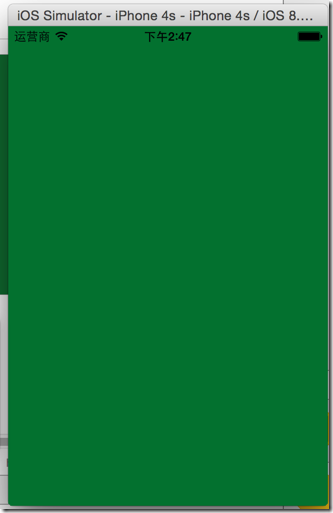
a.直接使用入口controller,这个view的背景色是橄榄绿
设置storyboard中的ViewController的class为自定义的controller
1     // 3.1直接使用InitialViewController
2     self.window.rootViewController = [sb instantiateInitialViewController];
b.使用ID
设置ViewController的class
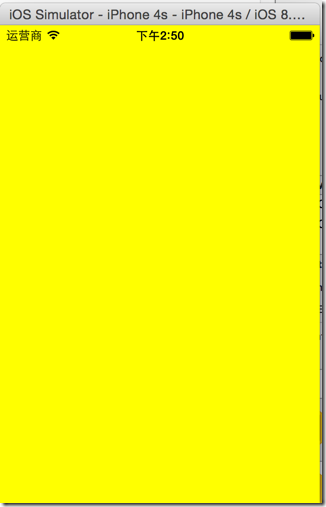
再拖入一个ViewController,设置view的背景色是黄色,设置ID是”vc2"
1     // 4.使用ID取得controller, 设置rootViewController
2     self.window.rootViewController = [sb instantiateViewControllerWithIdentifier:@"vc2"];
完成的加载过程:
 1 - (BOOL)application:(UIApplication *)application didFinishLaunchingWithOptions:(NSDictionary *)launchOptions {
 2     // 1.手动添加window到screen
 3     self.window = [[UIWindow alloc] init];
 4     self.window.frame = [[UIScreen mainScreen] bounds];
 5     self.window.backgroundColor = [UIColor grayColor];
 6     [self.window makeKeyAndVisible];
 7
 8     // 2.取得stroyboard
 9     UIStoryboard *sb = [UIStoryboard storyboardWithName:@"mysb" bundle:nil];
10
11     // 3.取出storyboar中的controller
12     // 3.1直接使用InitialViewController
13     ViewController *controller = [sb instantiateInitialViewController];
14
15     // 3.2使用ID
16     ViewController2 *controller2 = [sb instantiateViewControllerWithIdentifier:@"vc2"];
17
18     // 4.设置rootViewController
19     self.window.rootViewController = controller2;
20
21     return YES;
22 }
总结:
1.创建Single View Application的时候,项目会自带一个storyboard,其实就是做了上面的事情
设置了Main storyboard 的文件,就会自动加载storyboard
2.不同的controller类负责不同的界面的操作
2.直接创建
(不详述)
3.指定xib文件创建
在之前没有storyboard的时候使用这种方法
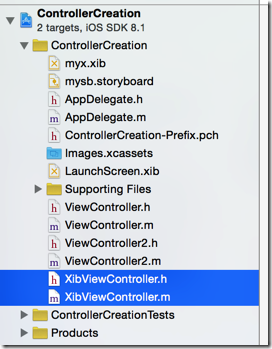
(1)创建一个controller
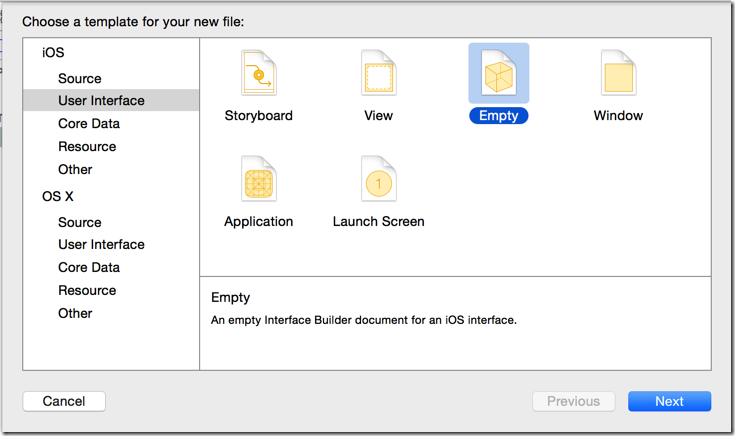
(2)创建一个xib
(3)在xib拖入两个view,设置一些特征标识,方便对比
(4)设置其中一个view为控制器的view
a.更改 File’s Owner 的class为自定义的controller
b.设置controller的view
(5)从xib加载controller,并把view显示到window上
 1 - (BOOL)application:(UIApplication *)application didFinishLaunchingWithOptions:(NSDictionary *)launchOptions {
 2     // 1.手动添加window到screen
 3     self.window = [[UIWindow alloc] init];
 4     self.window.frame = [[UIScreen mainScreen] bounds];
 5     self.window.backgroundColor = [UIColor grayColor];
 6     [self.window makeKeyAndVisible];
 7
 8     // 从xib加载控制器, 设置rootViewController
 9     self.window.rootViewController = [[XibViewController alloc] initWithNibName:@"myx" bundle:nil];
10
11     return YES;
12 }
总结:
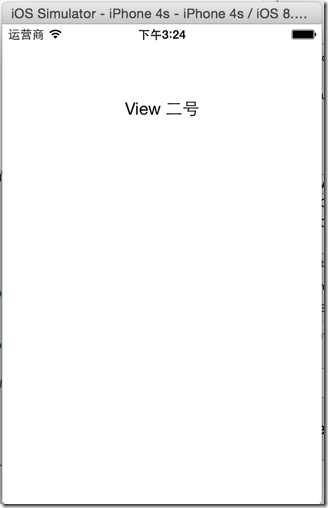
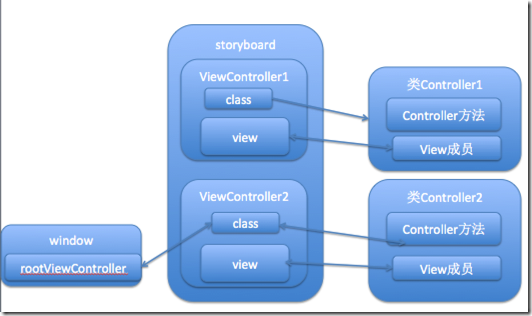
1.storyboard:(这里使用ViewController2为rootViewController)
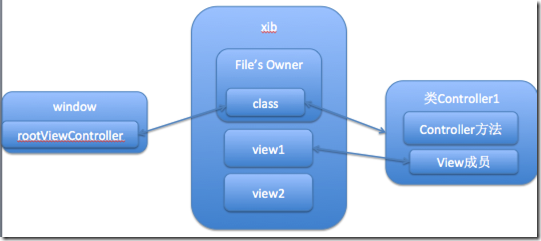
xib:(使用view1作为显示的view)
B.创建控制器的view
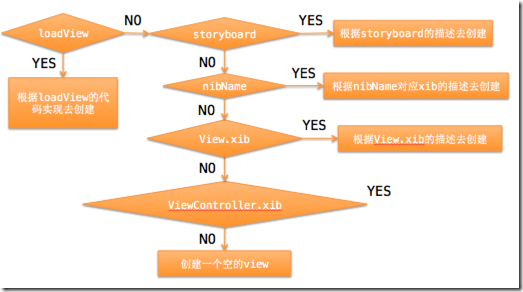
控制器的view创建有多种方式,(按照优先级进行创建,仅使用最优先的方式)
- loadView代码(controller实现loadView方法)
- storyboard描述
- xib
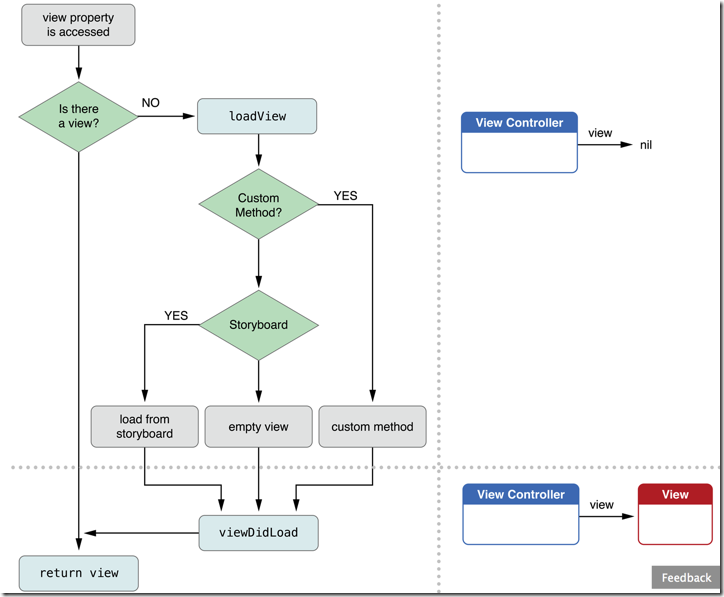
最新版的官方文档:
1.通过loadView
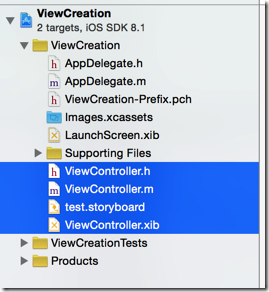
(1)创建一个controller、storyboard、xib
(2)配置好storyboard和xib的class为自定义的controller
(3)给storyboard和xib的view加上明显的标志
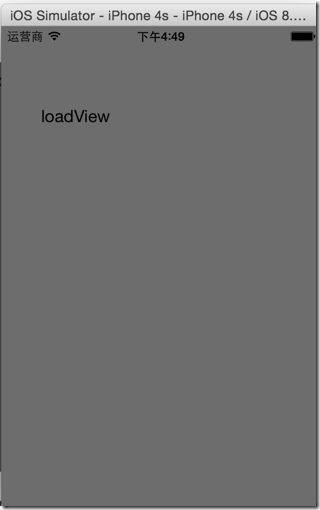
(4)在controller类中实现loadView(当controller的view是空的时候,就会调用loadView)
 1 // 加载view,这是延迟加载,当需要使用view而view是空的时候调用
 2 - (void)loadView {
 3     NSLog(@"loadView...");
 4     self.view = [[UIView alloc] init];
 5     self.view.frame = [[UIScreen mainScreen] bounds];
 6     UILabel *label = [[UILabel alloc] init];
 7     label.frame = CGRectMake(40, 40, 100, 100);
 8     label.text = @"loadView";
 9     [self.view addSubview:label];
10 }
(5)在delegate中配置controller到window上
a.配置storyboard的controller为rootViewController
 1 - (BOOL)application:(UIApplication *)application didFinishLaunchingWithOptions:(NSDictionary *)launchOptions {
 2     // 配置window
 3     self.window = [[UIWindow alloc] init];
 4     self.window.frame = [[UIScreen mainScreen] bounds];
 5     self.window.backgroundColor = [UIColor grayColor];
 6
 7     // 配置storyboard中的controller为rootViewController
 8     self.window.rootViewController = [[UIStoryboard storyboardWithName:@"test" bundle:nil] instantiateInitialViewController];
 9
10      // 配置xib中的controller为rootViewController,主要要使用带有loadView的controller
11 //    self.window.rootViewController = [[ViewController alloc] initWithNibName:@"ViewController" bundle:nil];
12
13     // 显示window
14     [self.window makeKeyAndVisible];
15     return YES;
16 }
17
会发现没有起作用
b.同样,使用xib中的controller为rootViewController,只要loadView存在,也不会起作用
1      // 配置xib中的controller为rootViewController,主要要使用带有loadView的controller
2     self.window.rootViewController = [[ViewController alloc] initWithNibName:@"ViewController" bundle:nil];
总结:
在配置rootViewController的时候,如果配置的controller中实现了loadView方法,就会覆盖storyboard或xib中的view
