https://tutorials-raspberrypi.com/connect-control-raspberry-pi-ws2812-rgb-led-strips/
4b配置过程
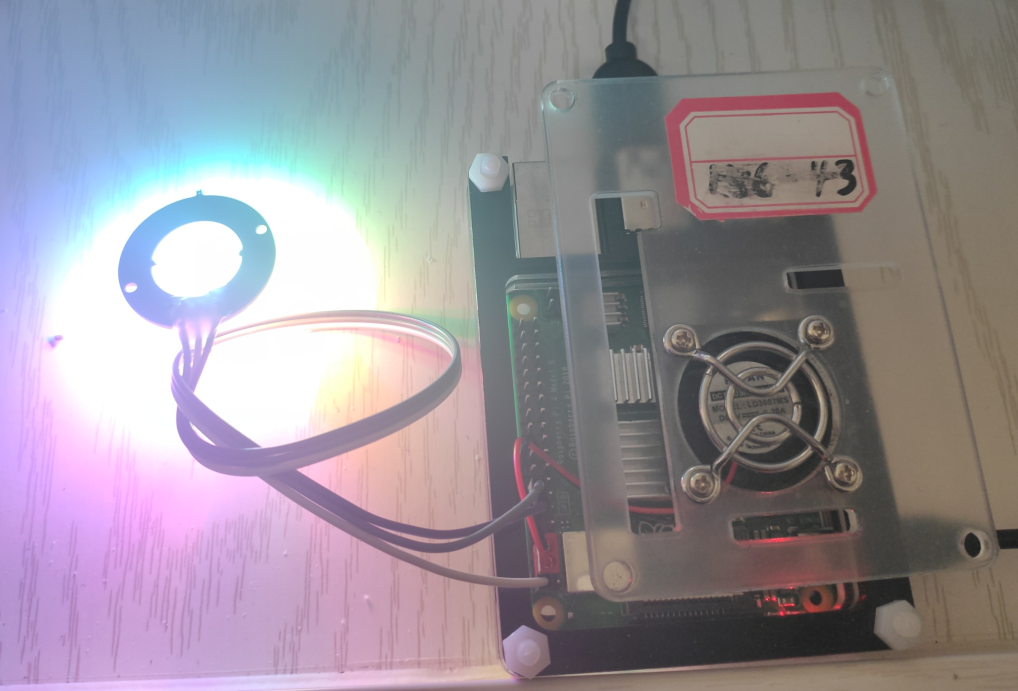
硬件连接

这个图只是个示意图,如果灯比较少直接树莓派5V供电
如果灯比较多,可以参看上图的外接供电

VCC-5v
gnd-gnd
vin-18引脚
环境配置
sudo apt-get update
sudo apt-get install gcc make build-essential python-dev git scons swig
下载源码
git clone https://github.com/jgarff/rpi_ws281x
编译
cd rpi_ws281x/
sudo scons

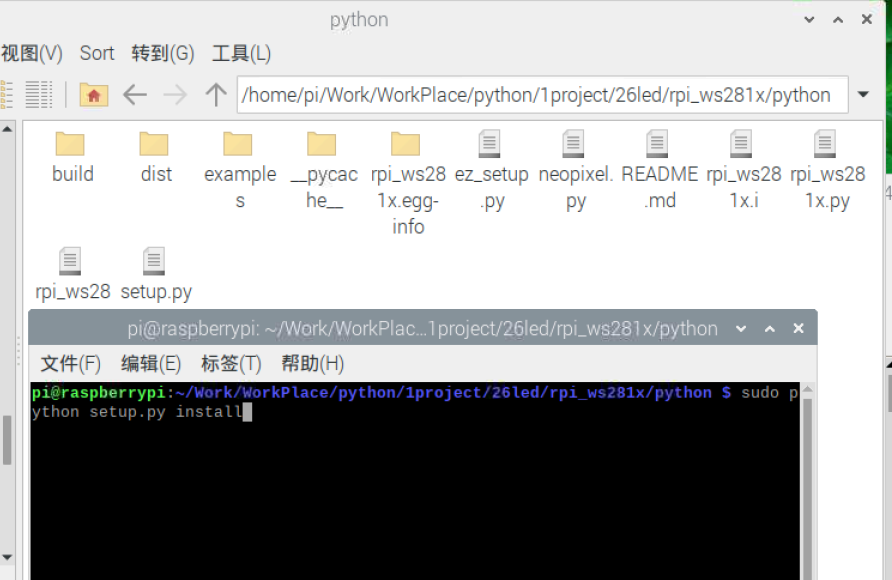
编译python版本
cd python
sudo python setup.py build
sudo python setup.py install
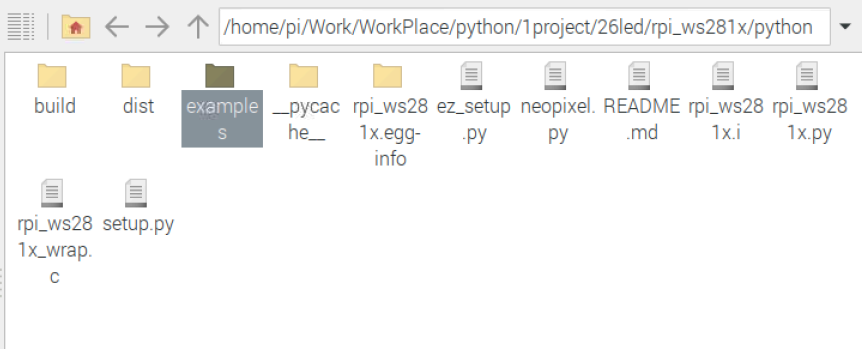
examples文件夹下面是使用样例
标准测试样例

执行之前需要将编译的库拷贝过来 或者 运行程序直接添加环境

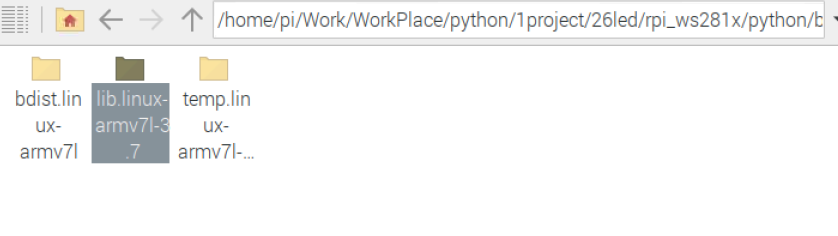

拷贝到测试样例

运行代码 必须从命令行以sudo 运行 否则报错


原理例成被我改了 未来使用必然配合别的程序,然而彩虹灯这样的效果需要占据一个线程
因此重新封装成一个类,并加入了多进程单独控制灯(线程本质上在树莓派还是一个线程)
如何使用
1新建一个工程,拷贝一个依赖文件到工程同目录

2把这个代码创建一个文件LED_Class放在同工程
详见后面LED_Class.py 文件
3要使用的test.py代码加入这个类
from LED_Class import LED
一定要从命令行 sudo 启动 text.py
from LED_Class import LED
import time

led_use=LED()
led_use.process_test()
while 1:
    print('这是主进程!')
    time.sleep(2.0)#延迟2秒
LED_Class.py 文件
#!/usr/bin/env python3

import time
from neopixel import *
import argparse
from multiprocessing import Process

class LED(object):
    def __init__(self):
        LED_COUNT      = 8       # 灯的数目
        LED_PIN        = 18      # pwm管教口 18引脚 树莓派.
        #LED_PIN        = 10      # GPIO pin connected to the pixels (10 uses SPI /dev/spidev0.0).
        LED_FREQ_HZ    = 800000  # LED signal frequency in hertz (usually 800khz)
        LED_DMA        = 10      # DMA channel to use for generating signal (try 10)
        LED_BRIGHTNESS = 255     # Set to 0 for darkest and 255 for brightest
        LED_INVERT     = False   # True to invert the signal (when using NPN transistor level shift)
        LED_CHANNEL    = 0       # set to '1' for GPIOs 13, 19, 41, 45 or 53
        # 工艺参数
        #parser = argparse.ArgumentParser()
        #parser.add_argument('-c', '--clear', action='store_true', help='clear the display on exit')
        #args = parser.parse_args()
        # 创建LED控制对象
        self.strip = Adafruit_NeoPixel(LED_COUNT, LED_PIN, LED_FREQ_HZ, LED_DMA, LED_INVERT, LED_BRIGHTNESS, LED_CHANNEL)
        self.strip.begin()
        print('LED初始化成功')
    #功能一-逐个变色-
    # colorWipe(self.strip, Color(255, 0, 0))  # Red wipe
    # 所有灯逐个变成红色
    def colorWipe(self,color, wait_ms=50):
        """Wipe color across display a pixel at a time."""
        for i in range(self.strip.numPixels()):
            self.strip.setPixelColor(i, color)
            self.strip.show()
            time.sleep(wait_ms/1000.0)
    #功能二-交替闪烁
    # theaterChase(self.strip, Color(127, 127, 127))  # White
    # 白色交替闪烁
    def theaterChase(self, color, wait_ms=50, iterations=10):
        """Movie theater light style chaser animation."""
        for j in range(iterations):
            for q in range(3):
                for i in range(0, self.strip.numPixels(), 3):
                    self.strip.setPixelColor(i+q, color)
                self.strip.show()
                time.sleep(wait_ms/1000.0)
                for i in range(0, self.strip.numPixels(), 3):
                    self.strip.setPixelColor(i+q, 0)
    # 支撑函数
    def wheel(self,pos):
        """Generate rainbow colors across 0-255 positions."""
        if pos < 85:
            return Color(pos * 3, 255 - pos * 3, 0)
        elif pos < 170:
            pos -= 85
            return Color(255 - pos * 3, 0, pos * 3)
        else:
            pos -= 170
            return Color(0, pos * 3, 255 - pos * 3)
    #功能三-彩虹色整体统一柔和渐变-每个灯颜色同一时间相同
    def rainbow(self, wait_ms=20, iterations=1):
        """Draw rainbow that fades across all pixels at once."""
        for j in range(256*iterations):
            for i in range(self.strip.numPixels()):
                self.strip.setPixelColor(i, self.wheel((i+j) & 255))
            self.strip.show()
            time.sleep(wait_ms/1000.0)
    #功能四-彩虹色每一个灯各自柔和渐变-每个灯颜色同一时间不同
    def rainbowCycle(self, wait_ms=20, iterations=5):
        """Draw rainbow that uniformly distributes itself across all pixels."""
        for j in range(256*iterations):
            for i in range(self.strip.numPixels()):
                self.strip.setPixelColor(i, self.wheel((int(i * 256 / self.strip.numPixels()) + j) & 255))
            self.strip.show()
            time.sleep(wait_ms/1000.0)
    #功能五-彩虹色统一闪烁流动变色-每个灯颜色同一时间相同
    def theaterChaseRainbow(self,wait_ms=50):
        """Rainbow movie theater light style chaser animation."""
        for j in range(256):
            for q in range(3):
                for i in range(0, self.strip.numPixels(), 3):
                    self.strip.setPixelColor(i+q, self.wheel((i+j) % 255))
                self.strip.show()
                time.sleep(wait_ms/1000.0)
                for i in range(0, self.strip.numPixels(), 3):
                    self.strip.setPixelColor(i+q, 0)
    #单进程全部函数测试
    def test(self):
        print ('Color wipe animations.')
        self.colorWipe( Color(155, 0, 0))  # Red wipe
        self.colorWipe( Color(0, 255, 0))  # Blue wipe
        self.colorWipe( Color(0, 0, 255))  # Green wipe
        print ('Theater chase animations.')
        self.theaterChase( Color(127, 127, 127))  # White theater chase
        self.theaterChase( Color(127,   0,   0))  # Red theater chase
        self.theaterChase(Color(  0,   0, 127))  # Blue theater chase
        print ('Rainbow animations.')
        self.rainbow()
        self.rainbowCycle()
        self.theaterChaseRainbow()
    #多进程全部函数测试
    def process_test(self):
        print('process_begin')
        p= Process(target=self.test)
        p.deamon=True
        p.start()
        print('process_end')

#-----------------------------
#LED函数初始化
#led_use=LED()

#1单个函数测试
#led_use.colorWipe(Color(100, 0, 0))

#2单进程全部函数测试
#led_use.test()

#3多进程全部函数测试
'''
led_use.process_test()
while 1:
    print('这是主进程!')
    time.sleep(2.0)#延迟2秒
'''