三台机器
10.0.0.149  AmazonLinux2.0  zabbix-server zabbix-agent
10.0.1.61   CentOS6.9       zabbix-agent
10.0.1.119  CentOS6.9       zabbix-agent
1、安装zabbix-server和web管理界面。
# cd /etc/yum.repos.d/
# vim zabbix.repo
[zabbix]
name=zabbix3.4
baseurl=http://repo.zabbix.com/zabbix/3.4/rhel/7/x86_64/
gpgcheck=0

# vim epel.repo
[epel]
name=epel-release
baseurl=https://dl.fedoraproject.org/pub/epel/7/x86_64/
gpgcheck=0

# yum install -y zabbix-server-mysql zabbix-web-mysql
2、安装配置数据库并启动zabbix-server。
# yum install -y mariadb-server mariadb mariadb-devel
# vim /etc/my.cnf
[mysqld]
datadir=/var/lib/mysql
socket=/var/lib/mysql/mysql.sock
max_connect_errors=1000
skip_name_resolve
innodb_file_per_table=1
skip-external-locking
key_buffer_size = 16M
default-storage-engine=innodb
collation_server=utf8_unicode_ci
character_set_server=utf8
max_connections=3000
wait_timeout=600
tmp_table_size=500M
innodb_buffer_pool_size = 100M
innodb_log_file_size=700M
innodb_log_buffer_size=8M
query_cache_size = 256M
query_cache_type = 1
query_cache_limit = 1048576
join_buffer_size = 8M
thread_cache_size = 80
innodb_support_xa = 1
long_query_time = 2
slow-query-log = 1
slow-query-log-file=/var/log/mariadb/slowquery.log
max_allowed_packet = 1M
table_open_cache = 64
sort_buffer_size = 16M
net_buffer_length = 8K
read_buffer_size =8M
read_rnd_buffer_size = 512K
myisam_sort_buffer_size = 8M

# systemctl start mariadb.service
# systemctl enable mariadb.service
# mysql_secure_installation
# mysql -uroot -p
> create database zabbix character set utf8 collate utf8_bin;
> grant all privileges on zabbix.* to zabbix@localhost identified by 'PASS';
> quit;

# cd /usr/share/doc/zabbix-server-mysql-3.4.7/
# zcat create.sql.gz | mysql -uroot zabbix -p
# vim /etc/zabbix/zabbix_server.conf
DBHost=localhost
DBName=zabbix
DBUser=zabbix
DBPassword=PASS

# systemctl start zabbix-server.service
# systemctl enable zabbix-server.service
3、httpd会被依赖安装。修改php时区,并启动httpd。
# vim /etc/php.ini
[Date]
date.timezone = Asia/Shanghai
# vim /etc/httpd/conf.d/zabbix.conf
php_value max_execution_time 300
php_value memory_limit 128M
php_value post_max_size 16M
php_value upload_max_filesize 2M
php_value max_input_time 300
php_value always_populate_raw_post_data -1
# php_value date.timezone Europe/Riga
php_value date.timezone Asia/Shanghai
# systemctl start httpd.service
# systemctl enable httpd.service
4、设置域名。配置nginx。
在dns上加一条CNAME指向LB即可。
# cd /etc/nginx/vhosts/
# vim zabbix-aws.oupeng.com.conf
upstream zabbix-aws-oupeng-com {
    server 10.0.0.149:80 weight=10 max_fails=3 fail_timeout=10;
}

server {
    listen 80;
    server_name zabbix-aws.oupeng.com;

    location / {
        proxy_pass http://zabbix-aws-oupeng-com/zabbix/;
        include proxy.conf;
        break;
    }

    access_log /data/log/nginx/zabbix-aws.oupeng.com.access.log main;
    error_log /data/log/nginx/zabbix-aws.oupeng.com.error.log;
}
5、访问web界面,完成初始化。
默认用户密码为 Admin/zabbix。需要注意的是,这里的用户名区分大小写。
6、安装zabbix-agent。
# yum install -y zabbix-agent

# systemctl start zabbix-agent.service
# systemctl enable zabbix-agent.service
在另外两台机器上安装客户端。由于系统版本不同,这里要单独添加repo。
# cd /etc/yum.repos.d/
# vim zabbix.repo
[zabbix]
name=zabbix3.4
baseurl=http://repo.zabbix.com/zabbix/3.4/rhel/6/x86_64/
gpgcheck=0

# yum install -y zabbix-agent
修改监听地址,并启动服务。
# vim /etc/zabbix/zabbix_agentd.conf
Server=10.0.0.149

# service zabbix-agent start
# chkconfig zabbix-agent on
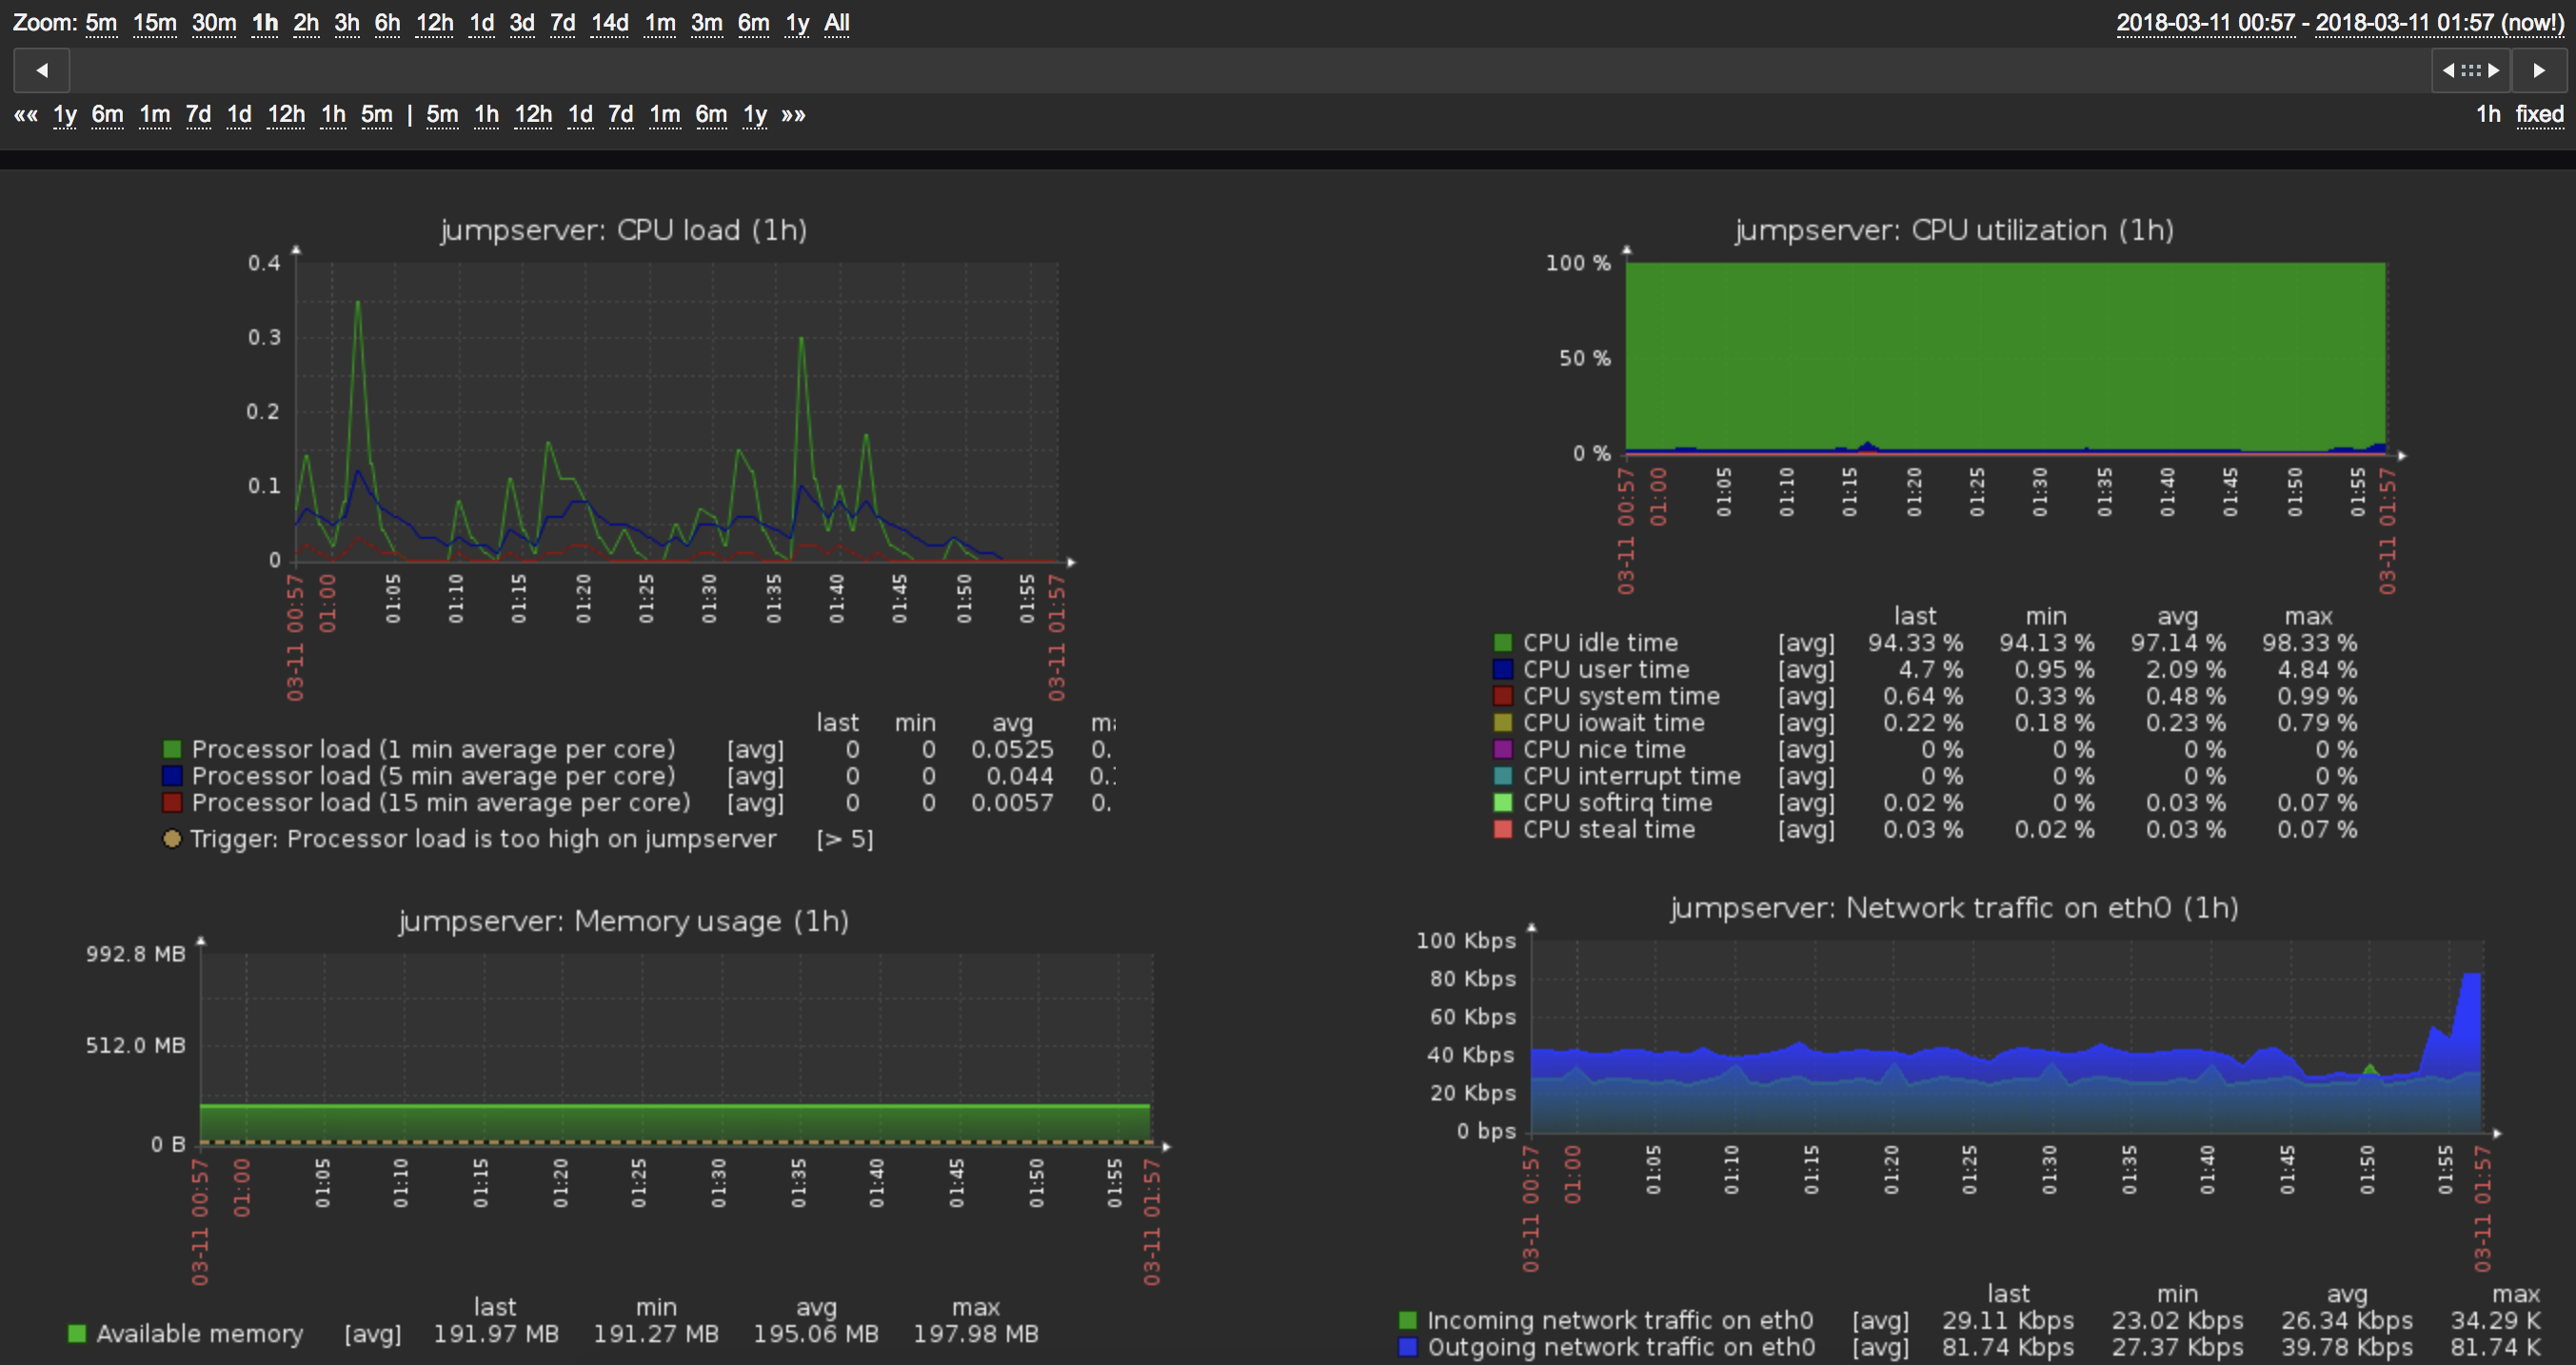
7、到这里,基础安装就完成了。在web上添加三台主机就可以开始设置监控了。

补充
8、设置数据库备份,保留三天备份。
# vim mysql_backup.sh
#!/bin/bash

basepath='/data/mysql/backup/'

if [ ! -d "$basepath" ]; then
  mkdir -p "$basepath"
fi

#backup
mysqldump -uroot -p'PASS' -F -A | gzip > $basepath/mysqlbak_$(date +%F).sql.gz

#delete files 3 days ago
find $basepath -mtime +3 -name "*.sql.gz" -exec rm -rf {} ; >/dev/null 2>&1
# crontab -e
0 0 * * * /root/mysql_backup.sh